How to Create a Necklace That Lasts: Assembly Care & Maintenance
Learn how to create a necklace with lasting durability. Expert tips on material selection, clasp assembly, and long-term cleaning for handmade pieces.

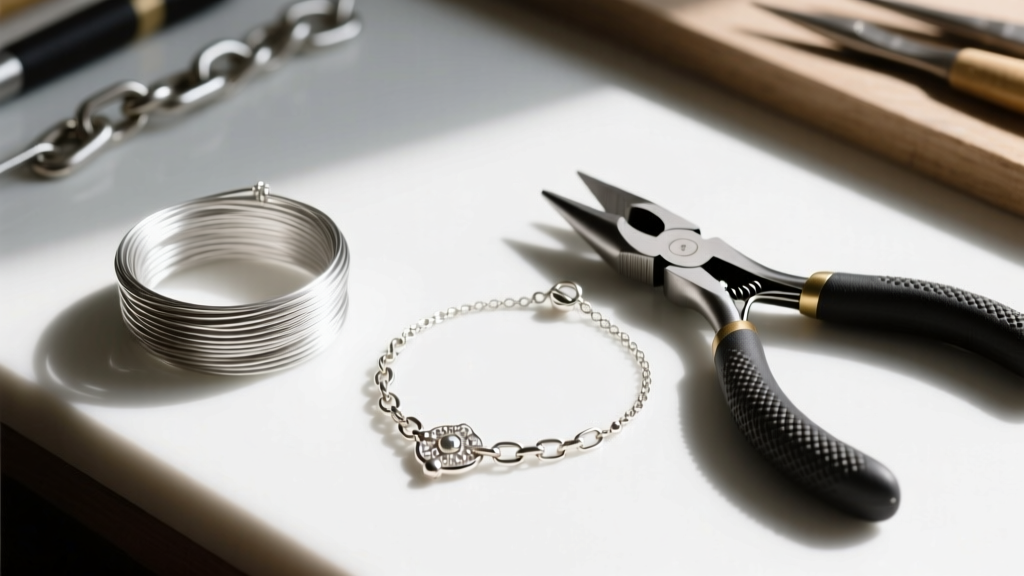
The Intersection of Jewelry Making and Long-Term Care
When learning how to create a necklace, most artisans focus heavily on aesthetic design, gemstone selection, and color theory. However, as we navigate the evolving standards of 2026, the hallmark of a truly professional jewelry maker is an obsession with structural longevity and post-assembly maintenance. The decisions you make at the workbench—down to the specific temper of your wire and the cut of your jump rings—dictate how the piece will withstand mechanical stress, resist oxidation, and endure long-term wear. According to the Gemological Institute of America (GIA), premature jewelry failure is rarely caused by the gemstones themselves, but rather by the degradation of the metallic findings and assembly points. This guide bridges the gap between creation and care, providing a masterclass in building necklaces that are engineered to last.
Material Selection: The Foundation of Necklace Longevity
The longevity of a handmade necklace begins long before the clasp is attached; it begins with metallurgy. Selecting the correct wire gauge and temper (hardness) is critical to preventing structural fatigue. Wire temper refers to the metal's hardness, which is altered through a process called work-hardening. Dead soft wire is highly malleable and perfect for intricate wire-wrapping, but if used for a clasp or jump ring, it will easily pull apart under the weight of a pendant. Conversely, half-hard wire has been drawn and rolled to increase its tensile strength, making it ideal for structural components that require a balance of flexibility and rigidity.
Wire Gauge and Temper Matrix
| Wire Gauge | Temper (Hardness) | Best Application | Maintenance & Wear Risk |
|---|---|---|---|
| 20-Gauge | Half-Hard | Jump rings, ear wires, clasp hooks | Low risk; holds shape well under tension and resists pulling. |
| 22-Gauge | Dead Soft | Wire wrapping, weaving, intricate loops | High risk; requires manual work-hardening to prevent bending. |
| 18-Gauge | Full-Hard | Heavy-duty clasps, structural frames | Brittle; can snap if bent repeatedly without proper annealing. |
| 24-Gauge | Half-Hard | Bead stringing, delicate chainmaille | Moderate risk; prone to snapping if subjected to sharp pulls. |
For beaded necklaces, the choice of stringing material is equally vital. While silk thread offers a beautiful drape for pearls, it degrades with exposure to skin oils and moisture. Modern alternatives like 49-strand micro-fused stainless steel beading wire (typically 0.015 to 0.018 inches in diameter) coated in nylon offer superior tensile strength and resistance to kinking, drastically reducing the maintenance required by the end-wearer.
Assembly Techniques That Prevent Premature Wear
How you connect your components determines the necklace's mechanical lifespan. The weakest point of any necklace is the connection between the chain and the clasp.
Jump Ring Integrity: Saw-Cut vs. Shear-Cut
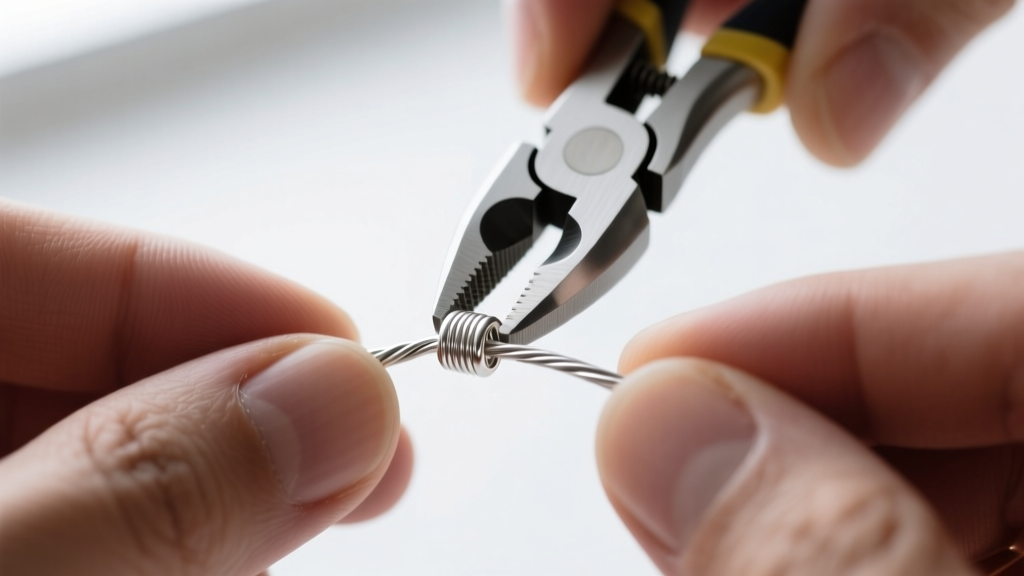
When sourcing or making jump rings, always opt for saw-cut rings over shear-cut (machine-cut) rings. Shear-cut rings are created with a blade that pinches the wire, leaving a beveled, V-shaped gap when closed. This gap can snag on delicate fabrics and allows the ring to pull apart under lateral stress. Saw-cut rings, however, are sliced with a jeweler's saw, resulting in perfectly flush, flat ends. When closed properly with two pairs of chain-nose pliers using a twisting motion (never pulling apart), a saw-cut jump ring creates a nearly seamless connection that mimics the strength of a soldered ring.
Crimping Best Practices
If you are using flexible beading wire, your crimp beads are the sole security measure holding the necklace together. Avoid base-metal crimp beads, as they oxidize, become brittle, and eventually crack, leading to catastrophic necklace failure. Always use sterling silver or gold-filled tube crimps. A 2mm x 2mm sterling silver tube crimp, when compressed using a 3-stage micro-crimping tool, folds the metal inward and rounds it out, creating a secure, bead-like finish that will not slice into the nylon coating of the beading wire over time. As noted by Rio Grande Jewelry Supply, proper crimping technique is the single most important mechanical skill for beaded jewelry assembly.
Post-Assembly Cleaning and Finishing
Once the necklace is assembled, it must be cleaned to remove manufacturing oils, fingerprints, and oxidation. The cleaning method you choose depends heavily on the materials used.
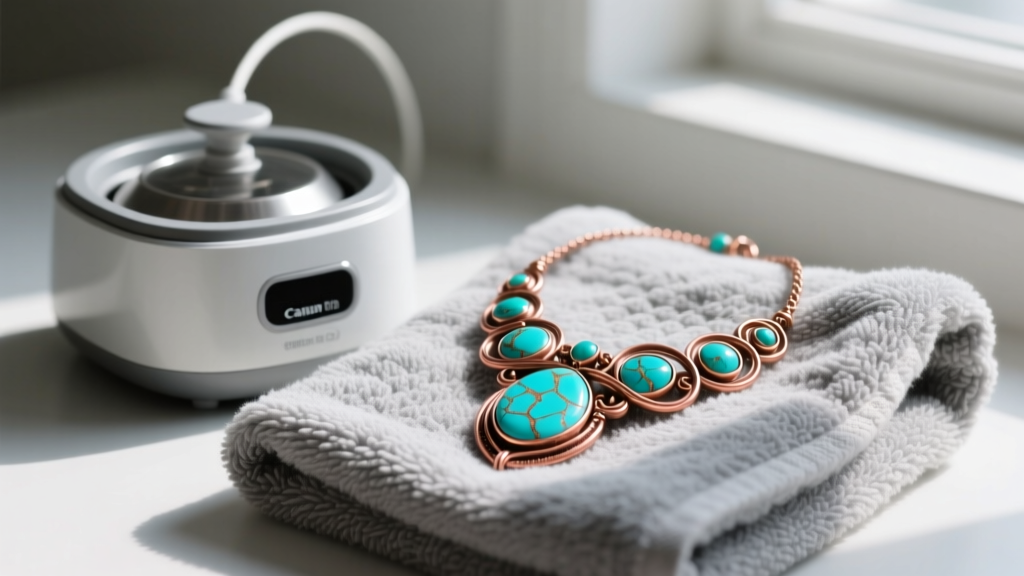
- Ultrasonic Cleaning (40kHz - 45kHz): Ideal for solid gold, platinum, and durable gemstones like diamonds and sapphires. The high-frequency sound waves create microscopic cavitation bubbles that blast away dirt from intricate chain links. Warning: Never use ultrasonic cleaners for opals, emeralds, turquoise, or pearls, as the vibrations can fracture internal inclusions or strip organic lusters.
- Chemical Pickling (Sparex No. 2 or Citric Acid): If you have soldered any components (such as a custom clasp), the metal will develop a layer of fire scale (cupric oxide). Submerging the heated necklace in a warm pickling solution (kept at roughly 140°F to 160°F in a dedicated slow cooker) dissolves the oxidation without abrasive polishing. In 2026, many eco-conscious jewelers are switching to food-grade citric acid pickles to avoid the hazardous fumes of sodium bisulfate.
- Manual Polishing: For oxidized or antiqued necklaces where dark patina is intentionally left in the recesses, use a treated polishing cloth (like a Sunshine Cloth) to gently bring a high shine only to the raised surfaces, preserving the contrast that gives the piece depth.
Educating the End-Wearer: Care Cards and Maintenance
As a creator, your responsibility extends beyond the workbench. The way a necklace is stored and maintained by the client will dictate its lifespan. Tarnish on sterling silver is a chemical reaction between the copper alloy in the silver and hydrogen sulfide in the air. To combat this, provide your clients with specific storage instructions. Recommend storing the necklace in an airtight polyethylene bag with an anti-tarnish tab (such as 3M Anti-Tarnish Strips) or a Pacific Silvercloth pouch, which absorbs sulfur gases before they reach the metal.
Furthermore, advise clients on the "Last On, First Off" rule. Necklaces should be the last item put on after applying cosmetics, perfumes, and hairsprays, and the first item removed before showering or swimming. Chlorine in pools and hot tubs is particularly destructive to the structural integrity of gold alloys and can cause stress-corrosion cracking in soldered joints, a failure mode that is entirely preventable with proper wearer education.
Conclusion
Mastering how to create a necklace is only half the battle; engineering it for longevity is what separates hobbyists from master artisans. By meticulously selecting the correct wire temper, utilizing flush saw-cut jump rings, executing flawless crimps, and employing targeted post-assembly cleaning protocols, you ensure that your jewelry survives the rigors of daily wear. When you build maintenance into the very DNA of your assembly process, you create heirlooms that stand the test of time, reducing repair requests and building immense trust with your clientele.


