How to Make a Resin-Encased M&M Necklace: Step-by-Step Guide
Learn how to craft a durable, resin-encased M&M necklace. Our step-by-step guide covers candy sealing, UV resin pouring, and chain selection.

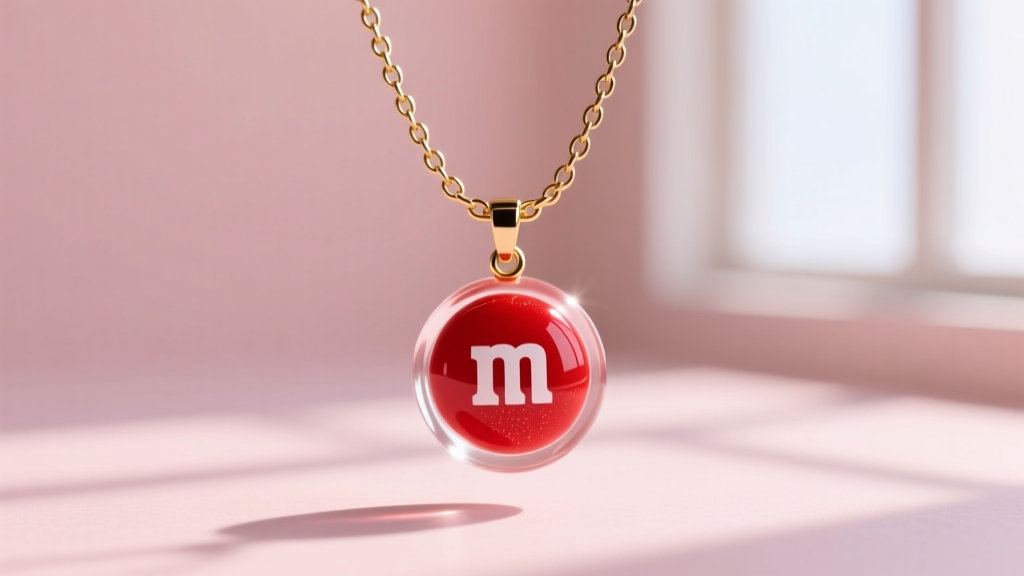
The Nostalgia and Science of Candy Jewelry
Candy jewelry evokes a deep sense of nostalgia, blending playful aesthetics with wearable art. However, crafting an m&m necklace that actually lasts requires more than just stringing sweets on a thread. Raw candy is highly susceptible to environmental factors: sugar is hygroscopic (meaning it draws in ambient moisture), and the vibrant artificial dyes used in candy shells will bleed, melt, or rot when exposed to air, skin oils, or liquid resins. To create a heirloom-quality novelty piece, we must use jewelry preservation techniques. By encasing the candy in a high-grade UV resin dome, we halt degradation, prevent color bleeding, and create a glossy, glass-like pendant that can be worn daily. This guide will walk you through the exact chemical sealing processes, resin pouring techniques, and jewelry findings required to build a professional-grade resin-encased candy necklace.
Essential Materials and Tools Checklist
Before beginning, gather the following specialized materials. Skipping the sealing step or using the wrong resin type are the most common failure points in candy preservation.
| Material | Specification | Purpose |
|---|---|---|
| Candy | Fresh, unblemished M&Ms | The core pendant subject; avoid any with micro-cracks in the shell. |
| Sealant | Krylon Triple Thick Crystal Clear | Creates a non-porous moisture barrier to prevent dye bleeding. |
| Resin | Hard-Type UV-LED Resin (e.g., Padico) | Cures quickly without the yellowing associated with some epoxies. |
| Mold | Shallow silicone bezel or dome mold | Forms the perfect cabochon shape for the pendant. |
| Bail | Sterling silver glue-on pad bail | Attaches the cured resin piece to the necklace chain securely. |
| Chain | 18-inch 1.5mm gold-filled cable chain | Provides a durable, hypoallergenic, and elegant necklace base. |
Step 1: Preparing and Sealing the Candy
This is the most critical step in the entire process. If you pour liquid resin directly onto an unsealed M&M, the chemical reaction between the resin and the sugar shell will cause the colors to bloom into a cloudy, muddy mess within hours. Furthermore, trapped moisture inside the candy will expand during the resin curing process, causing the shell to crack.
To prevent this, you must create an impermeable barrier. Place your selected M&Ms on a wire rack in a well-ventilated area. Apply a light, even coat of clear acrylic spray sealant. Allow it to dry for 20 minutes, then apply a second coat. Repeat this until you have applied at least three to four coats. The candy should look exceptionally glossy and feel completely sealed to the touch. According to preservation experts at Resin Obsession, sealing organic and porous materials is non-negotiable for maintaining color vibrancy in resin jewelry.
Step 2: Creating the Resin Base Layer
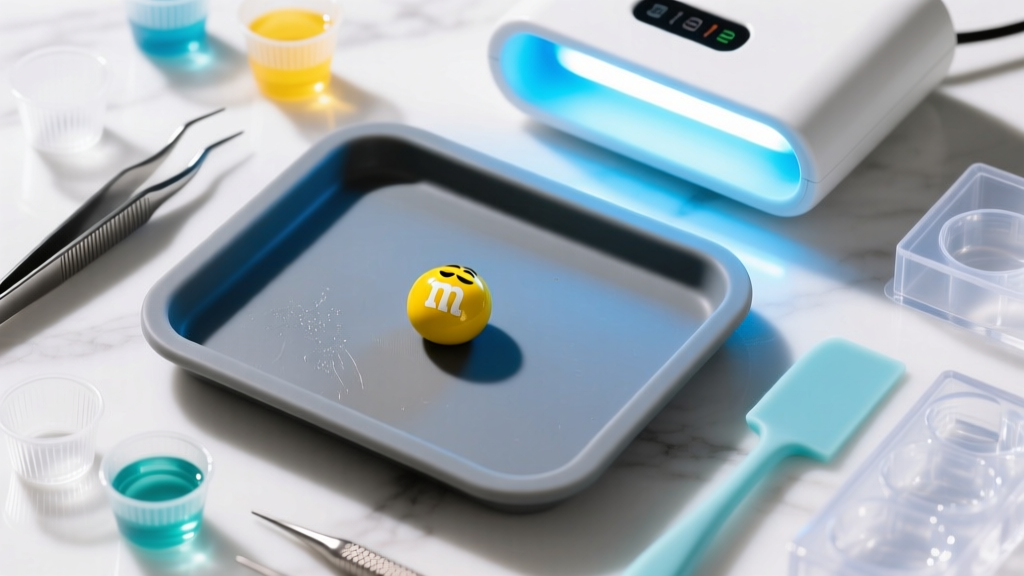
When working with silicone molds, it is best practice to create a "base layer" of resin before introducing the candy. This prevents the M&M from sticking to the bottom of the mold and ensures a smooth, glass-like finish on the back of your pendant. Squeeze a small amount of hard-type UV resin into the bottom of your silicone mold. Use a silicone stirring tool to spread it evenly into the corners. Place the mold under a 36W UV lamp for 60 seconds to partially cure the base. It should be tacky but firm enough to support the weight of the candy without it sinking to the very bottom.
Step 3: Encapsulating the M&M
Using precision tweezers, carefully place your sealed M&M face-down into the partially cured base layer. Press down very gently to ensure it adheres, but do not push so hard that you displace the base resin. Next, begin pouring your UV resin over the back of the candy. Pour slowly in a circular motion to avoid trapping large air bubbles. The resin will naturally dome over the candy due to surface tension. If you want a completely flat back, fill the resin exactly to the rim of the mold. If you prefer a domed cabochon back, slightly overfill the mold, allowing the surface tension to hold the resin in a convex shape. Use a toothpick or a specialized resin bubble-popper tool to coax any micro-bubbles to the surface, then pop them with a quick pass of a culinary torch or heat gun.
Step 4: Curing and Demolding
Place the filled mold under your UV lamp. Cure the resin in intervals: 2 minutes on, 1 minute off. This pulsing method prevents the resin from overheating, which can cause thermal shock and crack the delicate candy shell inside. After about 6 to 8 minutes of total UV exposure, the resin should be completely hard. Remove the mold from the lamp and let it rest for 5 minutes to cool to room temperature. Once cool, gently flex the silicone mold to release the resin cabochon. You will notice a slightly tacky film on the surface of the resin; this is the "inhibition layer," a natural byproduct of oxygen interfering with the surface cure. Simply wipe the pendant gently with a lint-free cloth dampened with 91% isopropyl alcohol to reveal a flawless, glass-like finish.
Step 5: Attaching the Bail and Chain
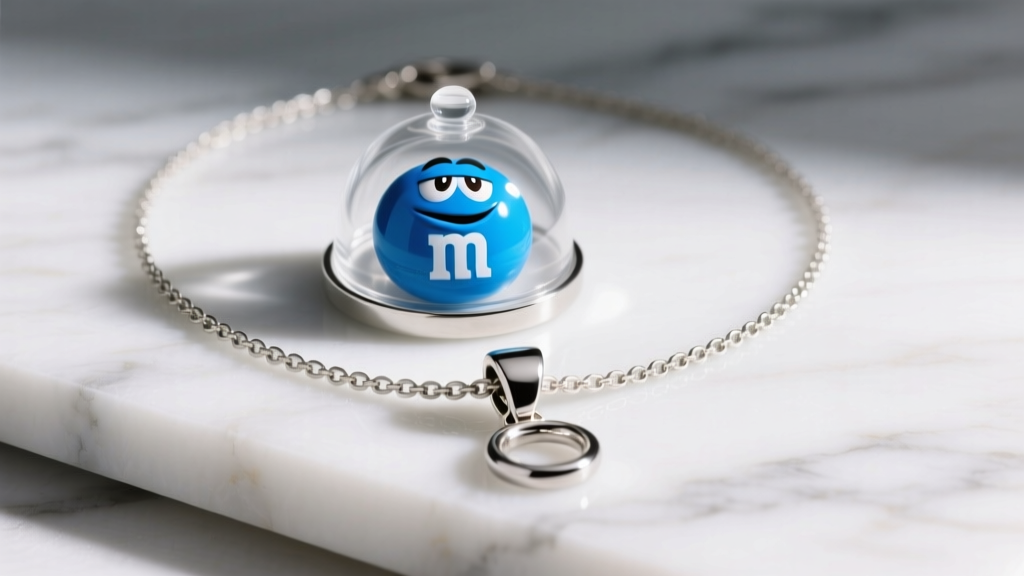
A pendant is only as good as its hardware. Because resin is relatively lightweight but the candy adds a unique density, you need a secure bail attachment. Avoid pinch bails, as they require drilling into the resin, which risks shattering the piece or cracking the candy inside. Instead, use a sterling silver glue-on pad bail. Lightly sand the flat back of the resin cabochon with 400-grit sandpaper to create a microscopic texture for the adhesive to grip. Wipe away the dust with alcohol. Apply a drop of two-part jewelry epoxy (such as E6000 or G-S Hypo Cement) to the bail pad and press it firmly onto the top center of the resin back. Allow it to cure for 24 hours.
For the chain, we recommend an 18-inch, 1.5mm cable chain made from 14k gold-filled wire. Gold-filled materials offer the longevity and hypoallergenic properties of solid gold at a fraction of the cost, elevating the playful nature of the m&m necklace into a sophisticated, everyday accessory. Use 20-gauge open jump rings to attach the chain to the bail loop, ensuring you use two pairs of chain-nose pliers to twist the jump ring open laterally rather than pulling it apart, which compromises the structural integrity of the metal. For premium findings and chain maille techniques, Fire Mountain Gems remains an industry-standard resource.
Troubleshooting Common Resin and Candy Issues
- Cloudy or Milky Resin: This is almost always caused by moisture. If your candy was not sealed with enough coats of acrylic spray, ambient humidity or internal candy moisture has leached into the resin matrix. You must start over with a freshly sealed piece.
- Candy Floating to the Top: If your M&M floats to the surface during the pour, your base layer was not cured enough, or you poured the top layer too aggressively. Always use a partially cured base layer to anchor the subject.
- Sticky Spots After Curing: Uneven mixing or insufficient UV light exposure can leave soft spots. Ensure your UV lamp is at least 36 watts and that the mold is placed directly in the center of the light array.
- Yellowing Resin: While UV resin is generally resistant to yellowing, prolonged exposure to direct, harsh sunlight over several years can cause a slight amber tint. Store your necklace in a jewelry box when not in use to preserve the pristine clarity of the dome.
Final Thoughts on Wearable Novelty
Creating a resin-encased m&m necklace bridges the gap between whimsical DIY crafts and serious jewelry fabrication. By respecting the chemical properties of both the candy and the resin, and by finishing the piece with high-quality metallic findings, you transform a simple piece of candy into a durable, conversation-starting accessory. Whether you are making this as a nostalgic gift or a quirky addition to your personal jewelry rotation, the preservation techniques outlined above will ensure your sweet pendant stands the test of time.


