How to Fold a Lei Money Necklace: Beginner's Guide
Learn how to craft a stunning lei money necklace for graduation. This beginner guide covers bill folding, ribbon selection, and assembly tips.

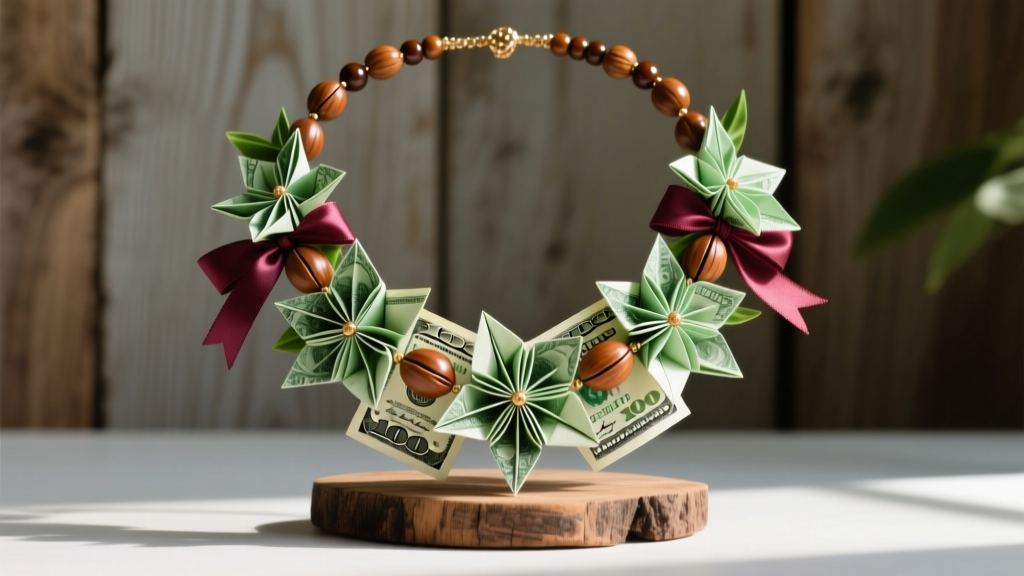
The Rise of the Lei Money Necklace
The lei money necklace has evolved from a regional Hawaiian graduation tradition into a nationwide celebration staple. As we navigate the 2026 graduation season, this intricate craft remains a top-tier gift, combining the sentimental value of a traditional lei with the practical utility of cash. However, crafting a professional-looking money lei requires more than just taping dollar bills together. It demands an understanding of currency paper dynamics, precise folding geometry, and structural ribbon math.
This beginner-friendly explainer will walk you through the exact specifications, material grades, and folding techniques required to build a durable, visually striking lei money necklace that won't fray or fall apart during the graduation ceremony.
Material Specifications: Beyond Standard Paper
The most common mistake beginners make is treating US currency like standard printer paper. According to data from the US Bureau of Engraving and Printing, American bills are not wood-pulp paper; they are a specialized 75% cotton and 25% linen blend. This fabric-like composition gives the bills a standard dimension of 2.61 by 6.14 inches and makes them highly resistant to tearing, but it also means they will fray and fuzz at the edges if punctured repeatedly by a sharp needle.
The Essential Toolkit
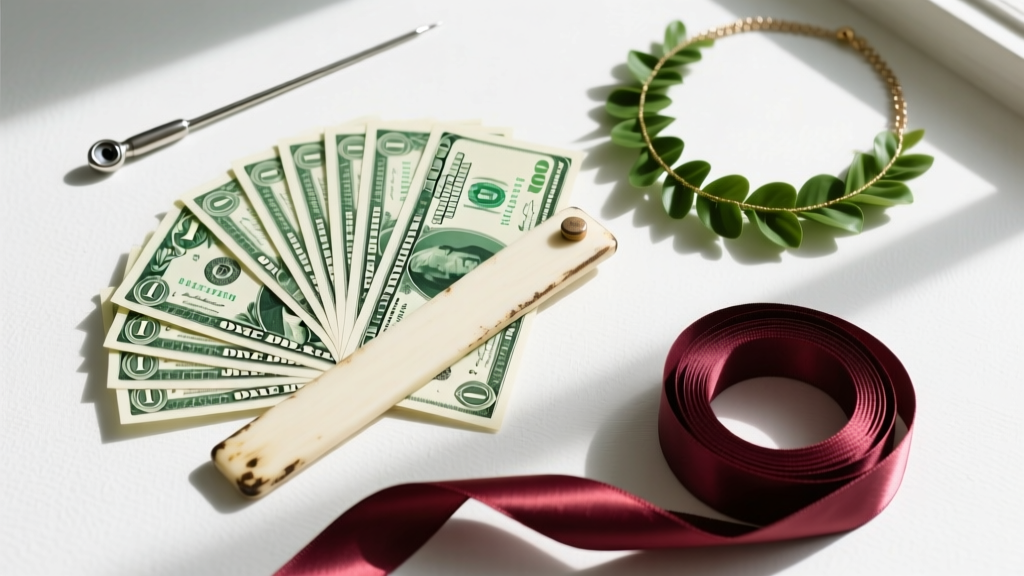
- The Currency: Request crisp, uncirculated $1, $5, or $10 bills from your local bank teller. Worn bills lack the structural rigidity needed to hold origami creases.
- The Ribbon: Use 3/8-inch to 5/8-inch wide double-faced satin ribbon. Organza is too flimsy to support the weight of 50+ bills, and single-faced satin will show ugly white undersides when the lei twists.
- The Needle: A blunt-tip tapestry needle (size 18 or 20) or a large-eye yarn needle. The eye must be wide enough to thread the 3/8-inch ribbon without forcing it, which causes friction tears in the currency.
- The Creaser: A Teflon or bone folder. As recommended by paper-folding authorities like OrigamiUSA, a bone folder ensures razor-sharp creases without transferring skin oils or dirt onto the cotton-linen blend of the bills.
Choosing Your Folding Technique
The visual density and overall weight of your lei money necklace depend entirely on your chosen fold. Below is a comparison of the three most popular techniques for beginners and intermediate crafters.
| Technique | Difficulty | Time per Bill | Visual Impact | Best For |
|---|---|---|---|---|
| Accordion Pleat | Beginner | 45 seconds | Classic, uniform ruffles | High-volume, traditional leis |
| Origami Lotus | Advanced | 4 minutes | High-end, floral geometry | Premium, smaller-bill-count leis |
| Simple Loop Bow | Novice | 20 seconds | Casual, highly voluminous | Quick, last-minute gifts |
Step-by-Step: The Classic Accordion Pleat
The accordion pleat is the gold standard for the traditional lei money necklace. It maximizes the surface area of the bill, allowing the denomination and the intricate guilloche patterns of the currency to remain visible.
- Center Alignment: Place the bill horizontally on a clean, hard surface. Use your bone folder to score a light, vertical line dead-center (at exactly 3.07 inches from either edge).
- The First Fold: Fold the bill in half vertically, aligning the edges perfectly. Crease firmly with the bone folder.
- The Accordion Z-Fold: Open the bill back up. Now, fold the left edge toward the center crease, and the right edge toward the center crease. You should now have a long, narrow strip.
- The Pleating: Starting from the bottom, fold the strip upward in 1/2-inch increments, alternating the direction of the fold (front, back, front, back) to create a tight 'Z' shape.
- The Pinch: Pinch the exact center of the pleated strip. This is where your needle and ribbon will pass through. Crucial Tip: Do not pierce the bill yet. We will thread the ribbon through the natural gaps in the pleats to avoid permanent damage to the currency.
The Ribbon Math Formula
Most beginners buy exactly two yards of ribbon for a 50-bill lei, only to realize they are a foot short when trying to tie the final bow around the graduate's neck. Because the lei money necklace is heavy, the ribbon stretches and the knots consume more material than anticipated.
Calculate Your Exact Yardage
Use this precise formula to ensure you never run out of ribbon mid-assembly:
Formula: (Number of Bills × 2.5 inches) + 30 inches (for the tying bow and neck drape) = Total Ribbon Length in inches. Divide by 36 for yards.
Example: For a standard 50-bill lei: (50 × 2.5) = 125 inches. Add 30 inches = 155 inches. Divide by 36 = 4.3 yards. Always purchase 5 yards of ribbon to account for frayed ends and cutting errors.
Assembly and Threading Mechanics
Threading the lei money necklace requires patience and a specific technique to prevent the cotton-linen fibers of the bill from splitting.

The Loop-and-Pull Method
Instead of forcing the wide satin ribbon through the eye of the needle and then pushing the needle through the bill, use a wire loop tool. Thread a thin, 24-gauge floral wire through the center pinch of your pleated bill. Create a small loop at the end of the wire, hook your satin ribbon into the loop, and gently pull the wire back through the bill, dragging the ribbon with it. This reduces friction by 80% and prevents the ribbon from bunching up and tearing the currency.
Spacing and Structural Support
If you place the folded bills directly next to one another, the lei will be stiff and inflexible. To create a fluid, draping necklace, you must introduce spacing elements. Traditionalists use polished kukui nuts or 12mm wooden beads between every 3 to 5 bills. This not only adds a beautiful color contrast but also acts as a structural stopper, preventing the bills from sliding down the ribbon and bunching at the bottom of the V-neck.
Pro Tips for a Professional 2026 Finish
- The Surgeon's Knot: When tying off the ends of your lei money necklace, a standard square knot will slip under the heavy weight of 50+ bills. Use a surgeon's knot (wrapping the ribbon around twice before pulling tight) to create a high-friction lock that will not unravel during the graduation ceremony.
- Humidity Control: Because US currency contains cotton, it will absorb ambient humidity, causing your crisp pleats to droop over time. If you are crafting the lei more than 24 hours before the event, store it in a large, airtight plastic bin with two silica gel desiccant packets to maintain the structural rigidity of the folds.
- Denomination Gradients: For a modern, high-end aesthetic, create a color gradient. Start with $1 bills (green) at the back of the neck, transition to $5 bills (red/purple) on the sides, and anchor the front center with $10 bills (orange/brown). This requires meticulous planning but results in a breathtaking, custom piece of wearable art.
Crafting a lei money necklace is a labor of love that transforms a simple cash gift into a memorable, wearable keepsake. By respecting the material properties of the currency, utilizing precise ribbon math, and employing friction-reducing threading methods, you will create a graduation gift that stands out for its craftsmanship and care.


