How to Make a Star Beaded Necklace: Step-by-Step Guide
Learn how to make a star beaded necklace using brick stitch. This step-by-step guide covers thread tension, bead sizes, and assembly techniques.

Introduction to Celestial Bead Weaving
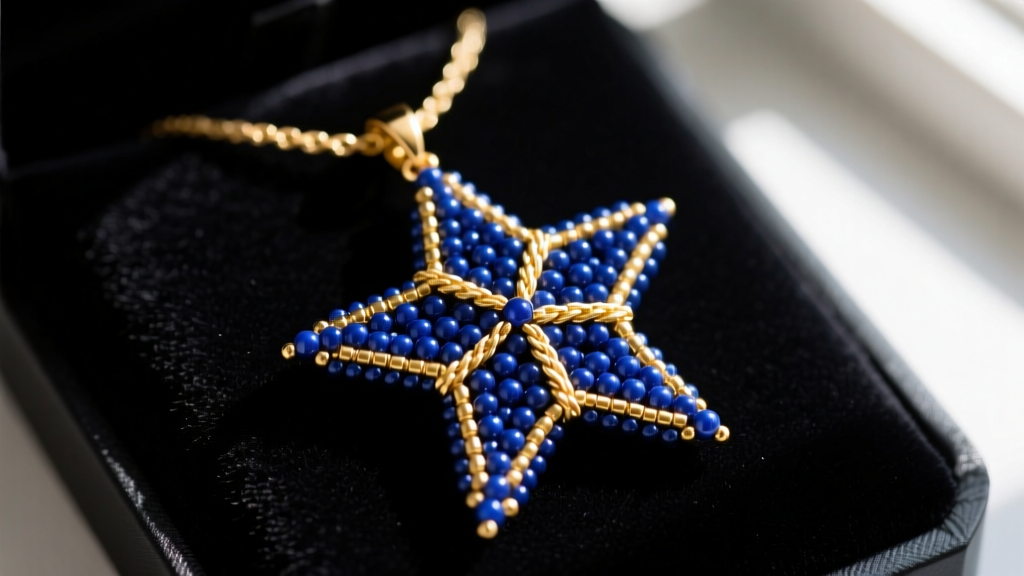
Creating geometric jewelry by hand is a rewarding pursuit that blends mathematical precision with artistic expression. If you want to make star beaded necklace designs that stand out, mastering the brick stitch technique is essential. Unlike peyote stitch, which can sometimes result in floppy or uneven geometric points, brick stitch provides a rigid, lattice-like foundation that holds sharp star points beautifully. In 2026, celestial motifs continue to dominate jewelry trends, with deep midnight blues, opaque blacks, and metallic gold finishes leading the market. This comprehensive guide will walk you through the exact materials, tension mechanics, and step-by-step weaving process required to craft a professional-grade, 6-point seed bead star pendant.
Essential Materials and Tool Specifications
To achieve a crisp, symmetrical star motif, you must use precisely calibrated materials. Substituting bead sizes or using the wrong thread weight will result in warped points and structural failure.
- Seed Beads: 11/0 Miyuki Round Rocailles. According to Miyuki's official seed bead specifications, 11/0 rounds measure approximately 1.6mm x 1.3mm with a 0.8mm hole. Avoid cylinder beads (Delicas) for the outer points, as their flat edges prevent the natural tapering required for sharp star tips.
- Beading Thread: 6lb Berkley Fireline (0.006-inch diameter). Braided polyethylene offers superior tensile strength and zero stretch, which is critical for maintaining the rigid geometry of the star points.
- Beading Needle: Size 10 Tulip or John James beading needles. A size 10 is thick enough to resist bending when pulling through tight beadwork, yet thin enough to pass through an 11/0 seed bead multiple times.
- Bail Wire: 24-gauge dead-soft sterling silver wire for wrapping a custom bail.
- Chain: 1.5mm 14k gold-filled cable chain and a 5mm sterling silver lobster clasp.
- Tools: Flush cutters, chain-nose pliers, and a bead mat. High-quality flush cutters from The Beadsmith's professional tool catalog ensure clean thread cuts without fraying.
Thread Selection Guide for Bead Weaving
Choosing the correct thread is the most common point of failure for beginners. Waxed nylon threads allow for too much stretch, causing the star to pucker. Below is a technical comparison of popular beading threads to help you understand why braided polyethylene is the industry standard for geometric bead weaving.
| Thread Brand | Material Composition | Diameter (6lb/Size B) | Stretch Factor | Best Application |
|---|---|---|---|---|
| Berkley Fireline | Braided Polyethylene | 0.006 in (0.15 mm) | Zero Stretch | Geometric shapes, star points, fringe |
| Beadalon WildFire | Thermally Fused Polyethylene | 0.006 in (0.15 mm) | Minimal Stretch | Bead weaving, loom work |
| KO Nylon | Pre-waxed Nylon | 0.005 in (0.13 mm) | Low-Medium Stretch | Peyote stitch, herringbone, drapey work |
| Miyuki Nymo (Size D) | Nylon | 0.12 mm | High Stretch | Loom weaving, bead embroidery |
Step-by-Step: Weaving the Star Motif
The star is constructed by creating a central ring and then building outward using brick stitch increases and decreases. Cut exactly 2 yards of 6lb Fireline. Thread your size 10 needle, leaving a 6-inch tail.
Step 1: The Ladder Stitch Foundation
The core of the star is a tight ring of beads. Pick up 6 beads of your primary color (e.g., midnight blue). Pass your needle through all 6 beads again to form a circle. To secure the ring and ensure the beads sit side-by-side rather than stacked, perform a 'step-up': pass through the first bead you originally picked up. Pull the tail and working thread in opposite directions to lock the tension. This central ring will serve as the anchor for your six star points.
Step 2: Building the Star Points (Increasing)
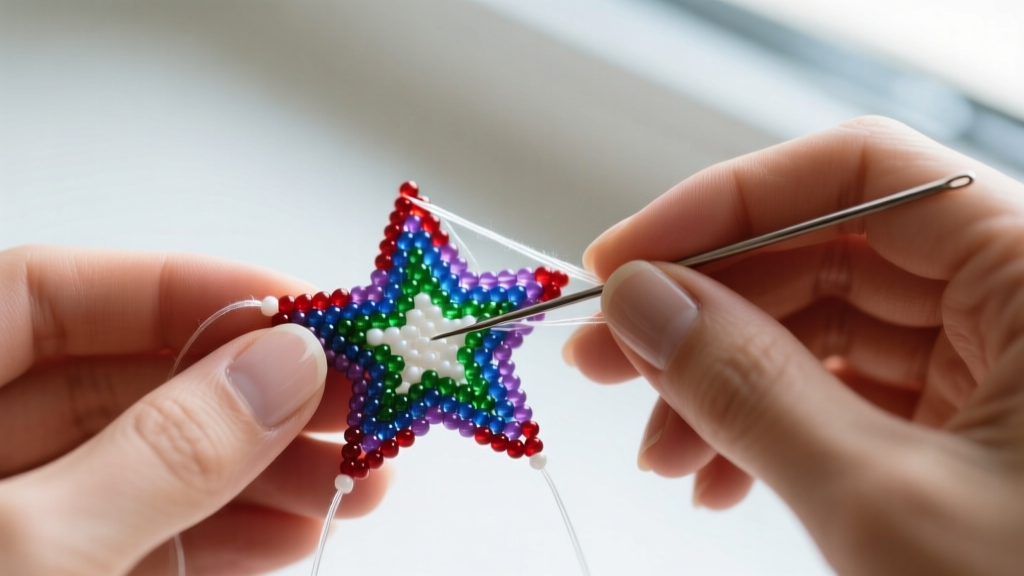
Exit the first bead of your foundation ring. Pick up two beads (one blue, one metallic gold for the tip). Pass your needle down through the second bead of the foundation ring, then back up through the gold bead you just added. This creates the classic brick stitch lock. Pull tight. The two beads should sit horizontally across the gap.
Continue this process around the entire ring, adding two-bead stacks between every foundation bead. You will create six distinct 'V' shapes radiating outward. These form the base of your star points.
Step 3: Decreasing and Shaping the Peaks
To taper the star points into sharp tips, you must decrease the bead count. Exit the top gold bead of your first 'V' shape. Pick up only ONE bead (a gold tip bead). Pass your needle down through the adjacent gold bead of the same 'V', and back up through the new single bead. Pull tightly.
Repeat this single-bead decrease for all six points. For an extra-sharp tip, add one final 15/0 seed bead or a 2mm crystal drop at the very apex of each point, securing it with a double pass of the thread. Weave your working thread back through the entire star structure, following the original thread path, to reinforce the tension. Tie off with a half-hitch knot hidden inside a bead, and trim flush.
Assembling the Star Beaded Necklace
A beaded pendant requires a secure attachment point that does not compromise the thread work. Do not simply loop chain through the beadwork, as the metal will eventually saw through the polyethylene thread.
Attaching the Bail and Chain
Cut a 3-inch piece of 24-gauge dead-soft sterling silver wire. Create a small wrapped loop at one end using your chain-nose pliers. Thread the wire carefully through the top two beads of the uppermost star point. Create a second wrapped loop at the top, securing the wire tightly against the seed beads.
Open the jump ring on your 5mm lobster clasp and attach it to one end of your 1.5mm gold-filled chain. Open the top loop of your wire-wrapped bail and slide the chain through, ensuring the pendant sits perfectly centered. Close the bail loop flush to prevent the delicate chain from slipping out during wear.
Troubleshooting Common Tension Issues
Even experienced beaders encounter structural issues when weaving complex geometry. Here is how to diagnose and fix the most common failure modes:
- Warped or Curled Points: This occurs when your working thread tension is tighter than your tail thread tension. Solution: Maintain consistent, moderate tension. Do not yank the thread; pull it smoothly until it stops naturally.
- Thread Splitting: Passing through 11/0 beads more than three times with a sharp needle will pierce and weaken the Fireline. Solution: Use a size 12 needle for the final reinforcing passes, or carefully guide the needle tip through the center of the thread bundle.
- Stiff or Brittle Drape: If the central ring feels too rigid, you may have over-tightened the foundation row. Solution: Gently massage the beadwork between your thumb and forefinger to relax the polyethylene fibers.
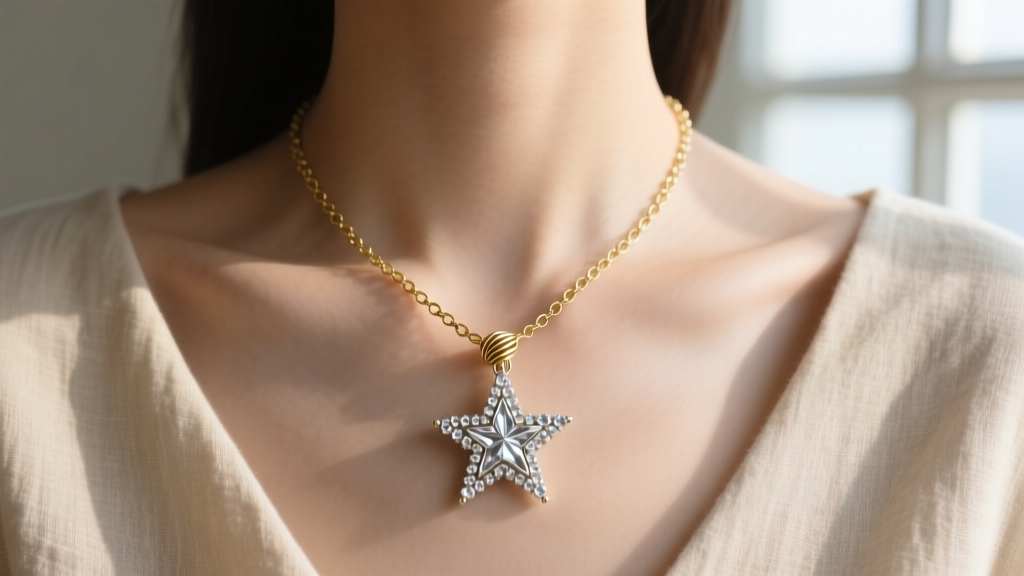
Pro-Tip for 2026 Color Palettes: To achieve the highly sought-after 'aurora' effect trending this year, mix opaque luster-lined seed beads with metallic galvanized finishes. The contrast between the matte core and the reflective outer points catches the light dynamically as the pendant moves against the collarbone.
Final Thoughts
Learning how to make star beaded necklace pendants using the brick stitch technique elevates your jewelry-making skills from basic stringing to true structural bead weaving. By adhering to strict material specifications—specifically using 11/0 rounds and zero-stretch braided thread—you ensure your celestial designs remain sharp, durable, and professionally finished. Whether you are crafting for a boutique or designing a personalized gift, mastering this geometric foundation opens the door to endless intricate patterns.


