How to Make and Style a Custom Leather Braided Necklace
Learn how to craft, knot, and style a custom leather braided necklace. Our step-by-step guide covers materials, braiding, and long-term care.

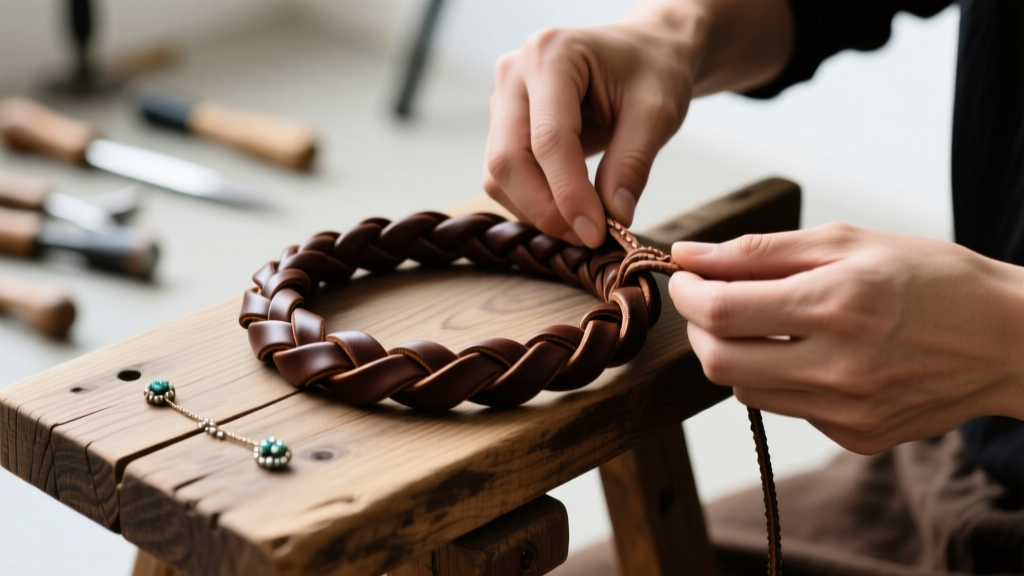
The leather braided necklace is a staple of versatile jewelry design, bridging the gap between rugged casual wear and refined bohemian elegance. Unlike mass-produced chains, a hand-braided leather cord allows for complete customization of thickness, texture, and hardware. Whether you are looking to craft a durable everyday piece or a statement layering component, mastering the art of leather braiding and assembly is a highly rewarding skill.
This comprehensive guide will walk you through selecting the proper material grades, executing a structural 4-strand round braid, and finishing your piece with professional-grade findings.
Selecting the Right Leather Cord for Your Necklace
The foundation of any exceptional leather braided necklace is the cord itself. Not all leather is created equal, and choosing the wrong tanning process or thickness can lead to premature fraying, skin irritation, or structural failure.
Vegetable-Tanned vs. Chrome-Tanned Leather
- Vegetable-Tanned (Veg-Tan): Tanned using natural tannins from tree bark. Veg-tan leather is firmer, holds a braid's shape exceptionally well, and develops a rich patina over time. It is the premier choice for tooling, stamping, and structural braiding. According to the Leather Working Group, sourcing certified veg-tan leather also ensures better environmental compliance regarding heavy metal runoff.
- Chrome-Tanned: Tanned using chromium salts. This leather is softer, more pliable, and highly water-resistant. While it doesn't hold a rigid braid as well as veg-tan, it is excellent for softer, drapey necklaces and is generally more affordable.
Cord Thickness and Gauge
Thickness dictates both the aesthetic and the functional capacity of your necklace. For a standard 4-strand braid, the individual cord thickness is critical:
- 1.0mm to 1.5mm: Yields a delicate, flexible rope. Best for lightweight pendants and subtle layering.
- 2.0mm (Standard): The industry standard for pendant necklaces. A 4-strand braid using 2.0mm cords will result in a finished diameter of roughly 5mm to 6mm, perfectly accommodating most standard sterling silver or brass bails.
- 3.0mm and above: Creates a heavy, statement-making rope. Ideal for large focal pieces, turquoise slides, or wearing solo as a choker.
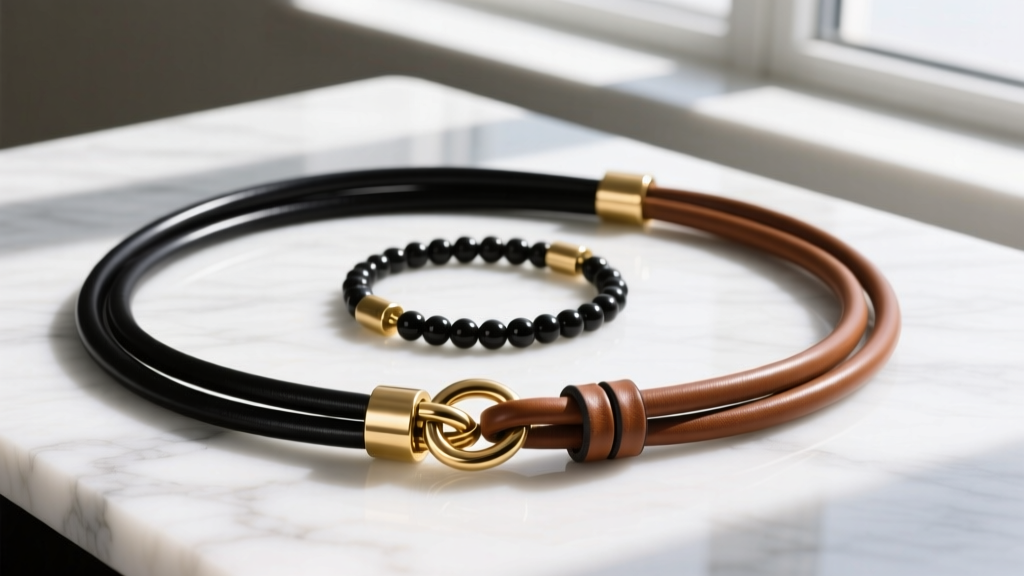
Step-by-Step: The 4-Strand Round Braid Technique
The 4-strand round braid (often called a square braid or kumihimo-style leather braid) creates a beautiful, symmetrical, cylindrical rope that is highly resistant to twisting.
Step 1: Calculate and Cut Your Cord
Braiding consumes length. A 4-strand round braid typically requires 1.5 to 1.6 times the desired finished length, depending on your tension.
The Formula: (Desired Length x 1.6) + 4 inches (for end caps and slip) = Cut Length per strand.
Example: For a 20-inch necklace, cut four strands of 2.0mm leather cord, each measuring exactly 36 inches.
Step 2: Secure the Anchor Point
Align the tops of all four strands perfectly. Secure them tightly to a stable surface using a heavy-duty binder clip or a specialized braiding clamp on a beading board. Ensure the strands are laid flat side-by-side in the order: A, B, C, D.
Step 3: The Weaving Sequence
- Outer to Inner: Take the far-left strand (A) and cross it over strand B, then under strand C, placing it in the center-right position.
- Opposite Side: Take the far-right strand (now D) and cross it over the adjacent strand, then under the next, placing it in the center-left position.
- Repeat and Tension: Continue alternating left and right outer strands. The key to a professional finish is consistent tension. Pull each strand firmly and evenly after every crossover. Uneven tension will result in a lumpy, asymmetrical rope.
Securing the Ends and Adding Findings
Once your braid reaches the desired length, wrap the end tightly with painter's tape to prevent unraveling, and snip the excess cleanly with flush cutters.
To attach the hardware, you will need cylindrical glue-in end caps (ensure the inner diameter matches your braid's outer diameter, usually 5mm or 6mm for a 2mm 4-strand braid). Apply a generous drop of E6000 Jewelry and Bead Adhesive inside the cap. Insert the leather end, twist slightly to distribute the glue, and wipe away any excess. Crucial: Allow E6000 to cure for a full 24 to 72 hours before applying any tension to the clasp. Avoid cyanoacrylate (Super Glue), as it dries brittle and will snap under the flex of leather.
Hardware and Closure Mechanisms
The closure you choose impacts both the wearability and the aesthetic of your leather braided necklace. Below is a comparison of the most effective hardware options for leather cord.
| Closure Type | Best For | Pros | Cons |
|---|---|---|---|
| Lobster Clasp & Jump Ring | Everyday wear, heavy pendants | Highly secure; easy to put on one-handed. | Requires precise soldering on jump rings to prevent snagging. |
| Sliding Macrame Knot | Adjustable lengths, bohemian styles | No metal hardware needed at the nape; fully adjustable. | Can wear down the leather over time if pulled aggressively. |
| Magnetic Tube Clasp | Accessibility, sleek modern designs | Effortless on/off; clean, continuous look. | Magnets can detach if the necklace is snagged on clothing. |
| Toggle Clasp | Thick statement braids (3mm+ cords) | Decorative; very secure when under slight tension. | Difficult to fasten one-handed; requires a longer tail to slip over. |
For detailed tutorials on attaching specific findings, Fire Mountain Gems offers an extensive library of jewelry-making techniques, including proper jump ring opening and crimping methods that protect delicate leather fibers.
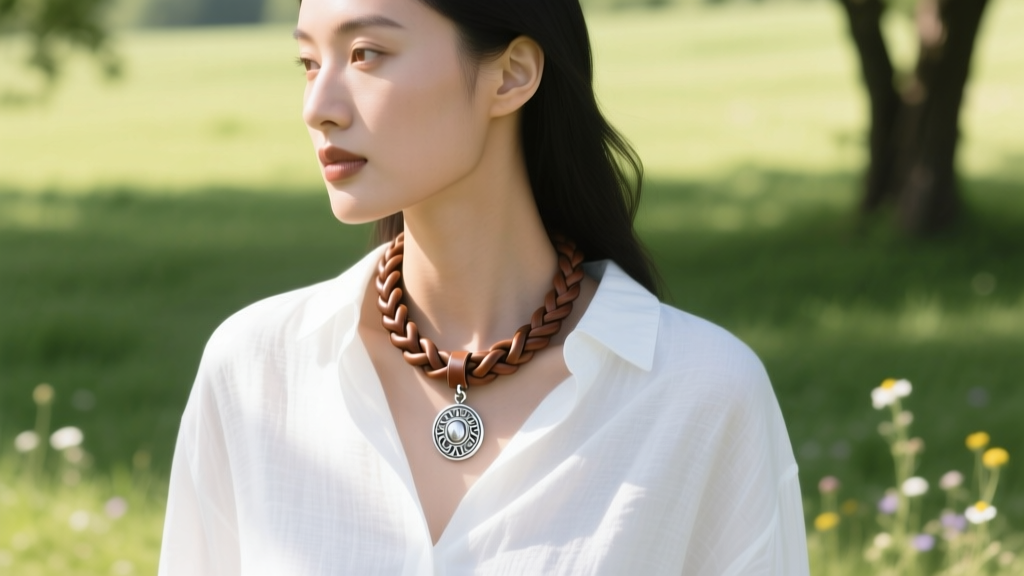
How to Style Your Leather Braided Necklace
A leather braided necklace is inherently versatile, but styling it correctly elevates it from a casual accessory to a curated fashion statement.
The Pendant Pairing Framework
When sliding a pendant onto a braided leather cord, the bail (the loop connecting the pendant to the chain) must be at least 1.5mm larger than the outer diameter of your finished braid. A 6mm braid requires a bail with a minimum 7.5mm inner opening. For heavy stones like turquoise or obsidian, ensure the bail is soldered sterling silver or solid brass to support the weight without bending.
Layering Techniques
Leather adds essential textural contrast to metal chains. Use the Rule of Thirds for layering:
1. Base Layer (16 inches): A delicate 1.0mm braided leather choker with a small bezel-set gem.
2. Mid Layer (20 inches): A standard gold or silver cable chain featuring a geometric pendant.
3. Statement Layer (24 inches): A thick, 3.0mm braided leather necklace featuring a large focal slide or tassel.
This variation in material, length, and weight prevents the necklaces from tangling and creates a visually balanced cascade.
Long-Term Care and Maintenance
Leather is an organic material that requires specific care to prevent drying, cracking, and odor retention.
- Conditioning: Every 3 to 6 months, apply a light coat of leather conditioner (such as Lexol or a pure mink oil) using a microfiber cloth. This replenishes the natural oils lost to skin contact and environmental exposure.
- Moisture Avoidance: Never shower or swim with your leather braided necklace. Prolonged water exposure strips the leather of its oils and can cause the E6000 adhesive in the end caps to degrade prematurely.
- Storage: Store the necklace flat or hanging in a cool, dry place. Avoid tightly coiling it in a small jewelry box, as leather can develop permanent creases or 'memory kinks' that ruin the symmetry of the braid.
"The beauty of a hand-braided leather cord lies in its imperfections and its ability to mold to the wearer's body heat and movement over time. Treat it like a living material, and it will age beautifully."
By mastering the 4-strand braid and selecting premium, ethically sourced materials, you can create a leather braided necklace that is not only structurally sound but uniquely tailored to your personal aesthetic. Whether crafted for your own wardrobe or as a bespoke gift, the attention to detail in the tension, adhesive curing, and hardware selection will set your piece apart from mass-market alternatives.


