How to Measure, Fit, and Style a Choke Necklace Safely
Learn how to measure, fit, and style a choke necklace safely. Our step-by-step guide covers materials, skin care, and neckline pairings.

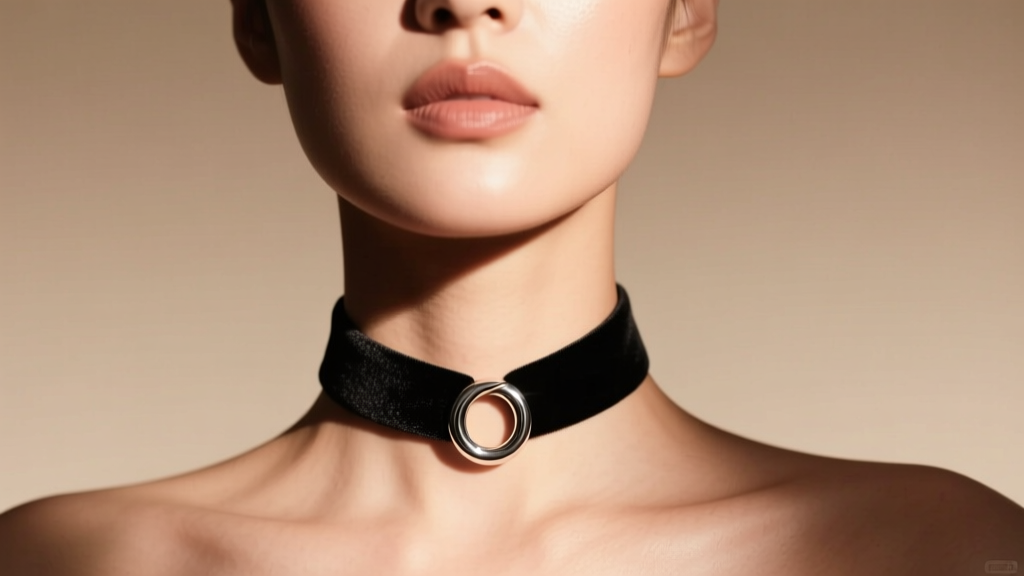
When shoppers search for a 'choke necklace,' they are typically looking for what the jewelry industry classifies as a close-fitting choker or a rigid collar. While the term might sound intimidating, it simply refers to a necklace designed to sit flush against the skin at the base of the neck. Achieving that perfect, skin-hugging silhouette without compromising comfort or safety requires precise measurement, an understanding of metallurgy, and strategic styling. Whether you are looking for a sleek titanium collar or a classic velvet ribbon, this step-by-step guide will teach you how to measure, fit, and style a choke necklace safely and elegantly.
Understanding the Anatomy of a Snug Fit
Before diving into the measuring process, it is crucial to understand the terminology and dimensions of tight-fitting necklaces. A standard necklace hangs loosely, but a choke necklace is engineered to rest precisely on the clavicle or just above it.
- Collars (12 to 13 inches): These sit tightly against the base of the throat, often mimicking the look of a shirt collar. They are rigid or semi-rigid and require exact neck measurements.
- Chokers (14 to 16 inches): These sit slightly lower, resting on the lower neck and upper chest. They offer a snug fit but allow for slightly more movement and breathing room.
The 'choke' effect occurs when a piece is sized below 14 inches without proper adjustable hardware, or when a rigid metal collar is bent to an incorrect radius. To avoid discomfort, you must account for the natural expansion of your neck when swallowing or turning your head.
Step 1: Precision Measuring for Comfort and Safety
The most common mistake buyers make is guessing their neck size based on standard t-shirt collar measurements. Jewelry requires millimeter-level precision. Follow these steps to find your exact baseline.

The Flexible Tape Method
- Stand in front of a mirror with your posture straight and your shoulders relaxed.
- Take a soft, flexible sewing tape measure and wrap it around your neck exactly where you want the necklace to sit.
- Ensure the tape is parallel to the floor and not twisted in the back.
- Slide two fingers (your index and middle finger) under the tape measure. This 'two-finger rule' guarantees enough clearance for swallowing and breathing.
- Read the measurement. If it reads 13.5 inches, your true comfortable choker size is 14 inches. Never round down when purchasing a rigid collar.
If you do not have a flexible tape measure, use a piece of non-stretch string, mark the overlap point with a pen, and measure the string against a standard ruler.
Step 2: Selecting Hypoallergenic Materials
Because a choke necklace maintains constant, high-friction contact with the skin—trapping sweat, heat, and cosmetic products—material selection is not just an aesthetic choice; it is a dermatological necessity. Cheap alloys will rapidly cause contact dermatitis when worn tightly against the pulse points.
| Material | Weight Profile | Hypoallergenic Rating | Avg. Price Range |
|---|---|---|---|
| Grade 23 Titanium (ASTM F136) | Ultra-Light | 100% Biocompatible | $45 - $150 |
| 316L Surgical Steel | Medium-Heavy | High (Contains trace nickel) | $20 - $60 |
| Solid 14k or 18k Gold | Medium | Excellent (If nickel-free alloy) | $250 - $800+ |
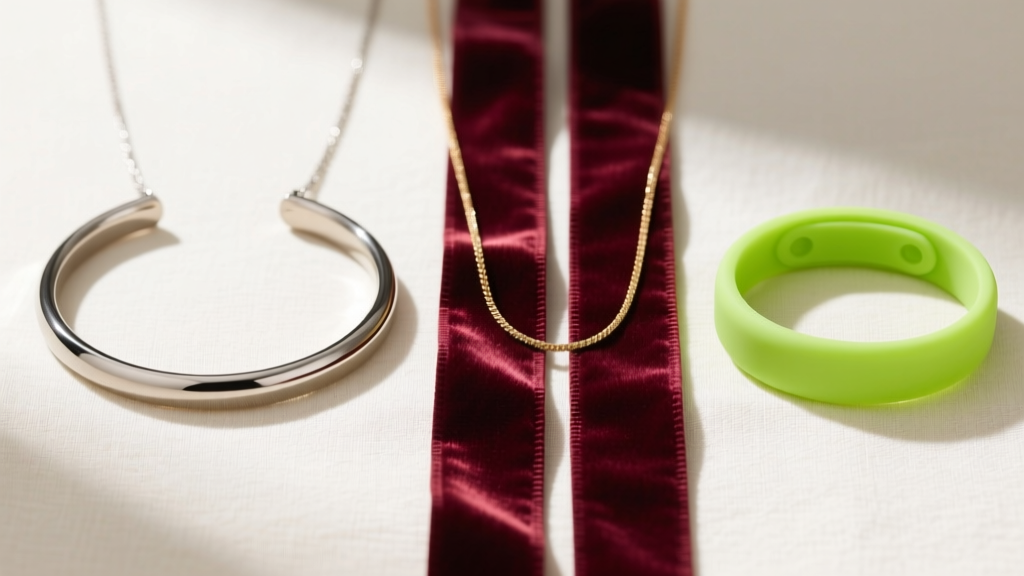
| Medical-Grade Silicone | Feather-Light | 100% Hypoallergenic | $15 - $35 |
| Velvet Ribbon | Light | Varies (Watch for chemical dyes) | $10 - $40 |
According to the American Academy of Dermatology, nickel allergy is the most common cause of allergic contact dermatitis. When buying a metal choke necklace, always verify with the manufacturer that the piece is either solid titanium, niobium, or explicitly certified as nickel-free. The Gemological Institute of America (GIA) also notes that even some white gold alloys contain nickel, so always ask for the specific alloy breakdown if you have sensitive skin.
Step 3: Choosing the Right Clasp and Hardware
The hardware on a tight-fitting necklace dictates both its security and its adjustability. A rigid metal collar might use a hidden hinge and magnetic clasp, while a velvet ribbon relies on sliding knots or lobster clasps with extender chains.
Recommended Clasps for Tight Fits
- Sliding Macrame Knots: Ideal for cords and ribbons. They allow micro-adjustments throughout the day as your neck swells slightly from heat or hydration.
- Magnetic Barrel Clasps: Excellent for rigid metal collars. Ensure the magnets are encased in 316L steel or titanium to prevent skin pinching.
- Lobster Claw with Extender: The industry standard. Always insist on a 2-inch extender chain so you can move the choke necklace up or down depending on your outfit's neckline.
Step 4: Styling for Different Necklines
A choke necklace is a bold statement piece that draws the eye directly to the face and collarbone. However, pairing it with the wrong clothing neckline can create a cluttered, restrictive look. Here is how to style it based on your wardrobe.
The V-Neck and Scoop Neck
This is the most forgiving and flattering pairing. A V-neck creates negative space that frames the tight necklace perfectly. Opt for a delicate 2mm titanium wire collar or a thin velvet ribbon with a small drop pendant. The pendant should sit exactly in the center of the 'V' without touching the fabric.
The Off-Shoulder and Boat Neck
Bare shoulders provide a wide canvas for jewelry. Here, you can experiment with wider, more substantial choke necklaces. A 10mm wide velvet band or a layered set of two thin chokers (one at 14 inches, one at 15 inches) creates a high-fashion, editorial look without competing with fabric.
What to Avoid: High Collars and Turtlenecks
Wearing a tight choker over a turtleneck or a high-collared button-down shirt creates visual friction and physical discomfort. The fabric will push the necklace upward, causing it to dig into your jawline. If you must wear a high collar, opt for a long pendant necklace instead, leaving the base of the neck bare.
Step 5: Troubleshooting Common Fit Issues
Even with perfect measurements, you may encounter practical issues when wearing a choke necklace daily. Here is how to troubleshoot them like a professional jeweler.
- The Pendant Keeps Flipping: If your necklace features a sliding pendant, it will naturally migrate to the back of your neck if the chain is too light. Solve this by adding a small silicone O-ring stopper behind the pendant, or have a jeweler solder a tiny jump ring to keep it centered.
- Skin Indentation: If you remove your necklace and see deep red lines, the band is too narrow, concentrating the pressure. Switch to a wider band (at least 4mm to 6mm) which distributes the weight over a larger surface area.
- Clasp Slipping Forward: Heavy pendants cause the chain to rotate, bringing the clasp to the front of the throat. Counterbalance this by choosing a chain with a slightly heavier gauge (e.g., 1.5mm to 2.0mm) or by attaching a small decorative counterweight tag near the clasp at the nape of the neck.
Step 6: Skin Care and Maintenance Routine
Because a choke necklace traps moisture against the skin, it requires a strict hygiene routine to prevent bacterial buildup and metal tarnishing.
- The Nightly Removal Rule: Never sleep in a tight-fitting collar. Neck swelling during sleep is common, and a rigid metal collar can become a strangulation hazard or cause severe bruising.
- Cleaning the Skin: After removing the necklace, wipe your neck with a gentle, alcohol-free toner to remove trapped sweat, perfume, and dead skin cells.
- Cleaning the Jewelry: For titanium and steel, use a few drops of mild dish soap and warm water, scrubbing gently with a baby toothbrush. For velvet ribbons, avoid water entirely; instead, use a fabric-safe antibacterial spray and let it air dry in a well-ventilated area.
By treating your choke necklace with the same care as a precision timepiece, you ensure that it remains a comfortable, safe, and striking addition to your jewelry collection for years to come. Mastering the fit is the secret to transforming a potentially uncomfortable accessory into your signature daily staple.


