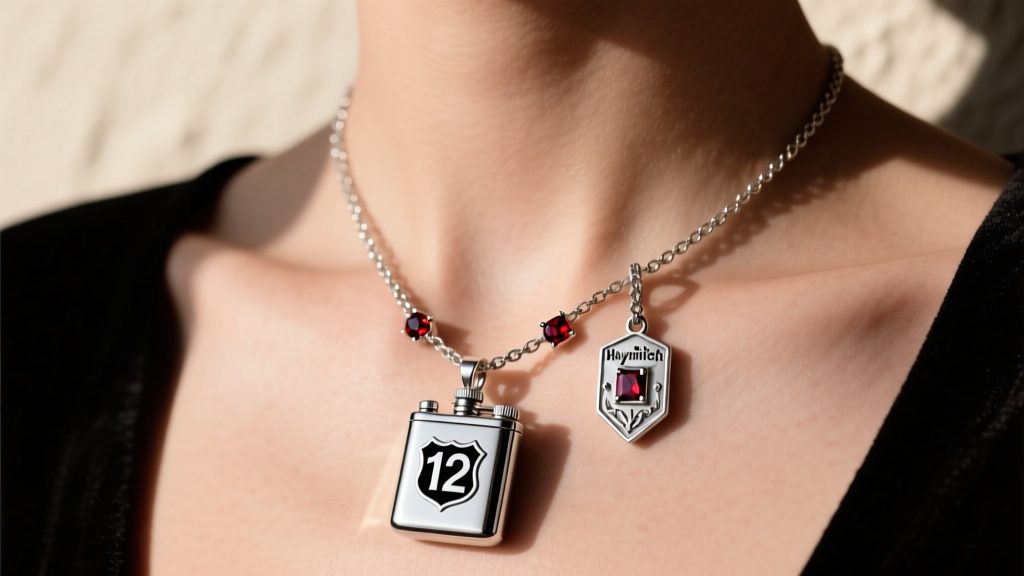
How to Put On a Necklace With Long Nails: Clasp Hacks & Trends
Master how to put on a necklace with long nails using expert clasp hacks, magnetic converters, and trend-aligned layering techniques.

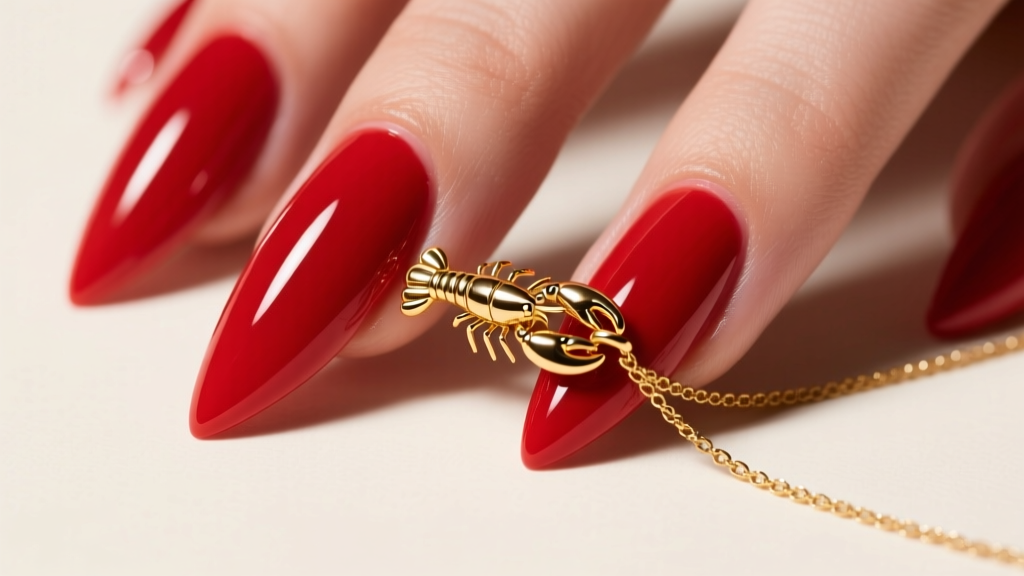
The Clash of Trends: Stiletto Nails vs. Micro-Clasps
The intersection of high-fashion nail art and fine jewelry presents a unique biomechanical challenge. As elaborate acrylic extensions—particularly coffin, stiletto, and almond shapes extending past two inches—continue to dominate beauty trends, the traditional mechanics of jewelry fasteners have failed to keep pace. Learning how to put on a necklace with long nails is no longer just about patience; it requires an understanding of clasp engineering, chain gauges, and modern jewelry hacks. A standard 5mm spring ring or lobster clasp relies on the tactile friction and lateral pinch-grip of the fleshy fingertip pad. When that pad is replaced by a rigid, tapered acrylic tip, manipulating a microscopic metal lever becomes an exercise in extreme frustration.
In this style and trend analysis, we break down the physics of jewelry fasteners, provide five actionable, expert-approved hacks for acrylic wearers, and examine how the jewelry industry is adapting its designs to accommodate the long-nail demographic.
5 Expert Hacks on How to Put On a Necklace With Long Nails
1. The Neodymium Magnetic Converter Method
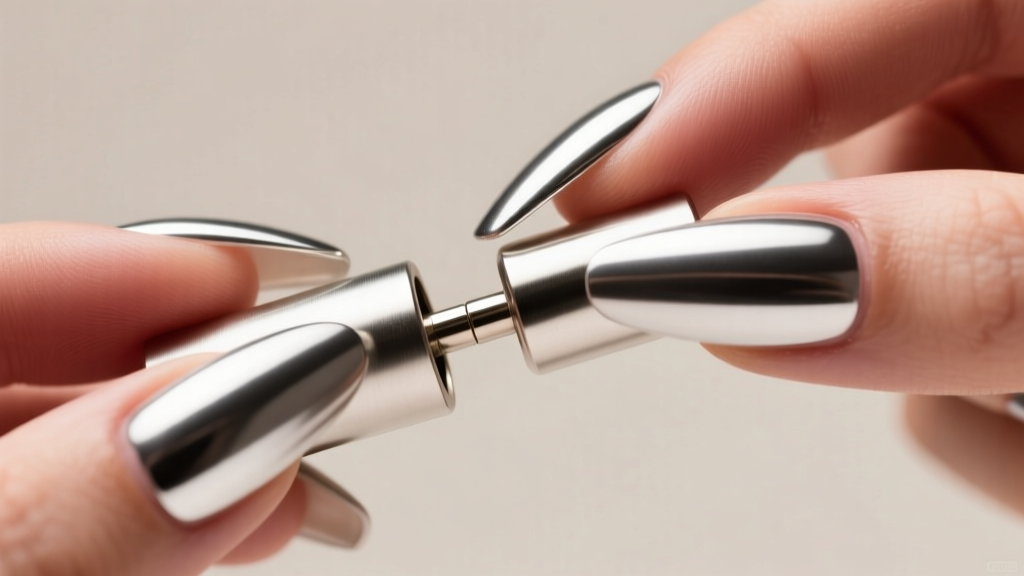
The most elegant, damage-free solution for fine chains is the magnetic converter. These are small, dual-sided adapters that permanently attach to your existing lobster or spring ring clasps, converting them into a seamless magnetic tube. For fine jewelry, look for converters housing N52-grade neodymium magnets encased in rhodium-plated brass or 14k gold vermeil. N52 is the highest commercially available grade of neodymium, providing a tensile pull force strong enough to hold a 50-gram pendant securely while allowing you to simply press the two halves together using the sides of your acrylic nails or knuckles, completely bypassing the need for a pinch-grip.
2. The Bobby Pin Anchor Technique
If you are traveling or lack specialized tools, the bobby pin trick is a backstage stylist favorite. Slide the open loop of a standard metal bobby pin over the tiny lever of a spring ring clasp and push it down to the base. This locks the clasp in the open position. You can then use the pads of your fingers or the flat surface of your nail to thread the jump ring through the open clasp without fighting the spring tension. Once the jump ring is seated, simply slide the bobby pin off, allowing the clasp to snap shut.
3. Upgrading to T-Bar Toggle Clasps
Toggle clasps consist of a T-shaped bar that flips through a circular ring. Unlike lobster clasps that require micro-precision, toggles rely on macro-movements. You can easily guide the T-bar through the ring using the sides of your index fingers or by cupping the chain in your palm. When having a chain custom-made or resized by a jeweler, request a toggle clasp upgrade. Ensure the T-bar is at least 20% wider than the inner diameter of the ring to prevent accidental slippage during wear.
4. The "Front-Clasp" Styling Trend
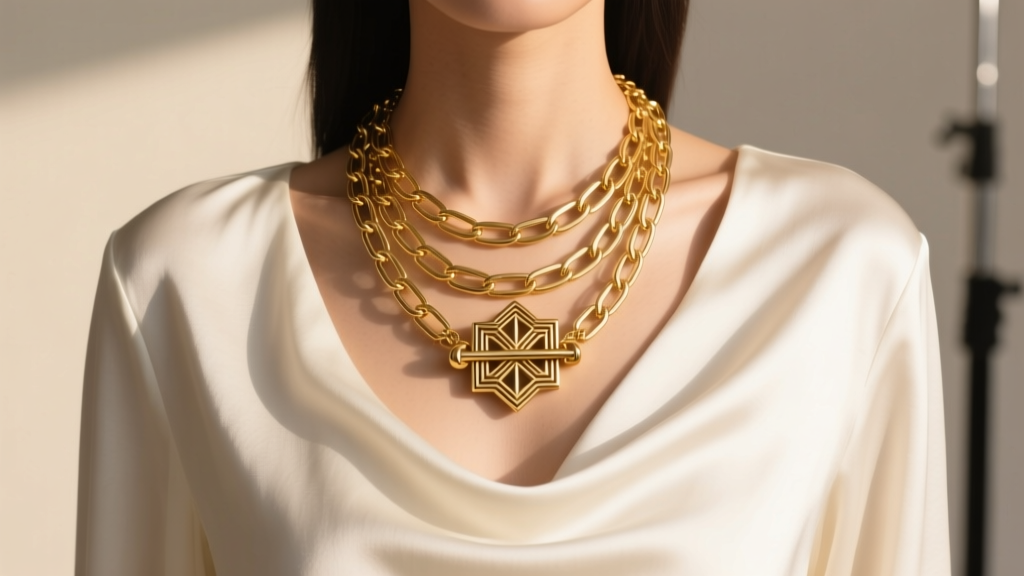
Why hide the clasp when you can make it the focal point? The front-fastening aesthetic involves moving the clasp to the center of the décolletage. By utilizing oversized, decorative box clasps or embellished toggle rings, you eliminate the need to reach behind your neck entirely. You simply drape the chain around your neck and fasten it right in front of your collarbone, where your hands have a full range of motion and visual confirmation.
5. Utilizing a Jewelry Clasping Wand
A jewelry clasping tool (often called a clasp wand or helper) is a pen-like instrument featuring a retractable metal hook at one end and a lobster clasp on the other. You hook the wand onto one end of your necklace, drape it around your neck, and pull the wand to the front. This gives you a large, easy-to-grip handle to stabilize the chain while you use your other hand to connect the opposing clasp, completely neutralizing the disadvantage of long nails.
Clasp Comparison Chart: Long Nail Friendliness
Not all fasteners are created equal when you are sporting fresh acrylics. Below is a structural analysis of common clasp types and their viability for long-nail wearers.
| Clasp Type | Nail Friendliness (1-5) | Best Chain Gauge | Modification Cost |
|---|---|---|---|
| Spring Ring | 1 (Very Difficult) | 0.8mm - 1.2mm | $15 - $25 (Replace) |
| Standard Lobster | 2 (Difficult) | 1.2mm - 2.0mm | $10 - $20 (Magnet Adapter) |
| Box Clasp with Safety | 3 (Moderate) | 2.5mm - 4.0mm | $45 - $80 (Solder) |
| T-Bar Toggle | 4 (Easy) | 1.5mm - 3.0mm | $20 - $40 (Replace) |
| Magnetic Tube | 5 (Effortless) | 1.0mm - 2.5mm | $25 - $60 (Add-on) |
Trend Analysis: Designing for the Extension Era
As Vogue and other fashion authorities have noted, the nail-art boom is actively influencing jewelry manufacturing. In 2026, we are seeing a massive surge in adjustable slider chains and lariat styles that require zero clasps. Slider chains utilize a silicone-lined silicone or micro-pave bead that grips the chain via friction; you simply pull the chain through the bead with a closed fist to tighten or loosen the necklace. Lariat necklaces, which thread through a stationary jump ring or feature a weighted tassel that pulls the chain taut via gravity, are also seeing a renaissance among demographics that prioritize elaborate nail extensions. Jewelers are recognizing that accessibility is just as crucial as aesthetics.
Chain Gauge & Tangle Prevention for Acrylic Wearers
When figuring out how to put on a necklace with long nails, the chain itself is often the culprit of frustration. Ultra-fine chains (0.8mm to 1.0mm) are notoriously prone to micro-tangling. When you cannot use your fingernails to delicately pick apart a knot, a tangled 0.9mm box chain can easily snap under the pressure of clumsy, acrylic-tipped fingers.
According to findings data from wholesale jewelry suppliers like Rio Grande, chains with a gauge between 1.5mm and 3.0mm offer the ideal balance of elegance and structural independence. Paperclip chains, rope chains, and medium-weight Cuban links have enough physical mass to drape heavily, resist knotting, and separate easily when laid on a flat surface. If you prefer the look of a delicate chain, opt for a 1.2mm to 1.5mm cable chain rather than a box or herringbone chain, as the open links of a cable chain are far less likely to fold in on themselves and create microscopic snags.
Conclusion
Having long nails should not preclude you from enjoying your favorite pendants and layered chains. By abandoning stubborn micro-clasps in favor of N52 magnetic converters, toggle upgrades, and front-fastening aesthetics, you can seamlessly merge high-maintenance nail art with fine jewelry wearability. Adapt your tools, upgrade your findings, and let your style shine without the backstage struggle.