Taylor Swift Initial Necklace: Troubleshooting Tarnish & Breaks
Is your Taylor Swift initial necklace turning green or breaking? Learn expert troubleshooting for tarnish, fragile chains, and clasp failures.

The Allure and the Agony of Fandom Jewelry
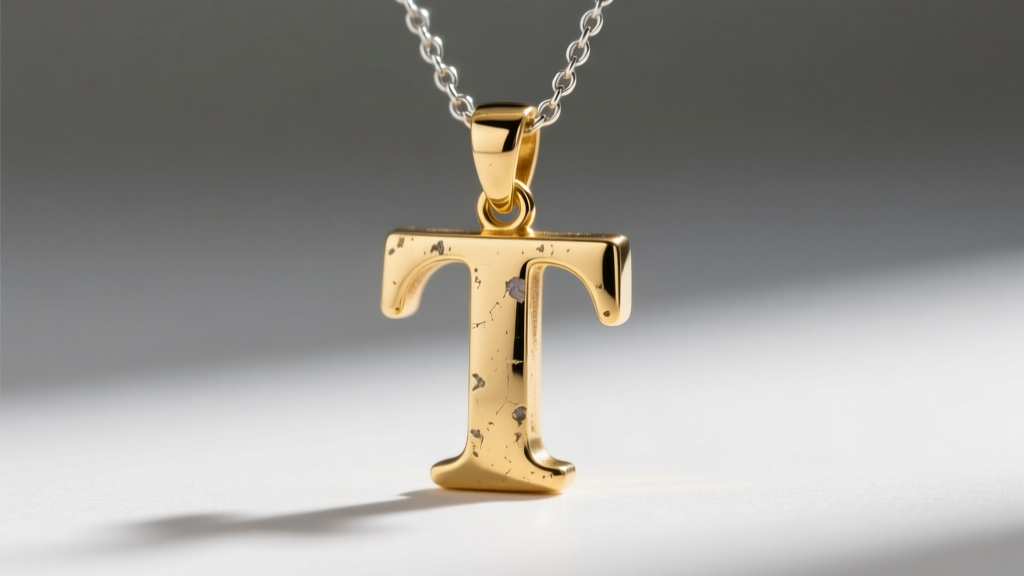
The cultural phenomenon surrounding the Eras Tour sparked a massive surge in personalized fandom jewelry, with the Taylor Swift initial necklace becoming a staple accessory for fans worldwide. Whether featuring a subtle "T", an elegant "S", or a stacked "TS" monogram, these pendants are deeply sentimental. However, a frustrating problem frequently arises: many of these necklaces are manufactured using fast-fashion supply chains or independent dropshippers, prioritizing low upfront costs over metallurgical longevity. Within months, owners often face a trifecta of jewelry failures: severe skin discoloration, fragile chain snapping, and clasp malfunctions. As jewelry experts, we understand that sentimental value cannot be measured in karats. This comprehensive troubleshooting guide will help you diagnose, repair, and ultimately salvage your favorite initial pendant, transforming a failing fashion piece into a lasting keepsake.
Diagnosing the Anatomy of Your Necklace
Before attempting any repairs or chemical cleaning, you must accurately identify the base metal and plating technique of your specific Taylor Swift initial necklace. The failure modes of jewelry are entirely dictated by its material composition. According to the Gemological Institute of America (GIA), understanding metal alloys is the first step in preventing contact dermatitis and structural degradation.
Flash Plating vs. PVD Coating
Most budget-friendly initial pendants are cast in brass or a zinc alloy and subjected to "flash plating." This electrochemical process deposits a microscopic layer of gold—typically between 0.1 and 0.5 microns thick. At this thickness, the natural friction of resting against your collarbone will wear through the gold layer in as little as three to six months, exposing the reactive base metal beneath. Conversely, mid-tier jewelers may use Physical Vapor Deposition (PVD). PVD bonds a layer of titanium nitride to the base metal in a vacuum chamber, creating a coating up to 2.5 microns thick that is highly resistant to sweat and friction. If your pendant has maintained its color but the chain has not, you are likely dealing with a mixed-material set where the pendant is PVD-coated stainless steel, but the chain is flash-plated brass.
Troubleshooting Chain Snaps and Clasp Failures
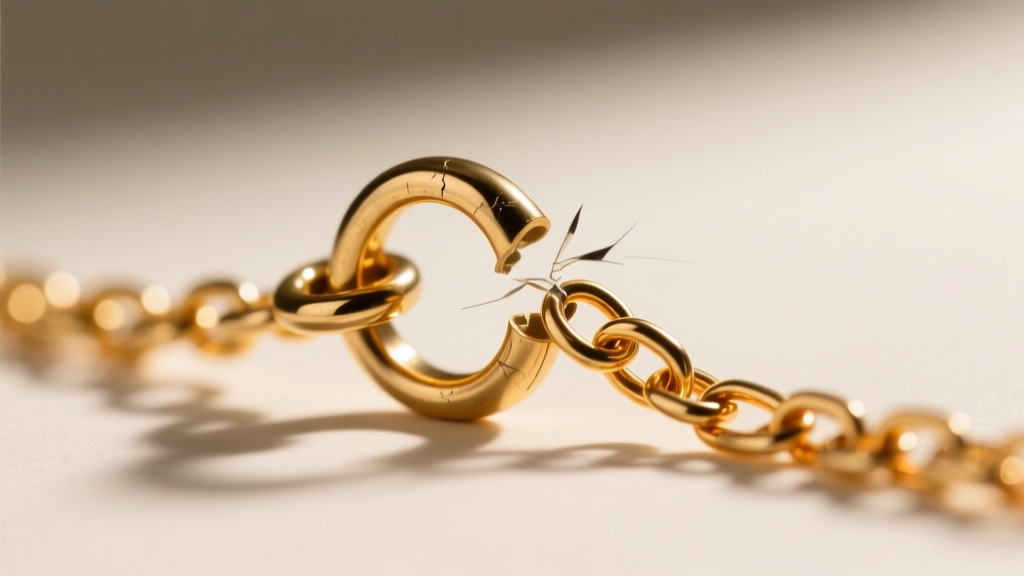
The most common structural failure in a delicate Taylor Swift initial necklace occurs at the chain links or the clasp mechanism. These necklaces typically utilize a standard cable chain measuring between 0.8mm and 1.0mm in width. While dainty and aesthetically pleasing, chains under 1.2mm are highly susceptible to tensile stress.
The Spring Ring vs. Lobster Claw Dilemma
If your necklace constantly slips off, examine the clasp. Budget manufacturers almost exclusively use 10mm or 12mm hollow brass spring ring clasps. The internal tension spring in these clasps is notorious for weakening after repeated use, preventing the tiny lever from fully retracting and closing the gap. Furthermore, the soldered joint on a cheap spring ring is often a structural weak point. The Fix: You do not need to replace the entire chain. Visit a local bench jeweler and request a clasp swap. Upgrading to a solid 14k gold-filled or sterling silver 5mm lobster claw clasp will cost between $15 and $30, but it provides a secure, locking mechanism that will not fail under minor tension.
Repairing a Snapped Cable Chain
When a 0.8mm brass chain snaps, do not attempt to use superglue or household adhesives; they will leave a cloudy residue and fail within hours. Traditional jewelers use a micro-torch and silver solder to repair chains. However, applying an open flame to a flash-plated brass chain will instantly vaporize the zinc in the alloy, melting the link into a useless blob and burning off the gold plating. The Expert Solution: The chain must be repaired using a laser welder. Laser welding uses concentrated pulses of light to fuse the exact point of contact without transferring heat to the surrounding links or damaging the plating. Expect to pay $40 to $65 for a laser weld. If the necklace cost less than $20 originally, it is more economical to transfer the pendant to a new chain (detailed below).
Solving the "Green Skin" and Tarnish Problem
There is nothing more alarming than removing your necklace to find a dark green or black ring around your neck. This is not an allergic reaction; it is a chemical oxidation process. The base metal in most affordable initial pendants is brass, an alloy composed primarily of copper and zinc. When the microscopic gold plating wears thin, the copper reacts with the lactic acid, salts, and oils in your sweat to create copper chloride—a green compound that transfers directly to your skin.
| Base Metal | Plating Type | Average Lifespan | Tarnish & Oxidation Risk |
|---|---|---|---|
| Brass / Copper Alloy | Flash Gold (0.1μm) | 1 - 3 Months | High (Causes Green Skin) |
| Stainless Steel 316L | PVD Gold (2.0μm) | 1 - 3 Years | Very Low (Hypoallergenic) |
| Sterling Silver 925 | Rhodium Flash | 6 - 12 Months | Medium (Silver Sulfide Tarnish) |
| Solid 14k Gold | None (Solid Alloy) | Lifetime | None (Will not turn skin green) |
How to Stop the Oxidation
If your pendant is actively turning your skin green, you must create a physical barrier between the metal and your skin. While some online hacks suggest painting the back of the pendant with clear nail polish, this is a temporary and messy fix that will eventually peel and trap moisture against the metal, accelerating corrosion. The professional troubleshooting method is to apply a micro-crystalline wax, such as Renaissance Wax. Apply a tiny amount with a microfiber cloth, let it dry for 15 minutes, and buff it gently. This museum-grade wax will seal the porous brass and prevent sweat penetration for several months.
When to Repair vs. When to Upgrade the Chain
Sentimental attachment to a Taylor Swift initial necklace often lies entirely in the pendant itself. If the brass chain is beyond repair, suffering from multiple stretched links and widespread plating loss, it is time to perform a pendant transplant. Upgrading the chain elevates the entire piece from disposable fashion jewelry to a permanent wardrobe staple.
The Pendant Transplant Procedure
- Remove the Pendant: Locate the jump ring (the small circular loop connecting the pendant to the chain). Using a pair of jewelry flush cutters or two sets of flat-nose pliers, gently twist the jump ring open laterally. Never pull it apart outward, as this will warp the circle and weaken the metal.
- Select a New Chain: For daily wear, abandon the 0.8mm cable chain. Opt for a 1.2mm to 1.5mm solid 14k gold or sterling silver box chain or rope chain. These link structures distribute tensile stress evenly and are virtually impossible to snap under normal wear conditions.
- Reattach with a Heavy-Duty Jump Ring: Thread the pendant onto the new chain and secure it using a 20-gauge (0.8mm thick) solid soldered jump ring. Ensure the jump ring is fully closed with no visible gap to prevent the pendant from slipping off.
By investing $80 to $150 in a high-quality solid chain, you preserve the emotional value of the initial pendant while entirely eliminating the risk of chain breakage and neck tarnish.
Expert Maintenance Routine for Longevity
Proactive care is the ultimate troubleshooting tool. The Jewelers of America emphasizes that environmental factors degrade plated jewelry faster than physical friction. To maximize the lifespan of your initial necklace, adopt this strict maintenance protocol:
- The "Last On, First Off" Rule: Always put your necklace on after applying perfumes, lotions, and hairspray. The alcohols and volatile organic compounds in cosmetics will rapidly strip flash plating and dull PVD coatings.
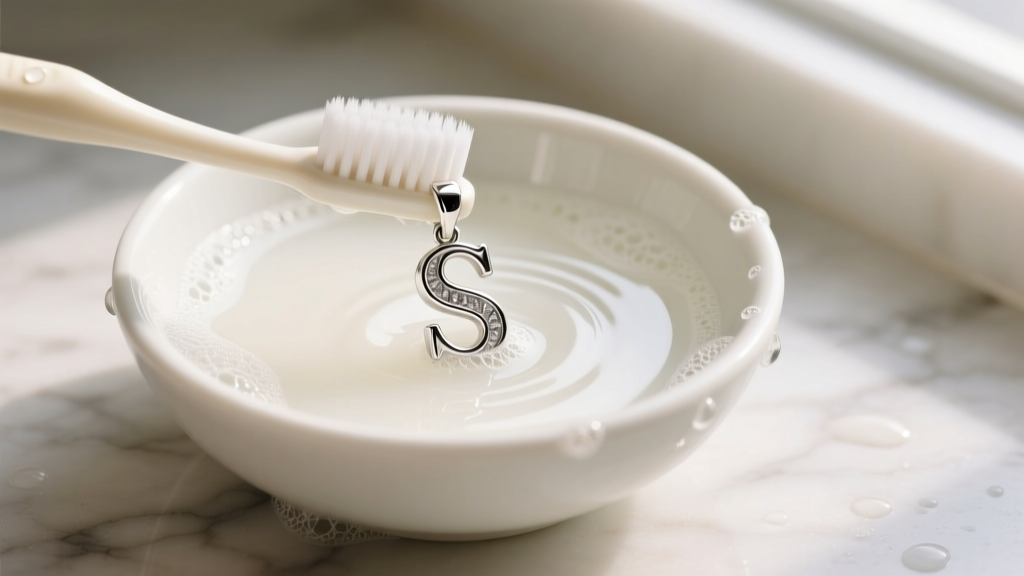
- Neutral pH Cleaning: Never use commercial silver dips or ultrasonic cleaners on plated brass or PVD steel; the harsh chemicals will strip the finish instantly. Instead, use a few drops of phosphate-free dish soap (like Dawn) in lukewarm water. Gently agitate with a baby toothbrush, rinse thoroughly, and pat completely dry with a lint-free cloth.
- Micro-Climate Storage: Humidity is the catalyst for oxidation. Do not leave your necklace on a bathroom counter. Store it in an airtight ziplock bag with a 3M anti-tarnish strip or a small silica gel desiccant packet. This removes ambient moisture and sulfur compounds from the air, effectively pausing the tarnishing process.
By understanding the metallurgical realities of your jewelry and applying these targeted troubleshooting techniques, your favorite initial pendant can remain a pristine, unbroken symbol of your fandom for years to come.


