How to Restore a Vintage Barbie Pearl Necklace Safely
Learn how to safely clean, restring, and repair a vintage Barbie pearl necklace. Expert troubleshooting for yellowing beads and degraded threads.

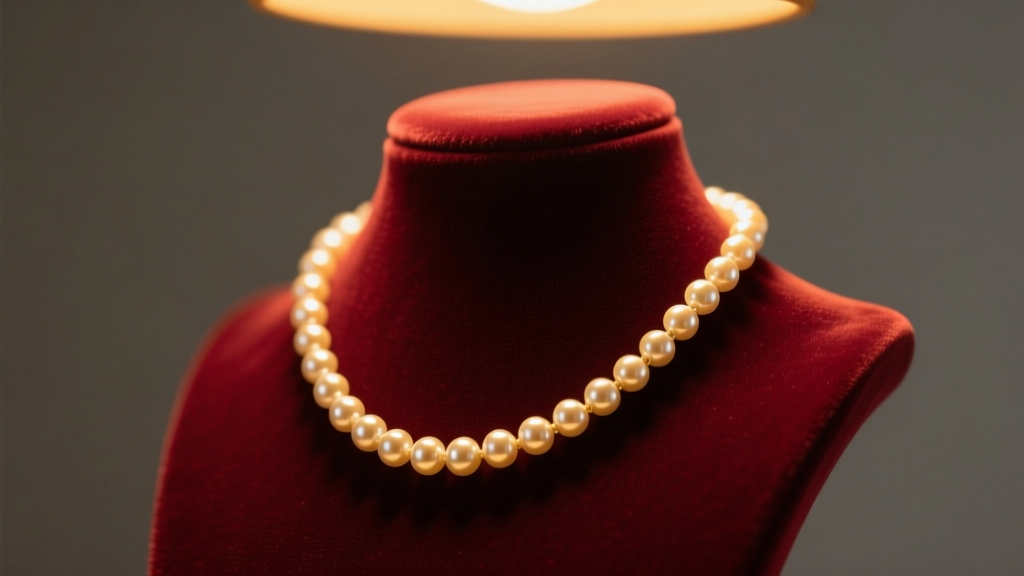
The Nostalgia and Reality of Vintage Barbie Jewelry
For collectors and restoration enthusiasts, few accessories evoke as much nostalgia as a vintage Barbie pearl necklace. Whether it is the iconic strand from the groundbreaking 1988 Holiday Barbie, the chunky chokers from the 1990s Fashion Avenue sets, or the delicate layers from the 1992 Totally Hair era, these pieces are miniature time capsules. However, after three or four decades in storage, these necklaces rarely survive in pristine condition. The materials used by Mattel in the 1980s and 1990s were designed for play and short-term display, not multi-generational archival preservation.
As a jewelry restoration specialist, I frequently encounter vintage Barbie pearl necklaces suffering from severe elastic dry rot, yellowing faux pearls, and oxidized base-metal clasps. Restoring these miniature masterpieces requires a delicate touch and an understanding of mid-century synthetic materials. In this comprehensive troubleshooting guide, we will break down the exact chemistry of vintage faux pearls, diagnose common failure modes, and provide a step-by-step framework for restringing and hardware replacement to bring your vintage Barbie pearl necklace back to its original glory.
Diagnosing Common Vintage Necklace Failures
Before picking up a pair of pliers, you must accurately diagnose the degradation. Vintage Mattel necklaces typically fail in three distinct ways:
- Thread and Elastic Rot: Pre-2000s Barbie necklaces were often strung on cotton-polyester blends or early-generation polyurethane elastics. These materials absorb ambient humidity and skin oils, leading to dry rot, snapping, and a permanent sagging drape.
- Pearlescent Coating Delamination: The "pearls" are not glass or cultured nacre; they are typically ABS plastic or lightweight glass beads dipped in a synthetic pearl essence (often titanium dioxide suspended in an acrylic binder). If this coating is peeling, it is usually due to UV exposure or contact with harsh chemicals.
- Clasp Oxidation: The original 6mm spring rings were made from base metal alloys (often brass or nickel) with a microscopically thin gold or silver wash. Over time, this plating wears off, and the underlying metal oxidizes, turning green or seizing up entirely.
The Chemistry of Faux Pearl Lacquer: What NOT to Do
The most common mistake collectors make when cleaning a vintage Barbie pearl necklace is treating it like fine jewelry. According to the Gemological Institute of America (GIA), cultured pearls require specific pH-balanced care, but vintage faux pearls require an entirely different approach. The acrylic binders holding the pearlescent mica or titanium dioxide to the plastic bead are highly volatile.
If you use isopropyl alcohol, acetone, or commercial silver dips, you will instantly dissolve the binder. The result is a dull, matte plastic bead stripped of its luster. Furthermore, ultrasonic cleaners will vibrate the coating right off the bead. You must treat the surface as a delicate, water-soluble lacquer.
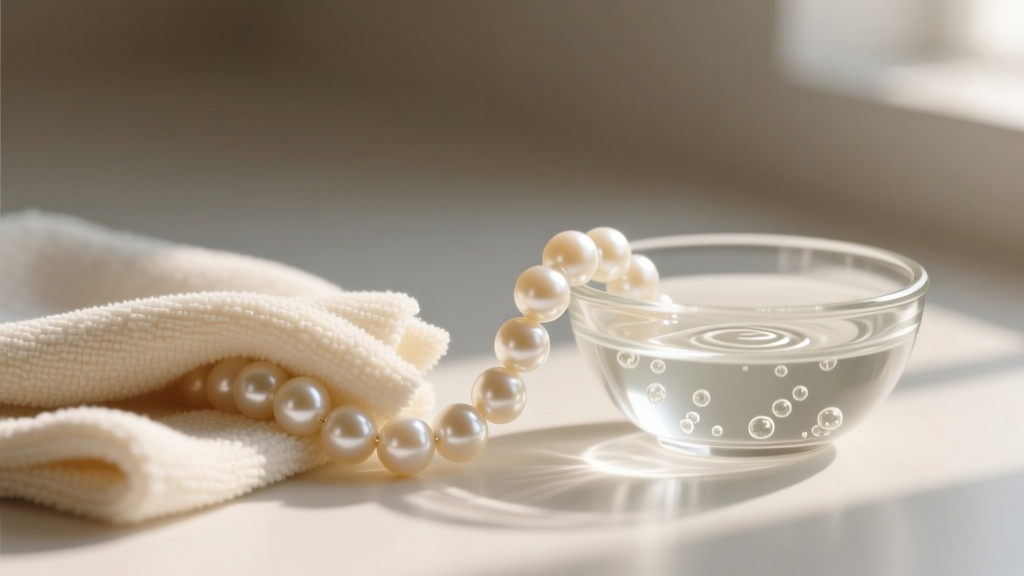
Safe Cleaning Protocol and Agent Comparison
To safely remove decades of dust and display grime, you must use a neutral, non-solvent cleaning method. Below is a troubleshooting table detailing which cleaning agents are safe for your vintage Barbie pearl necklace and which will cause irreversible damage.
| Cleaning Agent | Chemical Profile | Effect on Vintage Faux Pearls | Verdict |
|---|---|---|---|
| Isopropyl Alcohol (70%+) | Solvent | Dissolves acrylic binder; strips luster instantly. | NEVER USE |
| Acetone / Nail Polish Remover | Strong Solvent | Melts ABS plastic bead and coating. | NEVER USE |
| Ultrasonic Jewelry Cleaner | High-Frequency Vibration | Causes micro-fractures and coating delamination. | NEVER USE |
| Mild Dish Soap (e.g., Dawn) | Neutral Surfactant | Lifts oils and dust without harming the lacquer. | SAFE |
| Distilled Water | Neutral H2O | Safe for rinsing; prevents mineral deposits. | SAFE |
The Cleaning Method: Mix one drop of mild, lotion-free dish soap into a cup of lukewarm distilled water. Dampen a lint-free microfiber cloth in the solution (do not submerge the necklace, as water can get trapped in the bead holes and rot the new thread later). Gently wipe each pearl individually, then dry immediately with a separate soft cloth.
Restringing: Choosing the Right Thread and Tension
Once the beads are clean and dry, the most critical phase of restoring a vintage Barbie pearl necklace is restringing. The original bead holes are notoriously inconsistent, usually ranging from 1.0mm to 1.5mm in diameter. You need a stringing material that offers high tensile strength but is thin enough to pass through the smallest holes multiple times to secure the clasp.
According to the stringing material experts at Fire Mountain Gems, matching the cord to the bead weight and hole size is paramount for longevity. Here are the two best options for vintage Barbie restoration:
Option 1: 0.8mm Clear Polyurethane Elastic (Stretch Magic)
If the original necklace was a slip-on choker without a clasp, it was strung on elastic. Modern 0.8mm clear polyurethane elastic is vastly superior to the 1980s cotton-rubber blends. It fits perfectly through a 1.0mm hole, stretches to accommodate the doll's neck, and resists dry rot. To finish, tie a surgeon's knot, apply a microscopic drop of G-S Hypo Cement to the knot, and pull the knot inside the adjacent pearl bead to hide it.
Option 2: Size D Nylon Beading Thread (Nymo)
If the necklace features a metal clasp, do not use elastic. Elastic sags over time when anchored to rigid metal hardware. Instead, use Size D nylon beading thread paired with a #10 English beading needle. Nylon offers zero stretch, ensuring the necklace drapes elegantly and maintains its original structural geometry. Always double the thread for added security, and use a French knot finish at the clasp jump rings.
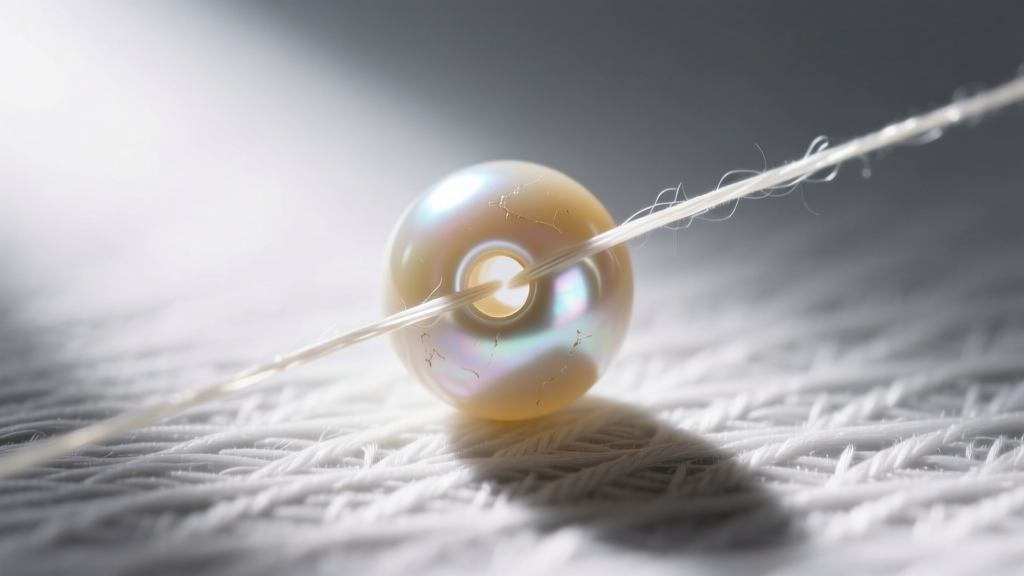
Upgrading the Clasp and Hardware
If your vintage Barbie pearl necklace originally featured a clasp, it was likely a tiny 6mm base-metal spring ring. These are notorious for failing, and finding exact vintage replacements is nearly impossible. Furthermore, base metals can cause green discoloration on the doll's neck or surrounding fabrics due to copper oxidation.
The Upgrade Path: Replace the failing spring ring with a 5mm 14k gold-filled or sterling silver lobster clasp. Lobster clasps offer a more secure closure and are easier to manipulate during restoration. To attach the clasp to the nylon thread, use 4mm 20-gauge jump rings. Wrap the nylon thread around the jump ring three times before tying off your finishing knot, ensuring the thread does not saw against the sharp edge of the metal ring.
Preventative Storage for the Long Term
Restoring a vintage Barbie pearl necklace is only half the battle; proper archival storage is required to prevent the issues from returning. The Barbie Collector community heavily emphasizes climate control for vintage accessories.
- UV Protection: Store the necklace in a dark, opaque drawer or an acid-free archival box. UV light is the primary catalyst for the yellowing of ABS plastic beads.
- Humidity Control: Keep the storage environment between 40% and 50% relative humidity. High humidity accelerates metal oxidation and thread rot, while extremely dry conditions can cause early-generation plastics to become brittle.
- Isolation: Never store the pearl necklace tangled with other hard plastic or metal accessories. The faux pearl lacquer is easily scratched by harder materials. Store it flat in its own individual acid-free tissue paper pouch.
Final Thoughts on Vintage Restoration
Troubleshooting and repairing a vintage Barbie pearl necklace is a rewarding exercise in horological-level jewelry restoration. By respecting the chemical limitations of mid-century faux pearl lacquers, selecting modern, high-grade stringing materials, and upgrading failing base-metal hardware, you can preserve these iconic fashion artifacts for decades to come. Whether you are prepping a 1988 Holiday Barbie for a mint-in-box display or restoring a 1990s Fashion Avenue set for custom photography, these professional techniques will ensure the necklace remains as flawless as the day it left the Mattel factory.


