How to Authenticate and Restore Vintage Crystal Necklaces
Learn how to authenticate, clean, and restring vintage crystal necklaces with our step-by-step restoration guide for timeless jewelry pieces.

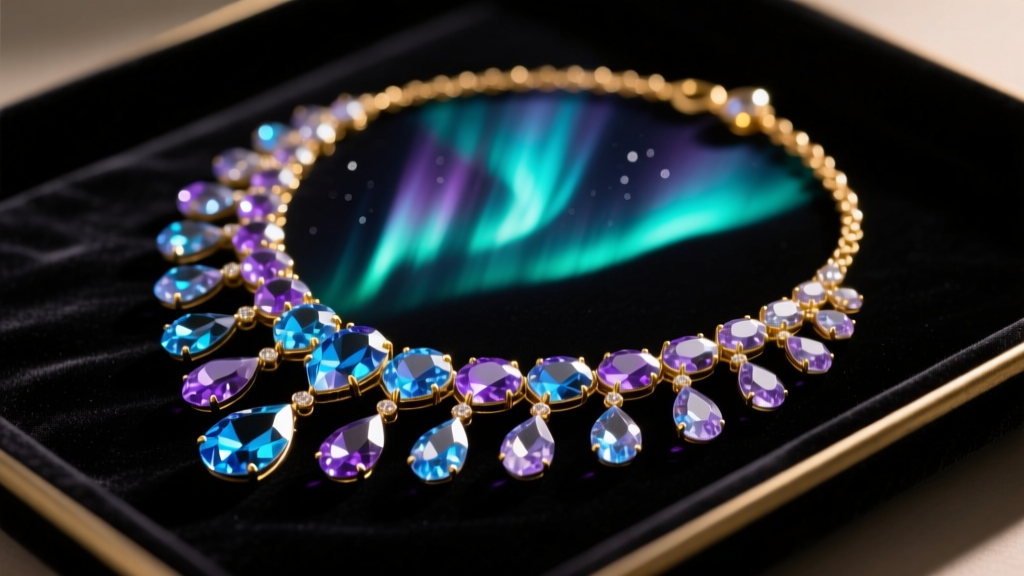
Owning vintage crystal necklaces is akin to holding a piece of wearable history. Whether you have inherited a heavy Art Deco sautoir or scored a mid-century Aurora Borealis (AB) choker at an estate sale, these pieces require specialized care. Unlike modern glass or synthetic simulants, true vintage crystal contains high levels of lead oxide (PbO)—typically 24% to 32%—which gives it its signature weight, brilliance, and acoustic resonance. However, decades of wear can lead to degraded stringing materials, tarnished foil backings, and loose prongs.
This comprehensive, step-by-step guide will teach you how to authenticate, safely clean, and professionally restore your vintage crystal necklaces without compromising their historical integrity or market value.
Step 1: Authenticating Vintage Crystal vs. Glass
Before applying any cleaning solutions or restoration techniques, you must confirm the material. According to the Gemological Institute of America (GIA), the distinction between crystal and standard glass lies in the chemical composition and optical properties. Here is how to perform a non-destructive authentication:
- The Weight Test: True lead crystal is significantly denser than standard soda-lime glass. A vintage crystal necklace will feel unexpectedly heavy for its size.
- The Acoustic 'Ping' Test: Gently tap a bead with a metal spoon or another crystal bead. Standard glass produces a dull 'clack,' while lead crystal emits a sustained, high-pitched ringing tone.
- Visual Clarity and Bubbles: Inspect the beads under a 10x jeweler's loupe. Vintage glass often contains microscopic spherical air bubbles and swirl marks from the molding process. High-grade vintage crystal will be entirely free of inclusions and bubbles, exhibiting sharp, precise facet junctions.
- Identifying the AB Coating: The famous Aurora Borealis (iridescent rainbow) coating was developed in 1956 through a collaboration between Swarovski and Christian Dior. If your piece features an AB finish and has a patent date prior to 1956, it is likely a later reproduction or a misidentified piece.
Step 2: Cleaning Foil-Backed and Unfoiled Crystals
The most common failure mode in vintage jewelry restoration is the destruction of foil backings. Many mid-century rhinestones and crystal pendants utilize a delicate metallic foil glued to the back of the stone to enhance reflectivity. Never submerge foil-backed stones in water or liquid cleaners. Moisture trapped behind the stone will cause the foil to oxidize, turning black and permanently killing the stone's sparkle.
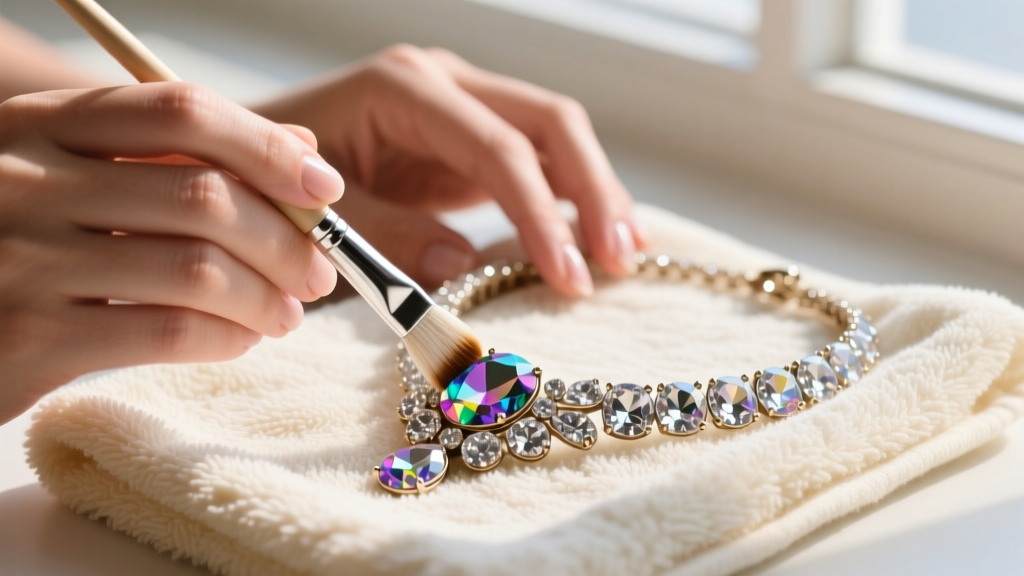
The Dry-Cleaning Protocol
- Dust Removal: Use a clean, dry goat-hair makeup brush to gently sweep away surface dust and skin cells from the facet junctions and prong settings.
- Spot Cleaning (Unfoiled Only): For unfoiled, transparent crystal beads, dip a cotton swab in 90% isopropyl alcohol. Gently roll the swab over the surface to dissolve oils and hairspray residue. Avoid the drill holes where moisture can pool.
- Polishing: Buff the crystals with a lint-free, untreated microfiber cloth. Never use commercial silver polishing cloths on the stones themselves, as the mild abrasives can scratch the crystal facets and strip away AB or aurora coatings.
Step 3: Restringing Heavy Crystal Beads
Vintage crystal necklaces were often strung on silk or cotton threads, which are highly susceptible to dry rot, UV degradation, and stretching. If your necklace feels stiff, or if you see fraying near the clasp, it requires immediate restringing to prevent catastrophic strand failure and bead loss.
Choosing the Right Stringing Material
For heavy vintage crystal, standard nylon thread is insufficient. You need a material with high tensile strength that resists kinking. Below is a comparison of professional stringing materials:
| Material | Best For | Tensile Strength | Pros & Cons |
|---|---|---|---|
| 49-Strand Micro-Wire (0.018") | Heavy crystal beads, large pendants | 20-30 lbs | Pros: Extreme durability, excellent drape. Cons: Requires crimp beads, cannot be knotted. |
| Nylon Beading Thread (Size F) | Small seed beads, lightweight crystal | 8-12 lbs | Pros: Can be knotted, passes through tiny holes. Cons: Degrades over time, stretches under heavy weight. |
| Silk Cord (Size 2-4) | Traditional pearl and light glass | 5-10 lbs | Pros: Beautiful traditional knotting. Cons: Highly susceptible to water damage and dry rot. |
The Restringing Process
For a standard 18-inch vintage crystal necklace, use a 0.018-inch 49-strand stainless steel micro-wire (brands like Beadalon or Soft Flex). Thread the wire through a 2mm sterling silver crimp bead, then through the jump ring of your vintage clasp. Loop the wire back through the crimp bead, pull tight, and use a specialized crimping plier to fold and compress the bead into a secure, rounded bead shape. This prevents the sharp edges of a flattened crimp from sawing through the wire over time.
Step 4: Re-Setting Loose Stones and Prong Repair
It is common for the glue holding foil-backed rhinestones into their metal cup settings to crystallize and fail over decades. If a stone is loose or falling out, do not reach for cyanoacrylate (Super Glue). Super Glue off-gasses as it cures, leaving a permanent, cloudy white fog on the crystal facets that cannot be removed without stripping the foil.
- The Right Adhesive: Use GS Hypo Cement or a two-part clear jewelry epoxy. These adhesives cure without off-gassing and remain slightly flexible, accommodating the different thermal expansion rates of glass and metal.
- Application: Use a toothpick to apply a microscopic drop of adhesive to the inside of the metal cup. Seat the stone firmly and use a wooden pusher to gently bend the metal prongs back over the girdle of the stone. Avoid metal tweezers, which can chip the vintage glass.
Step 5: Archival Storage and Preservation
Proper storage is the final step in the restoration process. Vintage crystal necklaces should never be tossed into a communal jewelry box where heavier metal pieces can scratch the glass or crush the delicate prongs.
Environmental Controls
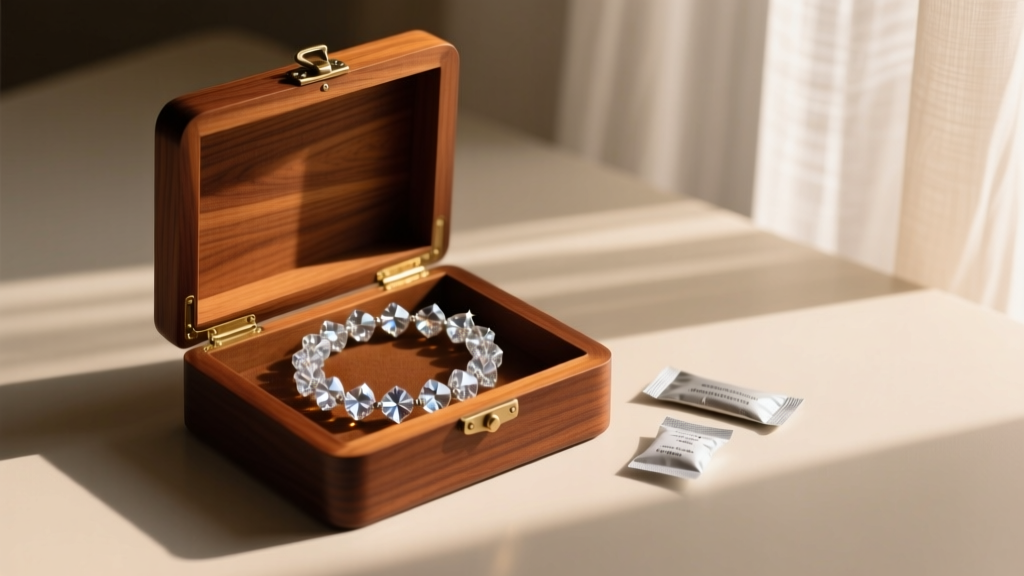
Store your restored necklaces in an acid-free, archival-quality cardboard box or a wooden box lined with unbleached cotton. To protect the metallic foils and any silver-plated settings from tarnishing and oxidation:
- Humidity: Maintain a relative humidity (RH) between 45% and 55%. Include small, indicating silica gel packets in the storage box to absorb excess ambient moisture.
- Tarnish Prevention: Place 3M anti-tarnish strips in the storage compartment. These strips absorb hydrogen sulfide and sulfur dioxide from the air, preventing the blackening of silver-plated clasps and settings.
- UV Protection: Keep the necklaces away from direct sunlight. Prolonged UV exposure can degrade the chemical bonds in the Aurora Borealis coating, causing it to peel or fade unevenly.
When to Seek Professional Conservation
While cleaning and restringing can be done at home, certain repairs require a professional lapidary or jewelry conservator. If your vintage crystal necklace features rare maker's marks—such as early Trifari, Miriam Haskell, or Eisenberg—improper DIY repairs can reduce its collector value from over $1,500 to mere scrap. If a crystal bead is chipped, cracked, or missing entirely, a professional can source period-correct New Old Stock (NOS) replacement stones that match the exact refractive index and cut of the original piece.
By following these meticulous, step-by-step restoration techniques, you ensure that your vintage crystal necklaces remain brilliant, structurally sound, and ready to be worn or passed down for generations to come.