Beginner Guide to Choosing the Right Setting for the Necklace
Discover how to choose the perfect setting for the necklace pendant. Learn about prong, bezel, and bail types for maximum durability and style.

Understanding the Anatomy of a Necklace Setting
When most beginners shop for fine jewelry, they focus entirely on the gemstone's carat weight or the chain's metal type. However, the true unsung hero of any pendant is the setting for the necklace. The setting is the architectural metal framework that secures your focal gemstone, charm, or locket, and dictates how it connects to the chain. Choosing the wrong setting can lead to lost stones, snagged clothing, and premature metal fatigue.
As we navigate jewelry trends in 2026, the emphasis has shifted heavily toward 'quiet luxury' and everyday durability. This means understanding the exact millimeter measurements, metal hardness, and structural integrity of your pendant's setting is no longer just for jewelers—it is essential for the informed consumer. According to the GIA Gem Encyclopedia, the setting not only protects the stone but also controls how light interacts with it, fundamentally altering the necklace's visual impact.
The 4 Primary Gemstone Settings for Pendants
The way a stone is held in place determines its security, its light performance, and its maintenance requirements. Here are the most common settings you will encounter when selecting a pendant.
1. The Prong Setting (The Classic Light Maximizer)
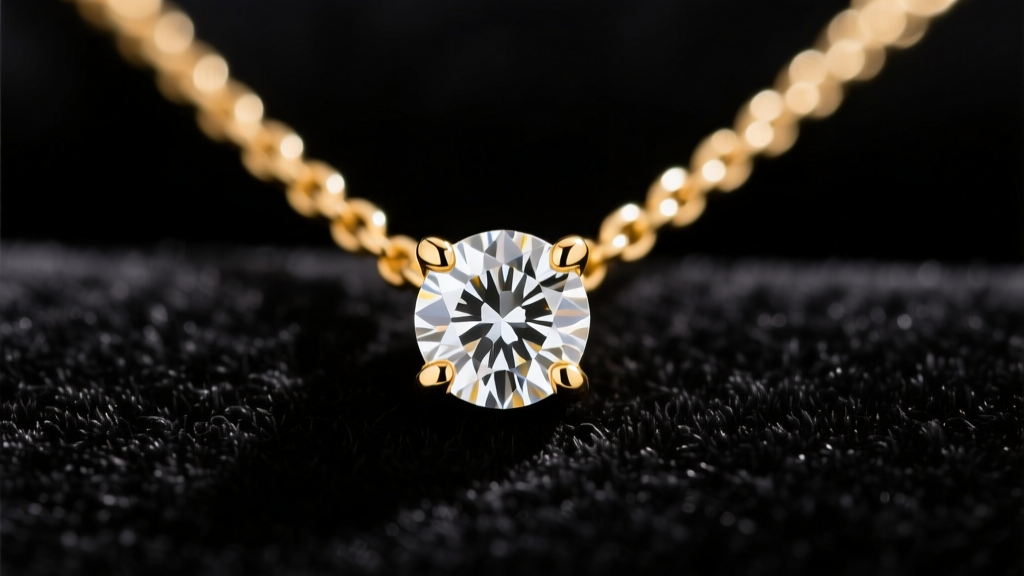
Prong settings use small metal claws (usually four or six) to grip the girdle of the gemstone. This is the most popular setting for diamond solitaire pendants because it exposes the maximum surface area to light, enhancing brilliance.
- Technical Specifics: Standard prongs are 0.8mm to 1.2mm thick. If you choose 18k gold, remember that it is softer than 14k gold; prongs in 18k gold will wear down faster and may require 're-tipping' by a jeweler every 3 to 5 years.
- Best For: High-clarity diamonds, sapphires, and rubies (Mohs hardness 8-10).
- Drawback: Prongs can easily catch on silk blouses, wool sweaters, and hair.
2. The Bezel Setting (The Ultimate Protector)
A bezel setting features a continuous metal rim that completely encircles the gemstone's girdle. It is the undisputed champion of security and is highly recommended for active lifestyles.
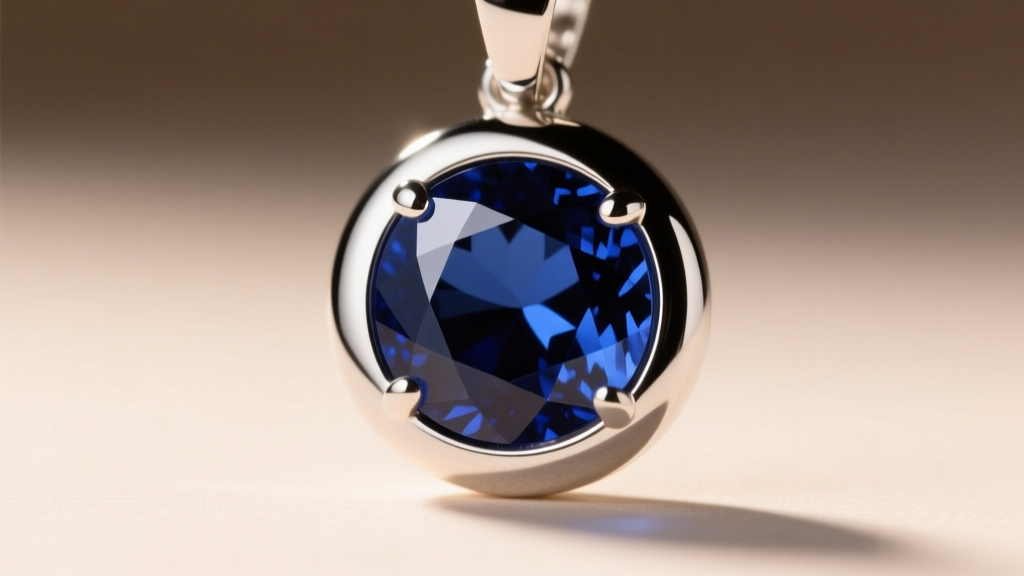
- Technical Specifics: A durable bezel should have a wall thickness of at least 0.75mm to 1mm. Avoid ultra-thin 'knife-edge' bezels (under 0.4mm), as they can warp upon impact, releasing the stone.
- Best For: Softer stones like opals, emeralds, and turquoise, or for wearers who frequently wear scarves and layered knits.
- Drawback: The metal rim covers the edges of the stone, slightly reducing the visible face-up size and light entry.
3. The Pavé and Micro-Pavé Settings (The Halo Effect)
Often used in pendant halos or to encrust the bail itself, pavé (French for 'paved') involves setting tiny melee stones closely together using small metal beads.
- Technical Specifics: In true micro-pavé, stones as small as 0.8mm are held by beads raised from the surrounding metal. Beware of 'glue-set' pavé in lower-tier commercial jewelry; authentic settings rely purely on metal tension and bead burnishing. Over time, friction from clothing can wear down these microscopic beads.
- Best For: Adding maximum sparkle to a small pendant footprint.
4. The Tension Setting (The Modern Illusion)
Though more common in rings, tension settings occasionally appear in avant-garde pendant designs. The metal's spring-like tension holds the stone in place, making it look as though it is floating.
- Technical Specifics: Requires extremely hard metals like titanium, platinum, or heavily work-hardened 14k white gold to maintain the necessary pounds-per-square-inch (PSI) of pressure. A sudden impact to the side of the pendant can compromise the tension.
Durability vs. Aesthetics: A Comparison Chart
To help you decide which setting for the necklace pendant best suits your daily routine, consult this structural comparison matrix.
| Setting Type | Security Level | Light Exposure | Maintenance Need | Snag Risk |
|---|---|---|---|---|
| 4-Prong | Moderate | Maximum | High (Check yearly) | High |
| 6-Prong | High | High | Moderate | Moderate |
| Full Bezel | Maximum | Moderate | Low | None |
| Half-Bezel | Moderate | High | Moderate | Low |
| Micro-Pavé | Low (for melee) | High (Scintillation) | High | Moderate |
The Bail: Connecting the Setting to the Chain
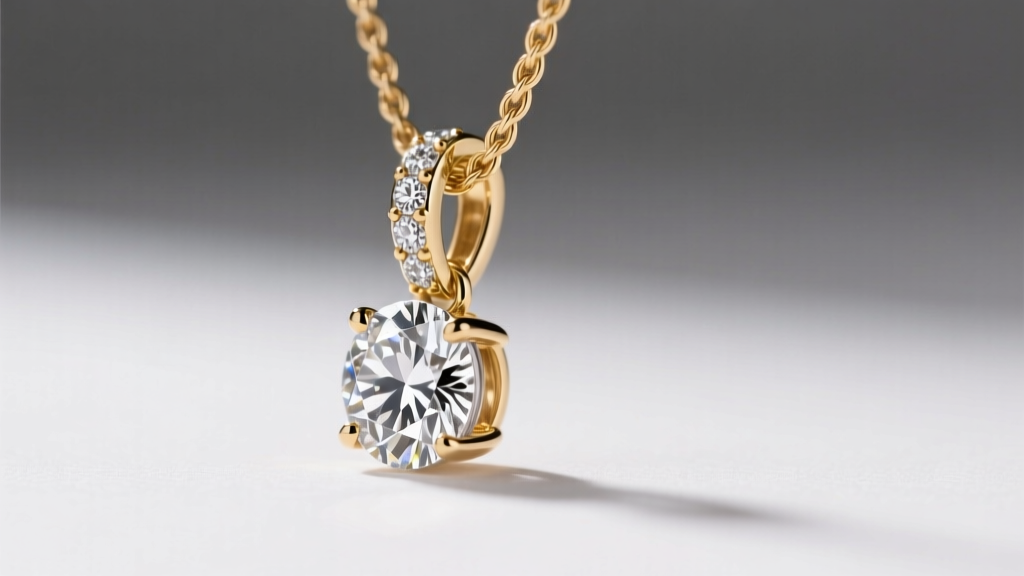
The setting does not exist in a vacuum; it must connect to your chain via a component called the bail. The bail is the loop at the top of the pendant. Mismatching your bail to your chain is a common beginner mistake that leads to excessive metal friction and eventual chain snapping.
Sizing Your Bail to Your Chain
According to expert guides from Blue Nile's Jewelry Education, the inner diameter of the bail must comfortably accommodate the chain's width and depth, plus an extra 0.5mm of clearance for fluid movement.
- Standard Cable Chains (0.8mm - 1.2mm): Work perfectly with standard hidden bails or small loop bails (inner diameter 2mm - 3mm).
- Box and Wheat Chains (1.5mm - 2.5mm): Require larger, open-top bails or tube bails to prevent the chain from kinking at the connection point.
- Rope and Figaro Chains (3.0mm+): Often require a specialized 'clip bail' or a large ring bail. Forcing a thick rope chain through a small pendant bail will cause the bail to act like a saw, slowly cutting through the chain links over time.
Real-World Troubleshooting: When Settings Fail
Even high-quality settings can experience wear and tear. Knowing how to identify early warning signs will save you from losing a precious heirloom.
The 'Silk Snag' Test
Run the back of your pendant setting across a piece of silk or fine microfiber. If it catches, your prongs are either bent, lifted, or worn flat. A jeweler can easily file and re-round the prong heads in about 10 minutes. Do not ignore this; a snagged prong will eventually pull back and release the stone.
The Bezel 'Push' Check
With a full bezel setting, look closely at the metal rim under a magnifying glass or your phone's macro lens. If you see a gap between the metal and the gemstone's table edge, the bezel has been pushed back by an impact. This requires a jeweler to use a burnishing tool to push the metal wall back flush against the stone.
Bail Friction Grooves
Inspect the inside of the bail loop. If you see a deep groove carved into the metal, your chain is too abrasive for the bail's hardness. This is common when pairing a hard platinum chain with a softer 14k yellow gold bail. The solution is to upgrade the bail to platinum or switch to a smoother, polished chain like a snake or herringbone chain.
Final Advice for Your Necklace Investment
Choosing the right setting for the necklace is about balancing your aesthetic desires with the physical realities of your lifestyle. If you are designing a custom piece or buying a high-end pendant, always ask the jeweler for the exact millimeter specifications of the prongs or bezel walls. By prioritizing structural integrity alongside visual brilliance, you ensure that your necklace remains a secure, stunning staple in your jewelry rotation for decades to come.


