How to Shorten a Snake Chain Necklace Without Ruining It
Learn how to shorten a snake chain necklace safely. Expert tips on cutting, reattaching clasps, and preventing kinks in this delicate jewelry style.

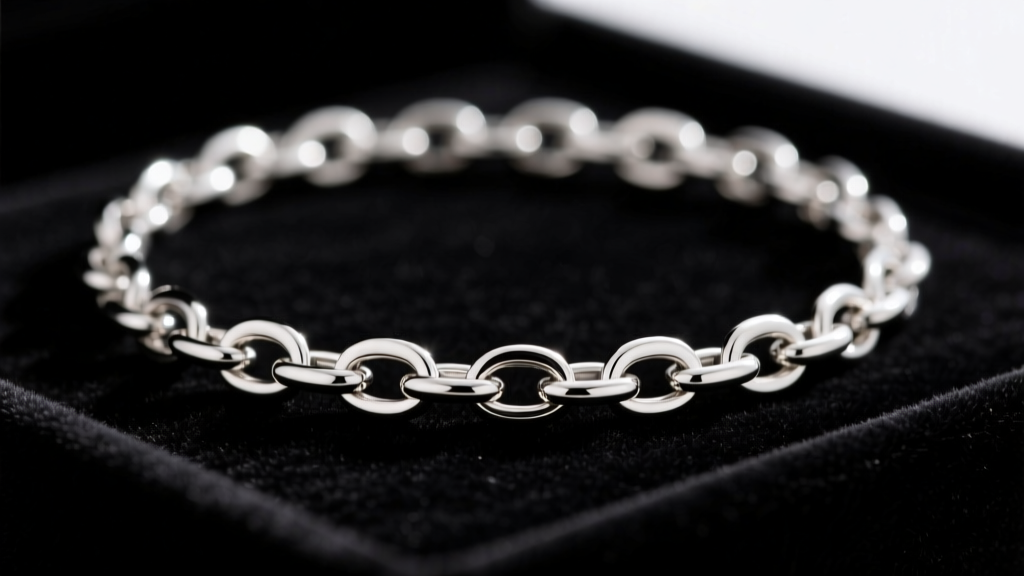
Snake chains are a staple in modern jewelry design, prized for their sleek, liquid-metal appearance and incredible flexibility. However, their unique construction makes them notoriously difficult to alter. If you have ever wondered how to shorten a snake chain necklace without causing irreversible damage, you are not alone. Unlike standard cable or curb chains, you cannot simply snip a snake chain and attach a jump ring. Doing so will result in a frayed, unwound mess and a clasp that inevitably detaches.
This comprehensive guide dives deep into the metallurgy, specialized tools, and precise techniques required to safely shorten a snake chain. Whether you are working with a delicate 1.2mm .925 sterling silver piece or a robust 3.5mm brass chain, these professional maintenance and alteration protocols will ensure your necklace retains its structural integrity and flawless finish.
The Anatomy of a Snake Chain: Why Shortening is Tricky
To understand the alteration process, you must first understand the chain's anatomy. A snake chain is not made of individual interlocking links. Instead, it is constructed from tightly wound, slightly curved metal rings that are layered over a central core or tightly interlocked to form a smooth, continuous tube. This creates the signature 'scales' of the snake chain.
Because the rings are held together by tension and precise geometric alignment, cutting the chain releases this tension. If the cut end is not immediately secured, the rings will begin to unwind and separate—a failure mode known as fraying. Furthermore, the dense, tubular nature of the chain means standard jump rings cannot pass through the end. You must use specialized findings called tube ends (or chain ends) to transition the smooth tube into a loop that can accept a clasp.
Essential Tools and Specialized Findings
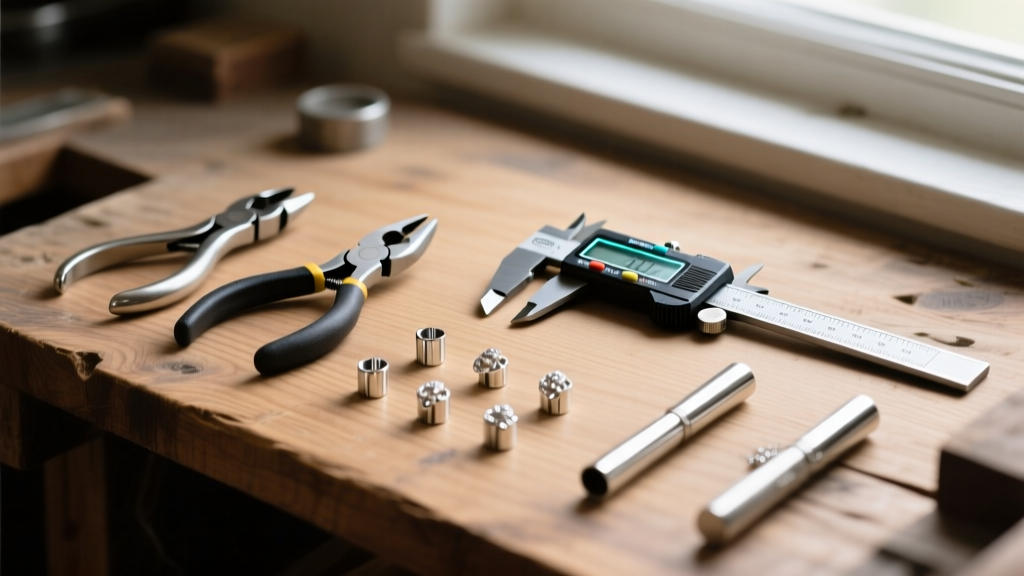
Attempting this repair with basic household scissors or standard wire cutters will crush the delicate metal rings. According to jewelry manufacturing standards outlined by suppliers like Rio Grande, precision is mandatory. Gather the following tools before beginning:
- Flush Cutters or Jeweler's Saw: For chains under 2.0mm, high-quality flush cutters (like Tronex or Lindstrom) work well. For chains 2.5mm and thicker, a jeweler's saw with a 2/0 blade is required to prevent crushing the tube.
- Digital Calipers: To measure the exact millimeter diameter of your chain to purchase the correct tube ends.
- Tube Ends (Crimp or Solderable): These are specialized metal cylinders with a loop on one end. They slide over the cut chain and are compressed or soldered into place.
- Crimping Pliers: If using crimp tube ends, you need specialized chain-end crimping pliers, not standard beading crimpers.
- Painter's Tape or Masking Tape: Crucial for preventing the chain from unwinding during the cut.
Material Considerations: Plated vs. Solid Metal
Before cutting, identify your chain's material grade. Solid .925 sterling silver or 14k gold snake chains can be easily finished with solderable tube ends for a permanent, factory-grade repair. However, many affordable snake chains are made of brass with rhodium or gold plating. Do not solder plated chains. The intense heat of a jeweler's torch will melt the plating, leaving a discolored, scorched mark that cannot be polished out. For plated chains, you must use mechanical crimp tube ends or jewelry-grade epoxy adhesives.
Step-by-Step Guide: How to Shorten a Snake Chain Necklace
Follow this precise sequence to alter your necklace while maintaining its structural integrity. Work on a clean, well-lit jewelry bench mat to prevent losing small components.
- Measure and Mark: Put the necklace on and determine the exact desired length. Lay it flat on your bench mat and use a fine-point Sharpie to mark the cut line on the 'dead' end (the side you are discarding). Always leave an extra 2mm of chain beyond your final desired length to account for the depth of the tube end finding.
- Tape the Cut Zone: Wrap a piece of painter's tape tightly around the chain, directly over your cut mark. This tape acts as a binder, keeping the tightly wound rings compressed and preventing them from flaring outward when the metal is severed.
- Execute the Cut: Using your flush cutters or jeweler's saw, cut cleanly through the center of the taped section. Do not twist or bend the chain while cutting. Once severed, leave the tape on the end you are keeping until the exact moment you attach the tube end.
- Prep the Tube End: If using a crimp tube end, ensure the inner diameter matches your chain. A 1.5mm chain requires a 1.5mm or 1.6mm inner-diameter tube end. If it is too loose, the crimp will fail; if it is too tight, you will crush the chain forcing it in.
- Attach and Secure: Remove the tape. Immediately slide the tube end over the exposed chain. Push it in as far as it will go. Using your chain-end crimping pliers, compress the tube end evenly. For a professional finish, some jewelers apply a microscopic drop of cyanoacrylate (super glue) inside the tube before inserting the chain, though a proper mechanical crimp should hold independently.
- Reattach the Clasp: Use a standard jump ring to connect your lobster claw or spring ring clasp to the newly installed loop on the tube end.
Common Failure Modes and Troubleshooting
Even experienced jewelers encounter issues when altering tubular chains. Below is a troubleshooting matrix detailing actual failure modes and their mechanical solutions.
| Failure Mode | Cause | Professional Solution |
|---|---|---|
| Chain Kinking | Bending the chain past its natural radius during measuring or cutting, causing the metal rings to permanently overlap and lock. | Always lay the chain perfectly flat. Never force a snake chain into a tight coil. Kinks cannot be reversed; the damaged section must be cut out entirely. |
| End Fraying | Cutting without tape, or using dull wire cutters that crush rather than shear the metal. | Use a jeweler's saw for a frictionless cut. If fraying occurs, you must snip off the frayed section and start over, losing additional length. |
| Tube End Slipping | Using a tube end with an inner diameter larger than the chain, or failing to use the correct crimping tool. | Measure with digital calipers. If a crimp fails, cut the chain again and use a solderable tube end with silver paste solder for a permanent bond. |
| Clasp Detachment | Attempting to force a jump ring directly through the hollow center of the snake chain without a tube end. | Never skip the tube end finding. The structural integrity of the chain's core cannot support the shear force of a jump ring. |
Post-Alteration Care and Cleaning
Once you have successfully shortened your snake chain, proper maintenance is critical to preserve the new findings and the chain's finish. The tight crevices between the wound rings easily trap skin oils, lotions, and metal dust from the cutting process.
According to gemological and jewelry care guidelines from institutions like the Gemological Institute of America (GIA), regular cleaning extends the life of your jewelry. To clean your newly altered snake chain:
- The Soak: Mix a few drops of mild, phosphate-free dish soap (like Dawn) into a bowl of lukewarm water. Let the chain soak for 5 to 10 minutes to loosen debris.
- The Agitation: Use an extra-soft baby toothbrush to gently brush along the grain of the chain. Never brush against the grain, as this can catch the edges of the metal scales and cause them to lift.
- The Rinse and Dry: Rinse thoroughly under warm running water. Pat dry with a lint-free microfiber cloth. Ensure the area where the chain meets the new tube end is completely dry to prevent localized oxidation.
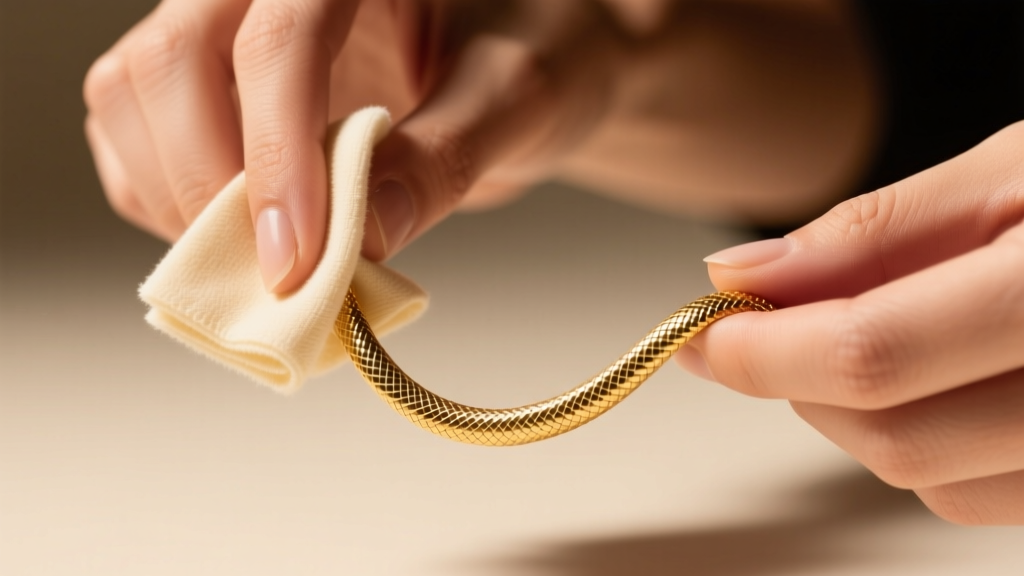
Expert Warning on Ultrasonic Cleaners: While solid sterling silver or solid gold snake chains can generally withstand ultrasonic cleaning, you must never place a snake chain with crimped tube ends or glued findings into an ultrasonic machine. The high-frequency vibrations will shatter the adhesive bond and loosen mechanical crimps, causing your newly attached clasp to fail. Furthermore, ultrasonic waves can strip the rhodium or gold plating off brass-based snake chains, leaving them dull and prone to tarnishing.
When to See a Professional Jeweler
While learning how to shorten a snake chain necklace is a valuable DIY skill for basic maintenance, certain scenarios demand professional intervention. If your chain is thicker than 3.0mm, the mechanical crimp findings may not provide enough sheer strength to hold the weight of a heavy pendant. In these cases, a professional jeweler will use a laser welder to fuse a solderable tube end directly to the chain. Laser welding provides a permanent, seamless bond without the risk of melting the surrounding metal or damaging delicate plating.
Additionally, if your snake chain has developed a kink near the area you need to shorten, a professional may need to carefully remove the kinked section and seamlessly integrate a new segment, a process that requires advanced bench skills. Expect to pay between $25 and $60 for a professional shortening and laser-soldering service, depending on the metal grade and your local market rates. For high-value or sentimental pieces, this investment guarantees the structural longevity of the necklace.
By respecting the unique metallurgy of the snake chain and utilizing the correct specialized findings, you can confidently alter your jewelry to achieve the perfect neckline drop while maintaining its flawless, liquid-metal drape.


