Supply Guide: How to Make a Sliding Knot Necklace That Lasts
Learn how to make a sliding knot necklace with our expert supply guide. Discover the best cords, beads, and kits for durable, adjustable DIY jewelry.

The Anatomy of a Durable Sliding Knot Necklace
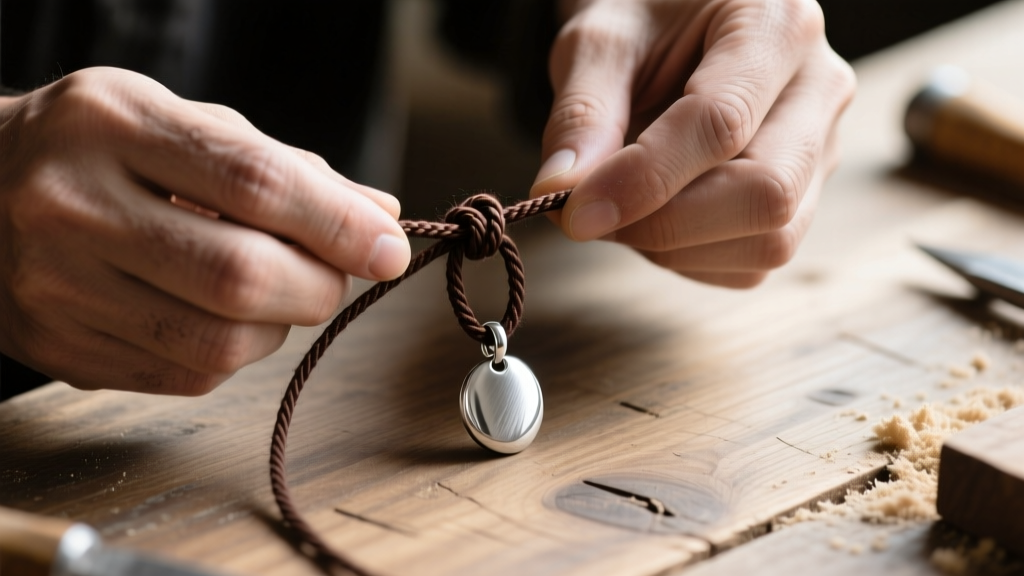
When learning how to make a sliding knot necklace, the difference between a frustrating failure and a professional-grade piece of jewelry comes down to material science and supply selection. A sliding knot—often a macrame square knot or a double overhand knot—relies entirely on static friction to hold the pendant in place while allowing the wearer to adjust the length. If the cord is too slick, the necklace will slowly slip down the chest. If the cord is too fuzzy or the bead holes are improperly sized, the knot will jam, making the necklace unwearable.
This buyer’s guide cuts through the craft store clutter. We will explore the exact cord materials, bead bail tolerances, and hardware kits you need to purchase to create adjustable necklaces that function flawlessly and withstand daily wear.
Cord Selection: What to Buy for the Perfect Glide
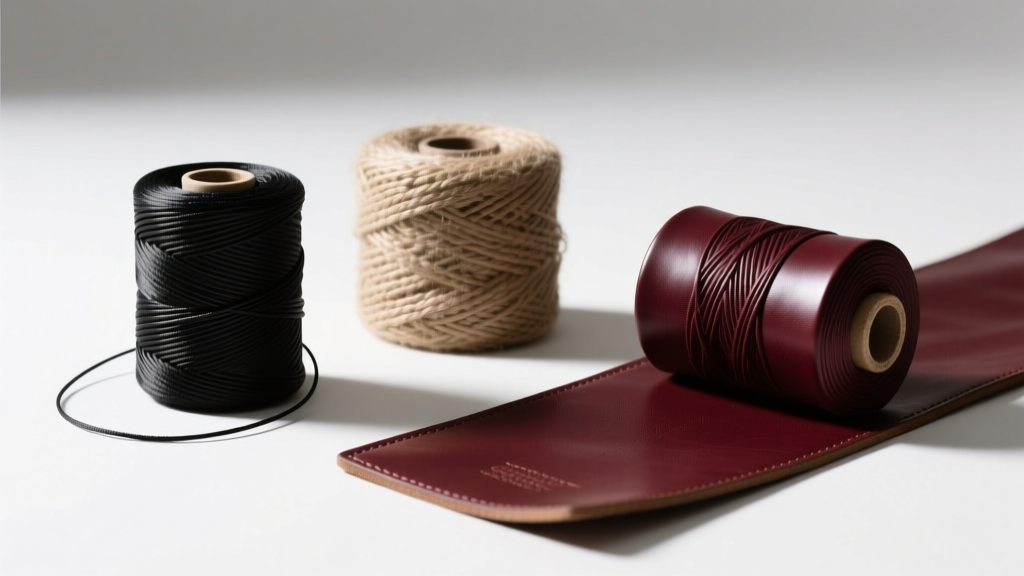
The cord is the engine of your sliding knot necklace. You must balance tensile strength with surface texture. According to the Fire Mountain Gems Cord Guide, synthetic fibers generally offer the best balance of durability and consistent friction for adjustable jewelry.
| Cord Material | Ideal Diameter | Friction Level | Best Pendant Weight |
|---|---|---|---|
| Chinese Knotting Nylon | 0.8mm - 1.0mm | Medium-High | Light to Medium (under 15g) |
| Waxed Cotton | 1.0mm - 1.5mm | High | Medium to Heavy (15g - 30g) |
| Round Leather | 1.5mm - 2.0mm | Low (Slick) | Heavy (30g+) |
| Hemp / Jute | 1.0mm - 2.0mm | Very High | Light (under 10g) |
Buying Advice: Avoid flat leather suede cords for the base of a sliding knot. The fibrous underside creates uneven friction, causing the knot to jerk rather than glide. Always purchase tightly braided nylon or tightly spun, wax-coated cotton for the smoothest adjustment experience.
The Beading Thread Trap
Many beginners mistakenly purchase beading threads like WildFire or FireLine, assuming their high tensile strength makes them ideal for sliding knots. This is a critical purchasing error. Beading threads are engineered to be abrasion-resistant and ultra-slick to pass through glass seed beads multiple times. That same slickness means a sliding knot tied with FireLine will instantly unravel under the weight of a pendant. Always buy dedicated macrame or knotting cords with a textured or waxed exterior.
Bead and Pendant Bail Sizing: Avoiding the Bottleneck
The most common mistake DIYers make when figuring out how to make a sliding knot necklace is ignoring the internal diameter (ID) of the pendant bail or focal bead. The sliding knot itself is tied around the two base cords, but the pendant must slide freely along those same base cords.
The 2x + 0.2mm Rule
If you are using a lark’s head knot or a folded loop to attach your pendant, the cord is doubled. Therefore, the minimum bead hole size must be at least double the cord diameter, plus 0.2mm for clearance.
- 0.8mm Nylon Cord: Requires a minimum 1.8mm bead hole (single pass) or 3.4mm (doubled pass).
- 1.0mm Waxed Cotton: Requires a minimum 2.2mm bead hole (single pass) or 4.2mm (doubled pass).
- 1.5mm Leather: Requires a minimum 3.2mm bead hole (single pass).
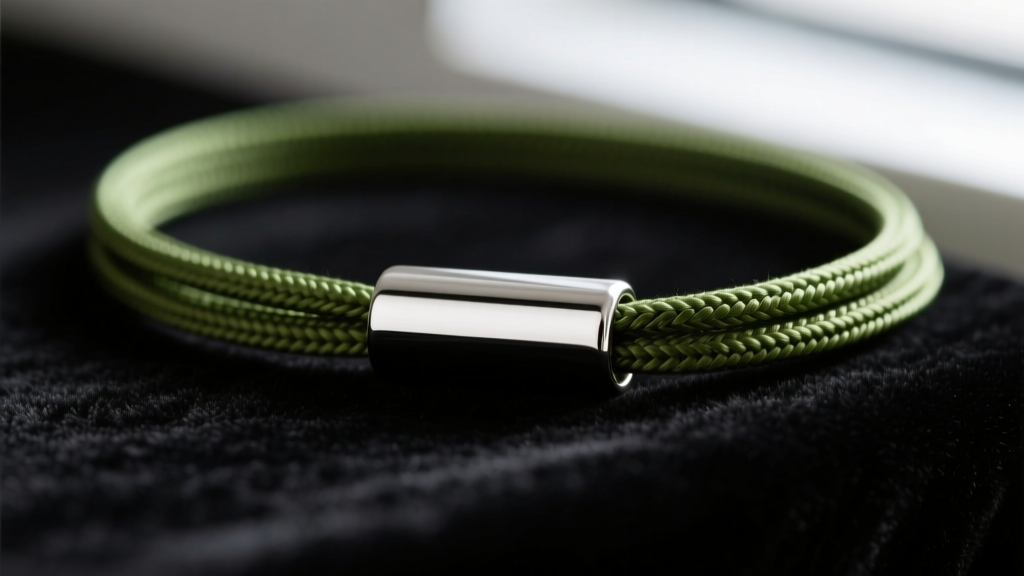
When shopping for sterling silver or gold-filled bails, look for tube bails or donut bails with explicitly stated inner diameters. Standard pinch bails often have internal loops that are too small for anything thicker than a 0.5mm wire, which will instantly bottleneck a 1mm macrame cord.
Evaluating DIY Kits vs. Sourcing Raw Materials
When you are first learning how to make a sliding knot necklace, pre-packaged DIY kits seem like a convenient shortcut. However, from a buyer's perspective, they often compromise on hardware quality.
What to Look for in a Kit
If you opt for a kit from a major supplier like Beadalon or a specialized Etsy seller, ensure the kit includes:
- Pre-cut, heat-sealed cords: Raw spools are cheaper, but kits should have ends that are melted or sealed to prevent fraying during the knotting process.
- Screw-tube clasps or crimp ends: Avoid kits that rely solely on overhand knots and glue for the necklace terminations. Metal crimp ends provide a professional finish.
- Calibrated beads: The kit should guarantee the bead hole sizes match the included cord diameter.
Verdict: Buy raw materials for the cords and pendants to ensure premium quality, but consider buying specialized macrame boards and knot-tightening pliers from kit suppliers to improve your workflow.
Step-by-Step Friction Testing and Troubleshooting
Before you glue your end caps or trim your excess cord, you must perform a friction test. Hang the necklace on a jewelry bust or a hook, attach the pendant, and angle the necklace to 45 degrees.
Jeweler's Troubleshooting Guide:
Problem: The knot slips down on its own.
Cause: The cord is too heavily waxed, or the knot was tied with insufficient tension.
Fix: Wipe the base cords with a microfiber cloth and a drop of rubbing alcohol to strip excess factory wax. Retie the square knot, pulling the lateral cords with pliers to lock the friction.Problem: The knot is too tight to adjust by hand.
Cause: You used a fuzzy cord (like raw hemp) or pulled the core cords out of alignment while tightening.
Fix: Keep the two base cords perfectly parallel and taut while tying the sliding knot. Never pull the knot tight directly against the bead; leave a 2mm gap to allow the knot to pivot.
Final Hardware: End Caps and Cord Terminations
The way you finish the ends of your adjustable necklace dictates its lifespan. When buying termination hardware, avoid standard crimp beads used for beading wire; they will crush and cut through soft textile cords.
Instead, purchase cord end caps (also known as crimp tubes or ribbon ends) that feature an internal coil or a wide, smooth crimping surface. For 1mm to 2mm cords, a 3mm or 4mm smooth-bore crimp tube is ideal. Flatten it gently with nylon-jaw pliers to secure the cord without severing the fibers.
For the adhesive, never use cyanoacrylate (super glue). It cures into a brittle, glass-like plastic that will shatter under the tensile stress of a sliding knot, leading to sudden pendant loss. Always purchase G-S Hypo Cement for precision application inside small cord ends, or E6000 Jewelry and Bead Adhesive for a flexible, shock-absorbing bond on larger leather terminations.
By carefully selecting your cord materials, respecting the mathematics of bead hole sizing, and investing in the correct flexible adhesives, you will master not just how to make a sliding knot necklace, but how to craft one that rivals high-end boutique jewelry in both function and longevity.


