Step-by-Step Guide to Stringing an Aquamarine Bead Necklace
Learn how to design and string a custom aquamarine bead necklace. Master wire gauges, thread types, and crimping techniques in this step-by-step guide.

Understanding Aquamarine Bead Anatomy and Hardness
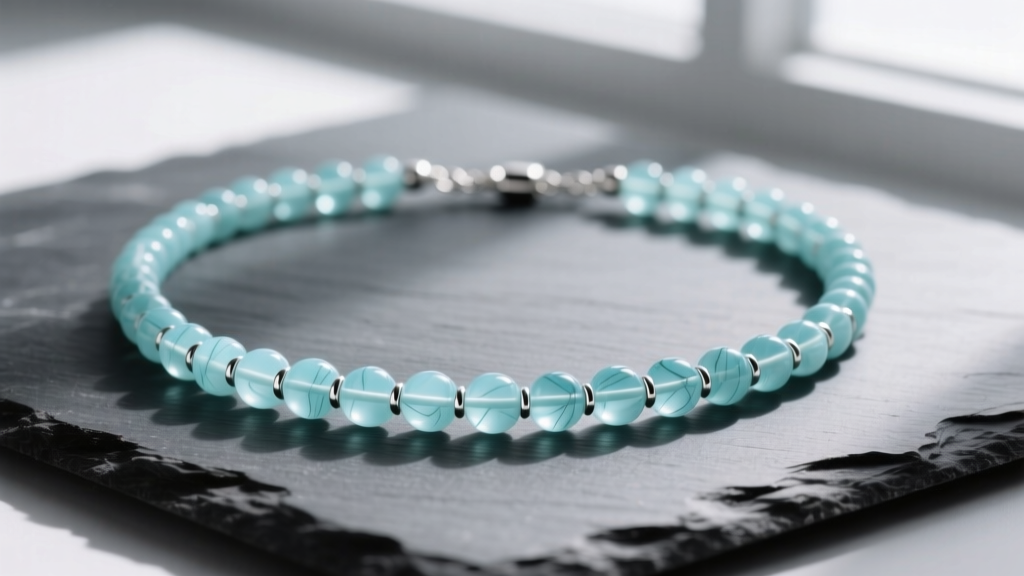
Before you begin stringing, it is critical to understand the physical properties of your gemstones. Aquamarine is a variety of the mineral beryl, ranking at 7.5 to 8 on the Mohs hardness scale. While this makes it highly resistant to scratching, aquamarine is also somewhat brittle and can chip if subjected to hard impacts or excessive tension during the stringing process. According to the Gemological Institute of America (GIA), aquamarine's distinct hexagonal crystal structure means that drilled holes can sometimes have micro-fractures near the exit points. When selecting beads, always inspect the drill holes under a 10x loupe to ensure they are smooth and free of jagged edges that could eventually saw through your stringing material.
Standard commercial aquamarine beads (ranging from 4mm to 8mm in diameter) typically feature drill holes between 0.6mm and 0.8mm. Larger focal beads (10mm+) may have 1.0mm holes. This specific metric dictates the maximum gauge of your stringing wire, a concept we will explore in the material selection framework below.
The Stringing Material Matrix: Wire vs. Thread
Choosing the right foundation for an aquamarine bead necklace is not a matter of preference; it is a structural engineering decision. Because aquamarine beads are relatively heavy and possess sharp internal drill hole edges, traditional silk thread is generally a poor choice unless you are knotting between every single bead (which drastically alters the drape and design). For 95% of modern beaded designs, nylon-coated stainless steel wire is the industry standard.
| Material Type | Diameter / Gauge | Tensile Strength | Best Use Case |
|---|---|---|---|
| 49-Strand Nylon-Coated Steel | .019" (0.48mm) | 40 lbs | Standard 6mm-8mm aquamarine rounds; offers the best balance of drape and durability. |
| 49-Strand Nylon-Coated Steel | .024" (0.61mm) | 50 lbs | Heavy 10mm+ beads or chunky nuggets; requires 0.8mm+ drill holes. |
| 7-Strand Nylon-Coated Steel | .015" (0.38mm) | 20 lbs | Delicate 4mm beads; highly flexible but prone to kinking if mishandled. |
| Braided Synthetic (e.g., WildFire) | 0.008" (0.20mm) | 10 lbs | Multi-pass stringing or intricate woven beadwork; requires knotting, not crimping. |
For a classic, uniform aquamarine bead necklace, the .019-inch 49-strand wire (available from brands like Soft Flex or Beadalon) is the undisputed champion. The 49 micro-strands provide a fluid, fabric-like drape that prevents the necklace from looking stiff, while the nylon coating protects the steel from moisture and friction against the beryllium silicate interior of the beads.
Step-by-Step Assembly Process
Step 1: Layout and Graduation Planning
Never string directly from the hank. Use a V-groove bead board to map out your design. If you are creating a graduated necklace (where beads increase in size toward the center), place your largest aquamarine bead in the bottom center groove and work outward symmetrically. A standard 18-inch princess-length necklace requires approximately 14 inches of bead coverage, leaving 2 inches of bare wire on each side for the clasp assembly and a comfortable drape against the collarbone.
Step 2: Securing the First Clasp Component
Cut an extra 4 inches of wire beyond your desired finished length to allow for the finishing mechanics. Thread a 2x2mm sterling silver crimp tube, followed by a wire guardian (French wire), and then the jump ring holding your lobster clasp. Pass the wire back through the wire guardian, the crimp tube, and the first two aquamarine beads. Pull the tail tight, leaving no gap between the beads and the clasp, but ensure the wire isn't so tight that it restricts the clasp's movement.
Step 3: The Two-Stage Crimp Technique
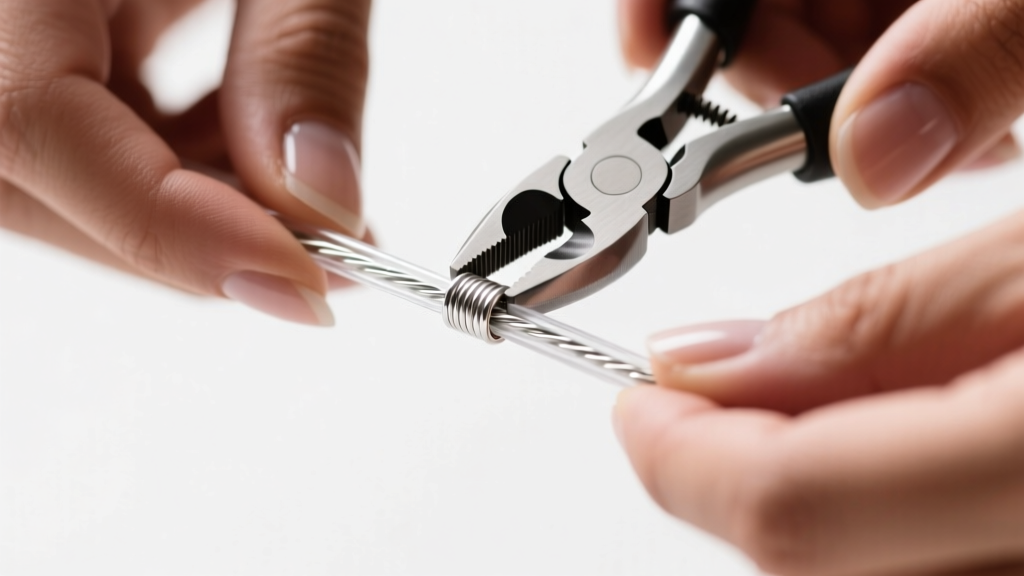
Using specialized crimping pliers (such as those from Rio Grande), place the crimp tube in the back notch (the one with the small dimple). Squeeze firmly to fold the tube inward, creating a crescent or 'U' shape. Next, move the folded crimp to the front notch (the one with the rounded dip) and squeeze again to fold the 'U' in on itself, creating a neat, rounded bead-like cylinder. This mechanical lock provides vastly superior holding power compared to simply crushing the tube flat with chain-nose pliers, which can create sharp metal edges that slice the nylon wire coating over time.
Step 4: Stringing and Tension Management
String your aquamarine beads according to your board layout. As you add beads, periodically lift the strand from the board to check the drape. The beads should glide smoothly against one another without large gaps of exposed wire, but they must not be packed so tightly that the wire is forced to bow or kink. When you reach the end, thread your final crimp tube and the other half of the clasp (usually a soldered jump ring or extender chain). Pull the wire taut using flat-nose pliers to remove all slack, crimp securely, and trim the excess tail wire flush with flush-cutters.
Troubleshooting Common Beading Failures
Even experienced jewelers encounter structural issues when working with dense gemstone beads. Here is how to diagnose and fix the most common aquamarine necklace failures:
- Wire Kinking: If your .019" wire develops a sharp bend, do not try to bend it back. The nylon coating will micro-fracture, and the inner steel strands will weaken. Cut the wire at the kink and re-thread the beads.
- Bead Abrasion: If you notice a fine white powder accumulating near the drill holes, your beads are rubbing against each other and grinding down. Introduce 1.5mm metal spacer beads or tiny silicone O-rings between the aquamarine stones to absorb the friction.
- Clasp Slippage: If the crimp tube slides off the wire during wear, you likely used a tube with an inner diameter too large for your wire gauge. Always match a 2x2mm tube to .019" or .024" wire, and a 1.5x1.5mm tube to .013" or .015" wire.
Long-Term Care and Maintenance
Aquamarine is sensitive to sudden temperature changes and prolonged exposure to direct, intense sunlight, which can cause the pale blue hue to fade over decades. Furthermore, the nylon coating on your beading wire degrades when exposed to the chemicals found in perfumes, lotions, and chlorinated pool water.
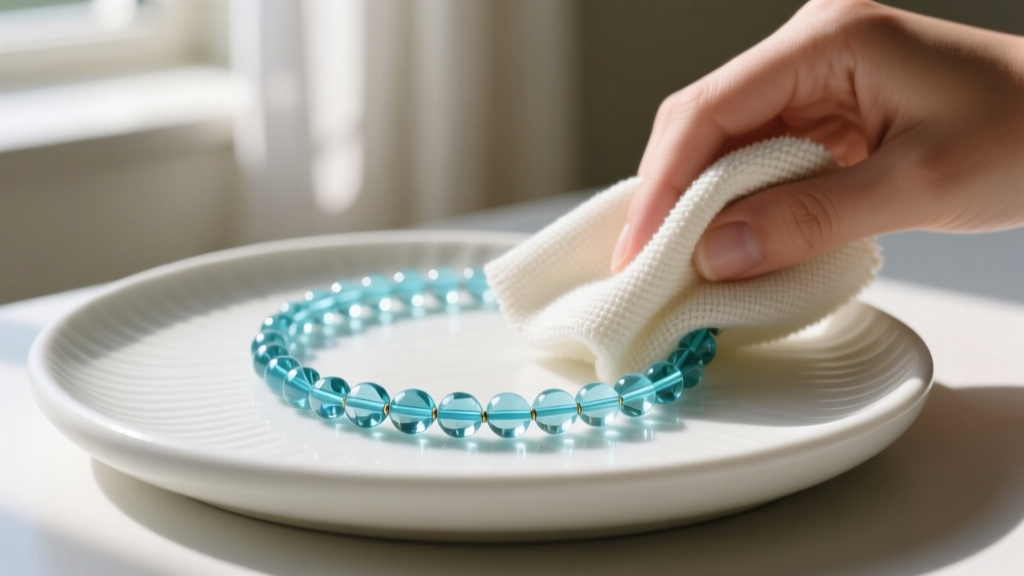
Pro-Tip for 2026: Modern ultrasonic cleaners are highly effective for diamond and sapphire, but they can shatter aquamarine beads if the stones have internal liquid inclusions or reach the drill-hole fractures. Always clean your aquamarine bead necklace manually using a damp, lint-free microfiber cloth and a drop of mild, phosphate-free dish soap. Rinse briefly in lukewarm distilled water and lay flat to dry to prevent water spots on the metal findings.
By treating the stringing process as a precise structural exercise rather than a simple craft, you ensure that your custom aquamarine bead necklace will remain secure, fluid, and breathtaking for generations. Always invest in high-quality 49-strand wire and precision crimping tools; the foundation is just as important as the gemstones it holds.