How to Style an All Saints Necklace: Step-by-Step
Learn how to style and layer an All Saints necklace with our step-by-step guide. Master oxidized silver care, chain lengths, and grunge aesthetics.

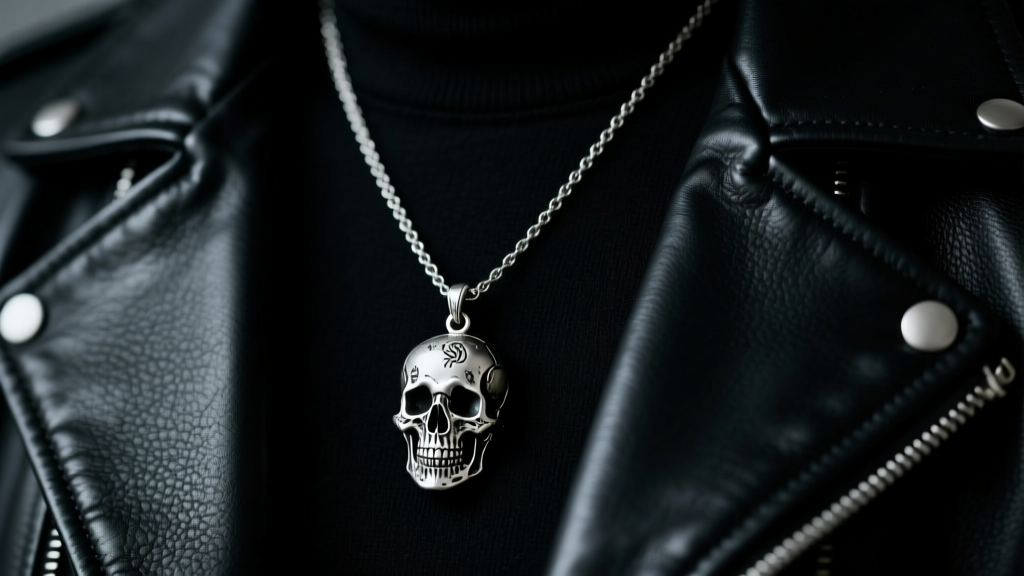
The British fashion house AllSaints has long been synonymous with East London grunge, rock-and-roll edge, and effortlessly rebellious styling. At the core of this aesthetic is their signature jewelry collection. Learning how to properly style and layer an All Saints necklace requires more than just throwing a few chains together; it demands an understanding of mixed metals, intentional asymmetry, and the specific metallurgy of oxidized finishes. Whether you are working with their iconic skull pendants, dagger motifs, or delicate rosary chains, this step-by-step guide will help you master the brand's signature look while preserving the integrity of your pieces for years to come.
The Metallurgy of the All Saints Aesthetic
Before you begin layering, it is crucial to understand the materials you are working with. AllSaints frequently utilizes 925 sterling silver that has been treated with an oxidizing agent, typically liver of sulfur (potassium sulfide). This chemical reaction creates a blackened patina that settles into the crevices of the metalwork, highlighting the intricate details of skulls, crosses, and chain links. According to the Gemological Institute of America (GIA), sterling silver is an alloy containing 92.5% pure silver and 7.5% other metals, usually copper, which makes it durable enough for everyday wear but still susceptible to environmental tarnishing.
In addition to oxidized silver, the brand often incorporates raw brass and zinc alloys for their gold-toned and mixed-metal pieces. Brass provides a heavier, more substantial drape and a vintage, unpolished look that aligns perfectly with the grunge aesthetic. However, these specific material choices dictate strict rules for how you layer, wear, and ultimately clean your jewelry.
Step 1: Map Your Chain Lengths and Gauges
The foundation of any successful grunge layering technique is the "4-inch drop rule." If your chains are too close in length, they will tangle constantly and create a cluttered, unstructured mess. You need distinct visual tiers. Furthermore, you must vary the chain gauges (thickness) to create textural contrast.
| Chain Type | Gauge / Thickness | Ideal Length | Best Pendant Pairing |
|---|---|---|---|
| Rosary Bead | 1.5mm beads / 0.8mm wire | 16" - 18" | Small charms, safety pins, tiny crosses |
| Cable Chain | 1.2mm uniform links | 18" - 20" | Medium skulls, signet pendants, lockets |
| Curb Chain | 4.0mm - 6.0mm links | 22" - 24" | Heavy daggers, large geometric motifs |
When selecting your base layers, start with a delicate 16-inch rosary chain sitting close to the collarbone. Follow this with a 20-inch cable chain that rests on the upper chest, and anchor the look with a heavy 24-inch curb chain that dips below the neckline of a standard t-shirt or sweater.
Step 2: Execute the East London Layering Method
AllSaints styling is never perfectly symmetrical or overly polished. The goal is to achieve a look that appears curated but effortlessly thrown together. To execute the East London layering method, you must embrace mixed metals and asymmetry.
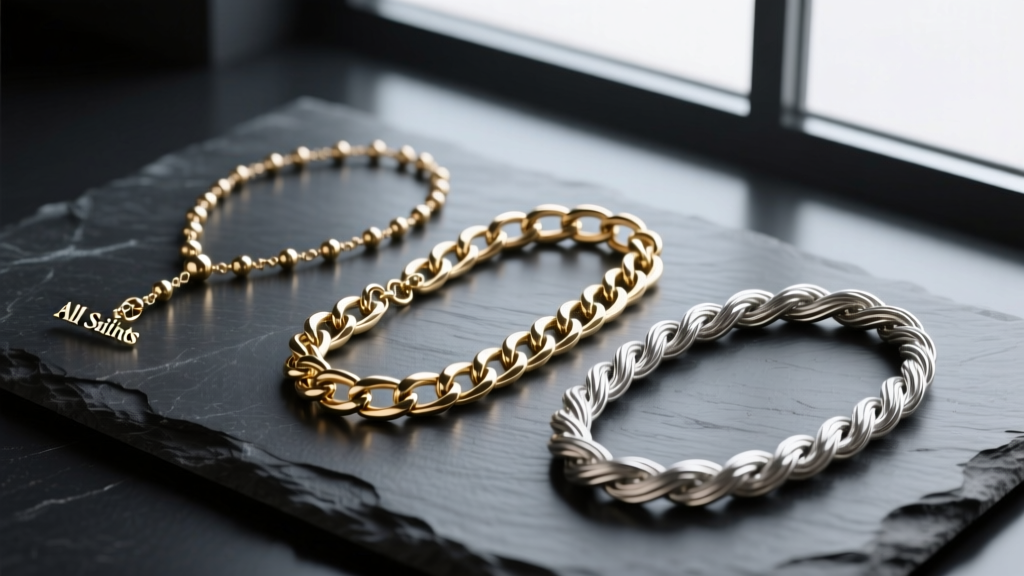
First, mix your metals. Pair an oxidized silver rosary chain with a raw brass curb chain. The contrast between the dark, blackened silver and the warm, muted gold tones of the brass creates a vintage, heirloom-like feel. Second, offset your pendants. Do not let every pendant rest perfectly in the center of your chest. Use the sliding clasps or jump rings to position a small safety pin pendant slightly to the left, while letting a heavier skull pendant hang slightly to the right. This asymmetry draws the eye across the entire layering setup rather than focusing on a single focal point.
Finally, consider the neckline of your garment. An All Saints necklace collection shines best against sheer blouses, deep V-necks, or the open collar of a distressed leather motorcycle jacket. Avoid high, ruffled collars which will compete with the intricate metalwork and cause unnecessary friction against the oxidized finishes.
Step 3: Preserve the Oxidized Patina (Cleaning Guide)
The most common mistake owners make with designer grunge jewelry is accidentally stripping the intentional oxidation. Because the blackened finish is a surface-level chemical reaction, harsh cleaning methods will remove it entirely, leaving you with a bright, shiny silver piece that loses its signature edge.
According to Jewelers of America, porous or treated silver requires specialized care. Here is your step-by-step cleaning protocol for an oxidized All Saints necklace:
- Never Use Silver Dip: Liquid silver cleaners contain thiourea, a chemical that instantly dissolves tarnish. This will strip the black patina from the crevices of your skull pendants and chain links.
- Avoid Ultrasonic Cleaners: The high-frequency vibrations combined with cleaning solutions can loosen the small jump rings and degrade the oxidized finish.
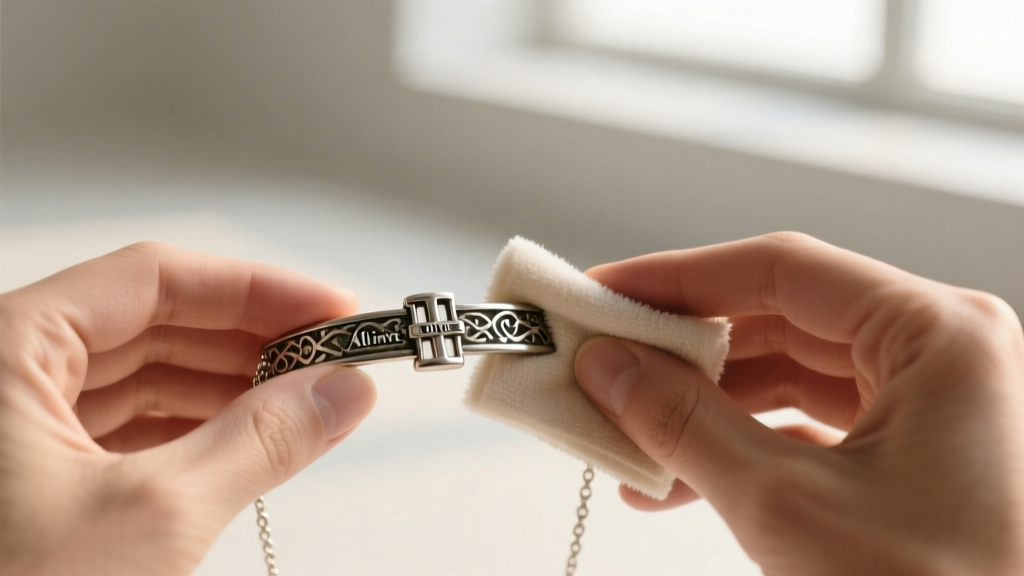
- Use a Dry Polishing Cloth: Use a specialized jeweler's cloth (such as a Sunshine cloth) and gently buff only the raised, high-relief areas of the metal. This maintains the bright contrast on the edges while leaving the dark recesses completely untouched.
- Spot Clean with a Q-Tip: For intricate pendants, wrap a microfiber cloth around a toothpick or Q-tip to gently polish the raised details without touching the darkened background.
Step 4: Troubleshoot Brass Tarnish and Clasp Stiffness
Wearing mixed-metal and brass jewelry daily comes with specific wear-and-tear issues. Here is how to troubleshoot the most common problems associated with heavy fashion jewelry.
Preventing the "Green Skin" Effect
Brass is an alloy of copper and zinc. When the copper reacts with the acids, salts, and moisture in your sweat, it creates copper chloride, which leaves a harmless but unsightly green residue on your skin. To prevent this without altering the look of your necklace, apply a micro-thin layer of a jeweler's lacquer, such as ProtectaClear, to the back of the brass pendants and the interior of the clasp. This creates an invisible, skin-safe barrier that prevents the chemical reaction while allowing the front of the piece to develop a natural, vintage patina.
Fixing Stiff Lobster Clasps
Heavier All Saints curb chains often utilize large lobster claw clasps. Over time, the internal spring mechanism can become stiff due to the accumulation of skin oils, lotions, and environmental dust. Do not force the clasp open, as this can snap the internal spring. Instead, use a toothpick to apply a microscopic drop of synthetic sewing machine oil directly into the hinge of the clasp. Work the lever back and forth a few times to distribute the lubricant, then wipe away any excess oil with a microfiber cloth to prevent it from attracting dirt.
Untangling Delicate Rosary Chains
The 0.8mm wire used in delicate rosary chains is highly prone to knotting, especially when layered with heavier pieces. If your chain becomes tangled, do not pull. Lay the necklace flat on a dark, non-slip surface. Apply a tiny drop of baby oil or olive oil directly to the center of the knot to reduce friction. Use two fine-point sewing needles to gently tease the wire links apart from the outside in. Once untangled, wash the oiled section with a drop of mild dish soap and warm water, then pat dry completely before storing.
Final Thoughts on Grunge Styling
Mastering the art of the All Saints necklace is about embracing imperfection. By understanding the metallurgy behind the oxidized finishes, adhering to the 4-inch drop rule for layering, and utilizing proper, non-destructive cleaning methods, you can maintain the rebellious, lived-in charm of your jewelry. Treat your chains not as delicate accessories, but as integral, evolving components of your personal uniform that grow more character-rich with every wear.


