How to Style, Layer, and Clean Your Gold Nugget Necklace
Master the nugget necklace. Learn step-by-step how to authenticate, layer, select chains, and safely clean natural and cast gold nuggets.

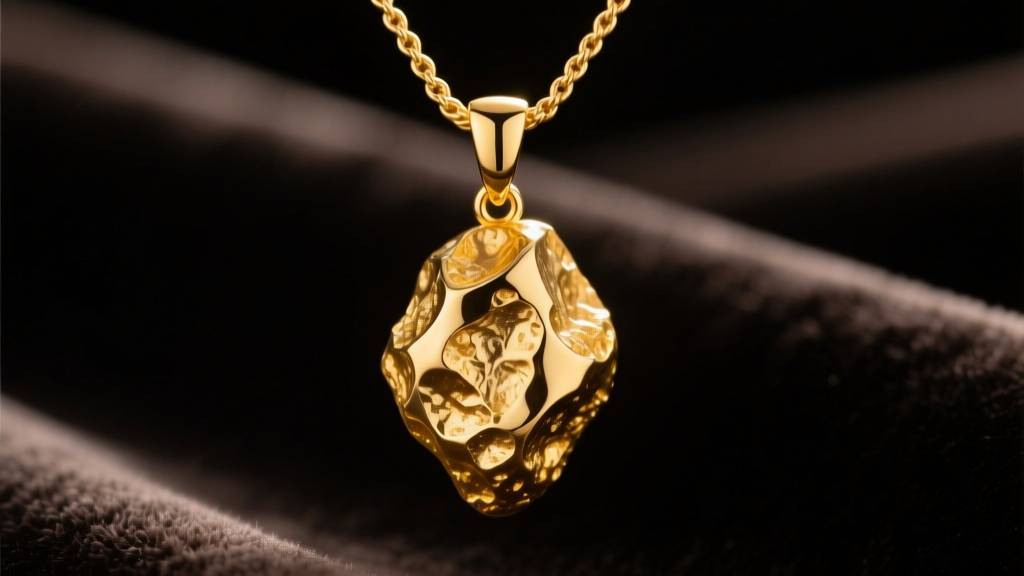
The nugget necklace has evolved from a regional staple of the American West and Australian outback into a global statement of organic luxury. Unlike mass-produced, geometric pendants, a gold nugget offers a raw, unrefined texture that catches the light in unpredictable ways. However, owning and styling a nugget necklace requires specific knowledge. Whether you are working with a natural placer gold nugget or a cast replica, the rules of hardware pairing, layering, and maintenance are vastly different from standard jewelry.
In this comprehensive guide, we break down the exact steps to authenticate, mount, layer, and clean your nugget necklace to ensure it remains a legacy piece for decades.
Step 1: Authenticate the Nugget (Natural vs. Cast)
Before you invest in high-end hardware or attempt to clean your piece, you must determine its origin. As of 2026, the market premium for genuine natural placer gold nuggets can be two to three times their intrinsic melt value, making authentication critical.
Visual and Textural Inspection
Natural nuggets are formed in hydrothermal veins and transported by water, resulting in smooth, water-worn edges with deep, organic crevices. They often contain inclusions of white quartz or iron pyrite. Cast nuggets, created via lost-wax casting, tend to have uniform surface pitting (resembling an orange peel) and lack the distinct crystalline structures found in natural specimens.
The Specific Gravity Test
According to the Gemological Institute of America (GIA), pure gold has a specific gravity (SG) of 19.3. A natural nugget alloyed with silver (electrum) or containing quartz inclusions will have a lower SG, typically between 15.0 and 18.0. You can perform a basic water displacement test at home using a digital pocket scale to measure the nugget's weight in air versus its weight suspended in water. If the SG reads exactly 19.3 and the piece is large, it is highly likely to be a cast piece of pure 24k gold, as natural nuggets are almost never 100% pure.
Step 2: Match the Chain to the Nugget Weight
A common failure point in nugget necklaces is the hardware. A heavy, irregularly shaped nugget creates dynamic stress on a chain when it snags on clothing or swings during movement. The chain must support at least three times the static weight of the pendant to prevent catastrophic clasp or link failure.
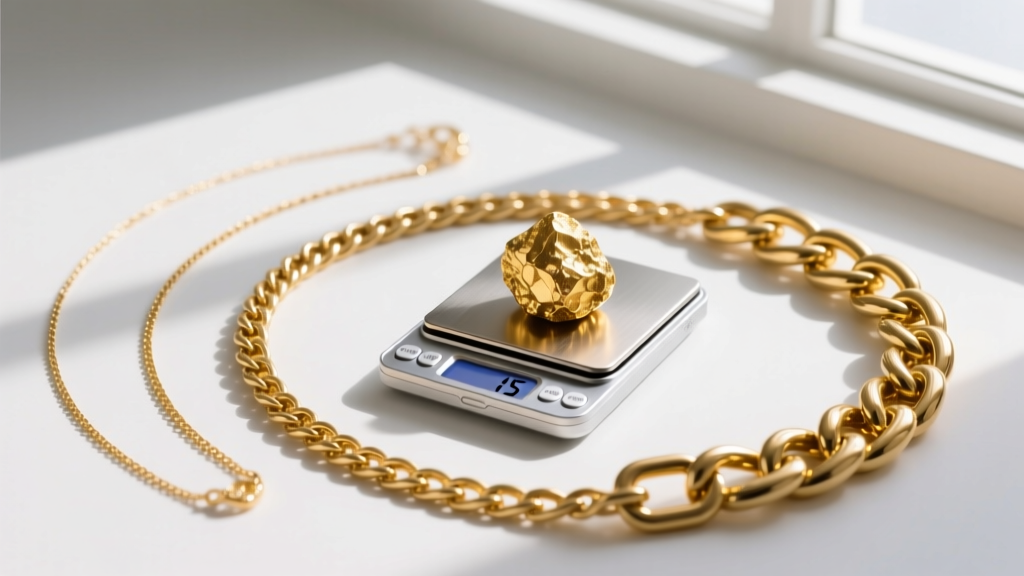
Chain Pairing Matrix
Use the following framework to select the appropriate chain gauge and clasp type based on your nugget's weight in grams.
| Nugget Weight | Recommended Chain Type | Thickness (mm) | Clasp Type | Bail Requirement |
|---|---|---|---|---|
| 5g - 15g | Rope or Figaro | 2.0mm - 3.0mm | Standard Lobster | Standard Soldered Bail |
| 15g - 30g | Figaro or Cuban Link | 3.5mm - 5.0mm | Heavy Lobster | Heavy V-Bail or Wire Wrap |
| 30g - 50g | Wheat or Box Chain | 4.0mm - 6.0mm | Locking Box Clasp | Custom Drilled Hole |
| 50g+ | Thick Cuban or Rope | 6.0mm - 10.0mm | Locking Box w/ Safety | Integrated Gold Cap Bail |
Pro Tip: Avoid hollow-core chains at all costs. A 4mm hollow rope chain may look substantial but will crush under the leverage of a 20-gram nugget. Always insist on solid-core links.
Step 3: Layering Techniques for Nugget Pendants
Because a nugget necklace is inherently loud and textured, layering it requires a strategic approach to avoid a cluttered, chaotic neckline. The goal is to frame the nugget, not compete with it.
The 3-Point Layering Framework
- The Anchor (16-18 inches): Start with a minimalist, high-polish chain. A 1.5mm solid cable chain or a delicate box chain in a contrasting metal (like oxidized silver or white gold) provides a subtle baseline that draws the eye downward.
- The Statement (20-22 inches): This is where your nugget necklace lives. The extra length allows the heavy pendant to rest on the sternum, preventing it from tangling with the anchor chain and allowing the light to hit the organic ridges of the gold.
- The Terminator (24+ inches): Finish with a matte-finished beaded chain or a leather cord with a small, understated geometric pendant (like a matte black onyx tube). This grounds the look and adds a modern, mixed-media edge.
"When layering heavy organic pieces like natural gold nuggets, always vary the textures. Pairing a high-polish gold nugget with a matte silver chain creates a sophisticated tension that elevates the entire ensemble." — Senior Stylist, Jewel Style Radar
Step 4: The Step-by-Step Safe Cleaning Protocol
Cleaning a nugget necklace is fraught with peril if you use standard jewelry cleaning methods. The Federal Trade Commission (FTC) and gemological experts warn against using harsh chemicals or mechanical cleaners on organic or included materials.
Why Ultrasonic Cleaners Are Dangerous
Never place a natural nugget in an ultrasonic cleaner. Natural nuggets frequently contain microscopic fissures filled with quartz or clay. The high-frequency vibrations of an ultrasonic bath can shatter the quartz inclusions or cause the nugget to fracture along its natural fault lines. Furthermore, if your nugget contains iron pyrite (fool's gold), the water and heat will cause the pyrite to oxidize and rust, permanently staining the gold.
The Safe Manual Cleaning Method
Follow this exact protocol to restore your nugget's luster without damaging its structural integrity:
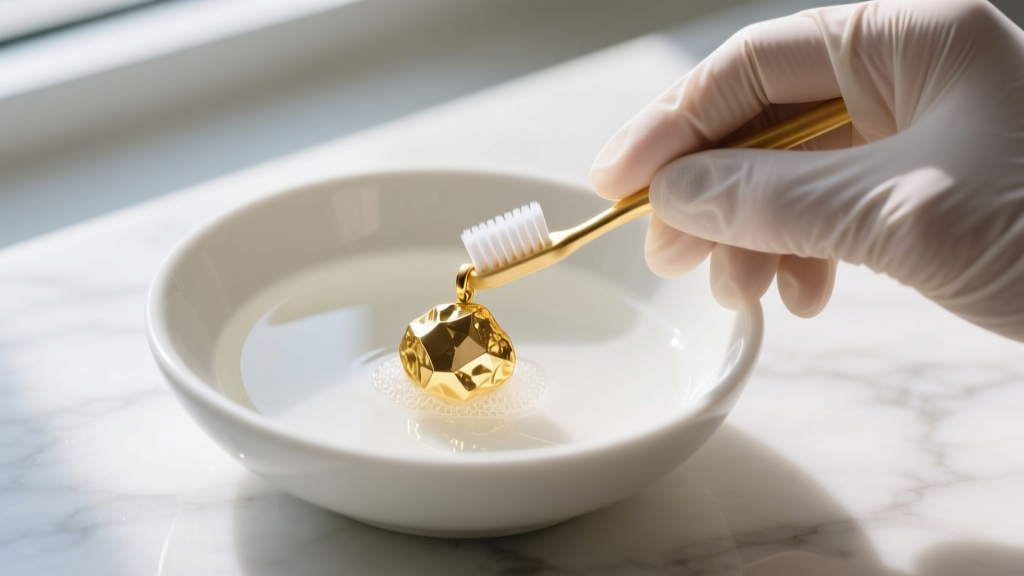
- Prepare the Solution: Fill a ceramic bowl with lukewarm distilled water and add three drops of mild, phosphate-free dish soap (like Dawn). Avoid tap water, as chlorine and fluoride can react with the silver or copper alloys naturally present in the nugget.
- Soak Briefly: Submerge the nugget necklace for exactly 5 to 10 minutes. This softens body oils and environmental dust trapped in the deep crevices.
- Agitate Gently: Using an extra-soft baby toothbrush, gently sweep the bristles across the surface of the nugget. Do not scrub aggressively; let the bristles do the work of lifting dirt from the pores.
- Rinse and Dry: Rinse the piece under a gentle stream of distilled water. Pat dry with a lint-free microfiber cloth. Use a wooden toothpick to gently dislodge any remaining moisture trapped in deep crevices.
Step 5: Long-Term Storage and Maintenance
Gold is a remarkably stable metal, but the alloys and inclusions within a nugget require specific storage conditions. Store your nugget necklace in a breathable, anti-tarnish flannel pouch rather than an airtight plastic bag. Plastic traps moisture, which can lead to the oxidation of copper or silver alloys present in lower-karat natural nuggets.
Finally, inspect the bail and the first two chain links every six months. The irregular shape of a nugget causes it to swing like a pendulum, creating friction at the bail hole. If you notice the gold thinning at the drill site or the bail loop, take it to a master jeweler for a TIG weld reinforcement before the pendant is lost.
By understanding the unique geological and physical properties of your nugget necklace, you transform it from a simple accessory into a meticulously curated, legacy-grade artifact.


