How to Style, Layer, and Craft a Pumpkin Necklace
Master the art of the pumpkin necklace. Learn step-by-step layering techniques, material selection, and DIY enameling tips for autumn jewelry styling.

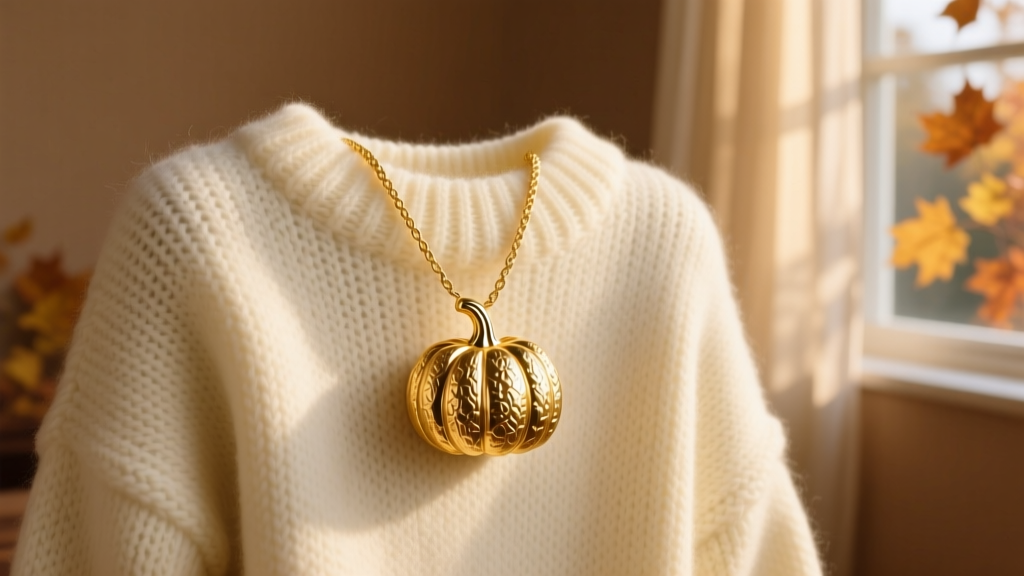
The Anatomy of a Perfect Pumpkin Necklace
As we navigate the 2026 autumn season, the pumpkin necklace has evolved far beyond cheap, mass-produced costume jewelry. Today's discerning collectors and jewelry enthusiasts seek out seasonal pieces that boast heirloom quality, intricate metallurgy, and versatile styling potential. Whether you are purchasing a luxury charm or crafting one from scratch, understanding the anatomy of a high-quality gourd pendant is essential.
A premium pumpkin necklace typically begins with a solid base metal. While stamped brass is common in fast fashion, fine jewelers prefer cast 925 sterling silver or 14k gold vermeil. Sterling silver provides a durable, hypoallergenic foundation that can withstand decades of seasonal wear. When evaluating a pumpkin charm, look for three-dimensional casting with undercut details—such as deeply carved ridges and an integrated stem loop—rather than flat, two-dimensional stampings which lack visual depth.
Selecting the Right Chain Gauge
The most common failure point in seasonal pendant jewelry is a mismatched chain. A heavy cast-silver pumpkin charm will easily snap a delicate cable chain. To ensure longevity, you must match the chain gauge to the pendant's weight and bail size.
| Chain Gauge (mm) | Chain Style | Max Pendant Weight | Best For |
|---|---|---|---|
| 0.8mm - 1.0mm | Rope / Cable | Under 5 grams | Lightweight, hollow-cast or flat enamel pumpkins |
| 1.2mm - 1.5mm | Box / Curb | 5 to 12 grams | Solid 3D sterling silver miniature pumpkins |
| 2.0mm - 2.5mm | Figaro / Wheat | 12 to 25+ grams | Oversized, gemstone-set, or heavy bronze statement pieces |
Always ensure the jump ring connecting the pendant to the chain is soldered closed or crafted from a thicker gauge wire (at least 18-gauge) to prevent the charm from slipping off during wear.
Step-by-Step Guide to Layering Your Pumpkin Pendant
A pumpkin necklace shines brightest when integrated into a curated, multi-strand stack. The key to successful layering is maintaining a strict two-inch length variance between each chain to prevent tangling and ensure each piece is visible against your neckline.
- Step 1: The Base Choker (14-15 inches). Start with a simple, non-seasonal anchor. A 14-inch 18k gold bead chain or a minimalist pearl choker provides a sophisticated framing device for the collarbone.
- Step 2: The Focal Pumpkin (17-18 inches). Your pumpkin necklace should sit precisely at the hollow of the throat or just below the collarbone. An 18-inch rope chain with a 1.5mm gauge is ideal for holding a mid-sized enameled pumpkin charm.
- Step 3: The Elongating Lariat (22-24 inches). Finish the stack with a long, vertical element to draw the eye downward. A 24-inch lariat featuring a simple geometric bar or a solitary citrine drop complements the organic, rounded shape of the pumpkin without competing for attention.
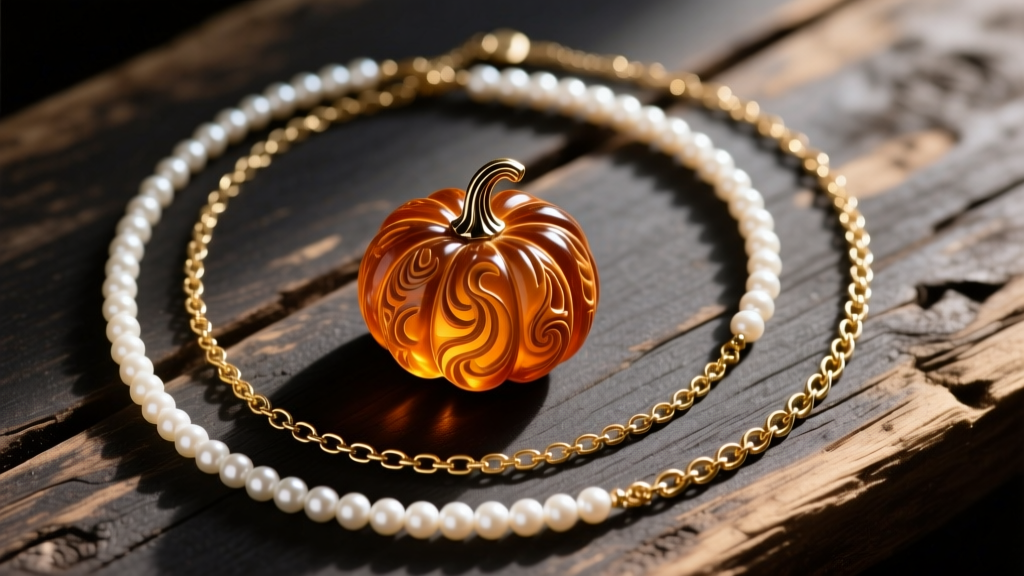
When styling for different garments, adjust your focal length. For a high crew-neck sweater, extend the pumpkin chain to 20 inches so it rests on the fabric. For deep V-necks or scoop necks, keep the pendant at 16-17 inches so it rests directly on the skin.
DIY Tutorial: Creating a Cloisonné Enamel Pumpkin Charm
For the advanced metalsmith, crafting your own pumpkin necklace using the ancient art of cloisonné enameling yields unparalleled results. Vitreous enamel (fused glass) offers a vibrant, fade-resistant orange that cold epoxy resins simply cannot match over time. According to the experts at Rio Grande, proper temperature control and wire preparation are the secrets to flawless cloisonné.
Tools and Materials Required
- Fine silver sheet (24-gauge) for the base
- Fine silver cloisonné wire (0.010 x 0.040 inches)
- Vitreous enamel frit (opaque orange, yellow, and green for the stem)
- Agate burnisher and specialized enamel tweezers
- Kiln capable of reaching 1450°F (788°C)
The Enameling Process
Begin by cutting your 24-gauge fine silver sheet into a small, domed pumpkin shape. Dome the metal slightly using a dapping block; this counter-enamel structure prevents the piece from warping under the extreme heat of the kiln. Next, use your tweezers to bend the fine silver cloisonné wire into the vertical ridges characteristic of a pumpkin, as well as a small curled stem at the top.
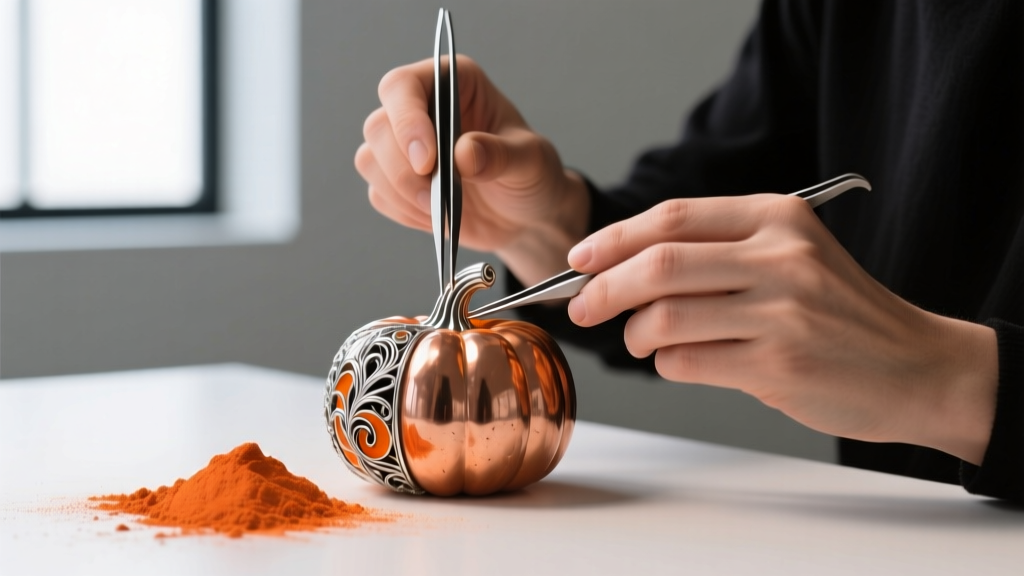
Fire the base with a layer of flux enamel to seal the metal. Once cleaned, carefully lay your silver wires onto the surface using a thin coat of Klyr-Fire adhesive. Fire the piece at 1450°F until the wires sink into the flux. Finally, wet-pack your vibrant orange and green enamel frits into the designated cells, firing and adding layers until the glass is perfectly level with the silver wires. Finish by stoning the surface flat with a carborundum stone and polishing to a high-gloss shine.
Maintenance and Tarnish Prevention
Autumn jewelry is often exposed to fluctuating humidity, wool sweaters, and seasonal lotions, all of which accelerate tarnishing and material degradation. The Gemological Institute of America (GIA) notes that sterling silver tarnishes primarily due to exposure to sulfur compounds in the air and moisture.
Expert Care Tip: Never use liquid silver dip cleaners on an enameled or oxidized pumpkin necklace. The harsh thiourea chemicals in liquid dips will strip the intentional black oxidation from the pumpkin's ridges and can permanently cloud the surface of vitreous enamel.
Instead, use a dry, untreated microfiber cloth to gently buff the high-polish areas after each wear. Store your pumpkin necklace in an airtight polyethylene bag alongside a 3M anti-tarnish strip. This simple step absorbs ambient sulfur and will keep your sterling silver or copper base gleaming brightly, ensuring your handcrafted or curated piece remains a staple of your autumn wardrobe for decades to come.


