Master the Layered Initial Necklace: A Step-by-Step Guide
Learn how to perfectly style a layered initial necklace. Discover expert tips on chain lengths, metal grades, tangling prevention, and neckline pairing.

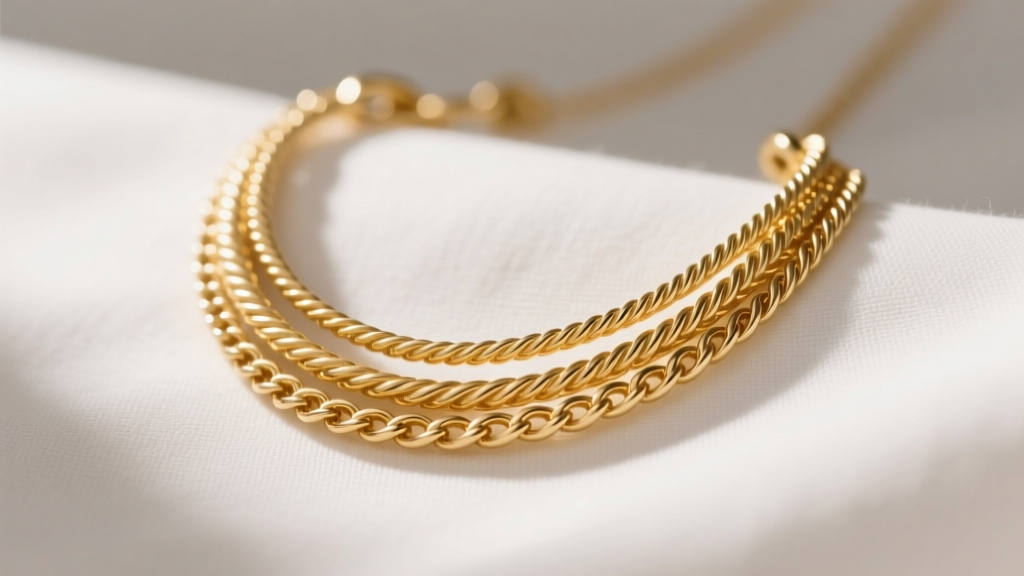
The Anatomy of a Perfect Initial Necklace Stack
The personalized jewelry market has seen a massive resurgence, with the JCK Magazine noting that initial and monogram pieces remain at the forefront of consumer demand. However, wearing a single initial pendant is no longer enough. The modern aesthetic demands depth, texture, and a curated stack. Mastering the layered initial necklace requires more than just throwing three chains around your neck; it requires an understanding of visual weight, metallurgy, and spatial distribution.
When executed correctly, a layered initial stack acts as a focal point that draws the eye and frames the face. When done poorly, it results in a tangled, unbalanced mess that hides the very initials you want to showcase. This guide breaks down the exact framework jewelry stylists use to build flawless, tangle-free initial necklace layers.
Step 1: Selecting Chain Lengths and Gauges
The most common mistake in layering is choosing chains that are too similar in length. If two chains sit within a half-inch of each other, they will compete for the same physical space, leading to friction and inevitable tangling. To create a cascading effect that allows each initial pendant to be legible, you must adhere to the Two-Inch Rule.
The Two-Inch Rule dictates that each subsequent layer in your stack must be at least two inches longer than the one above it. This provides enough physical clearance for the pendants to hang freely without overlapping.
The Chain Length & Pendant Size Matrix
| Layer Position | Chain Length | Chain Gauge | Ideal Initial Pendant Size | Visual Role |
|---|---|---|---|---|
| Base (Top) | 14" - 15" | 0.8mm - 1.0mm | 6mm - 8mm (Mini) | Subtle anchor, sits near the collarbone hollow. |
| Middle (Focal) | 16" - 18" | 1.2mm - 1.5mm | 10mm - 12mm (Standard) | The primary statement piece, often featuring diamond accents. |
| Bottom (Anchor) | 20" - 22" | 1.5mm - 2.0mm | 14mm+ or Coin/Bar | Grounds the stack, rests on the upper chest. |
Notice the progression in chain gauge (thickness). A delicate 0.9mm cable chain pairs beautifully with a tiny 6mm initial, while a heavier 1.8mm rolo or box chain is required to support a larger, heavier 14mm solid gold initial without the chain bowing or breaking under the pendant's weight.
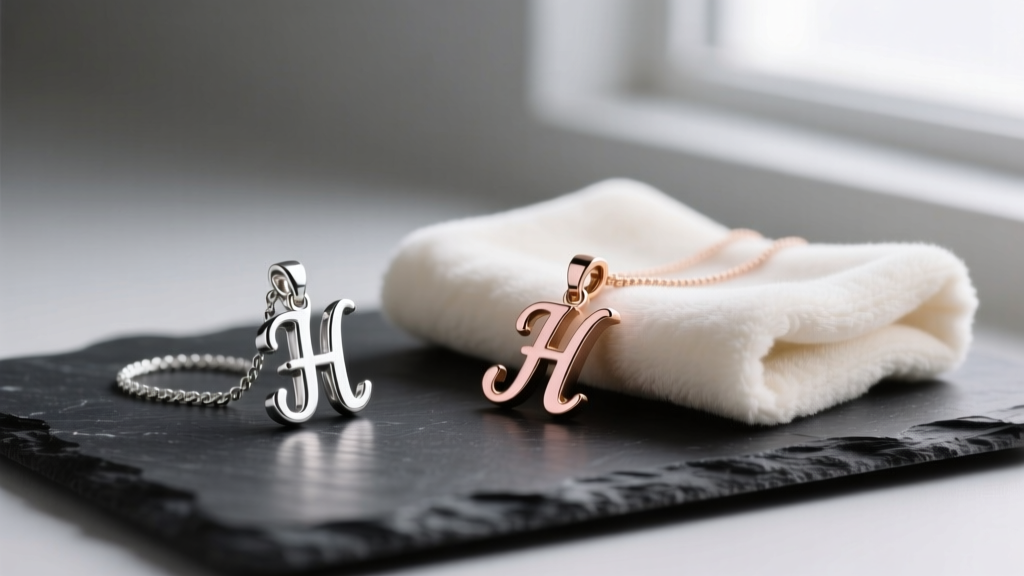
Step 2: Mastering Metal Grades and Textures
Mixing metals was once considered a fashion faux pas, but it is now a hallmark of advanced styling. However, mixing metals in a layered initial necklace requires an understanding of metal grades to ensure your pieces wear evenly over time.
Understanding Gold Vermeil vs. Gold Plated
If you are mixing solid gold pieces with more affordable alternatives, you must know the difference between gold vermeil and standard gold plating. According to the Gemological Institute of America (GIA), true gold vermeil must have a base of sterling silver (925) and be plated with at least 10k gold, though high-quality jewelers use 14k or 18k gold with a thickness of at least 2.5 microns. Standard gold-plated jewelry often uses a brass or copper base with a microscopic layer of gold (less than 0.5 microns) that will quickly wear off against the friction of a layered stack.
Texture Contrast
To prevent your layered initial necklace from looking like a uniform block of metal, mix chain textures. Pair a smooth, reflective box chain with a matte or textured rolo chain. The contrast in how the light hits the different links adds a three-dimensional quality to your stack, making the initials pop rather than getting lost in a sea of identical links.
Step 3: The Anti-Tangle Protocol
Tangling is not bad luck; it is a matter of physics. When chains of the exact same link shape and size rub against each other, the links act like microscopic gears, interlocking and knotting. To prevent this, implement the following anti-tangle protocols:
- Vary the Link Shapes: Never layer two cable chains together. Pair a cable chain with a figaro, box, or snake chain. The differing geometries prevent the links from catching on one another.
- Use a Necklace Spacer: For a foolproof solution, invest in a gold or sterling silver necklace detangler clasp. This single hardware piece features multiple loops that anchor the ends of your chains at fixed intervals, guaranteeing they remain perfectly spaced at the back of your neck.
- Clasp Placement: Always ensure the clasps of your layered necklaces are staggered at the nape of your neck. If three lobster clasps stack directly on top of each other, they will create a heavy, uncomfortable lump that pulls the front pendants out of alignment.
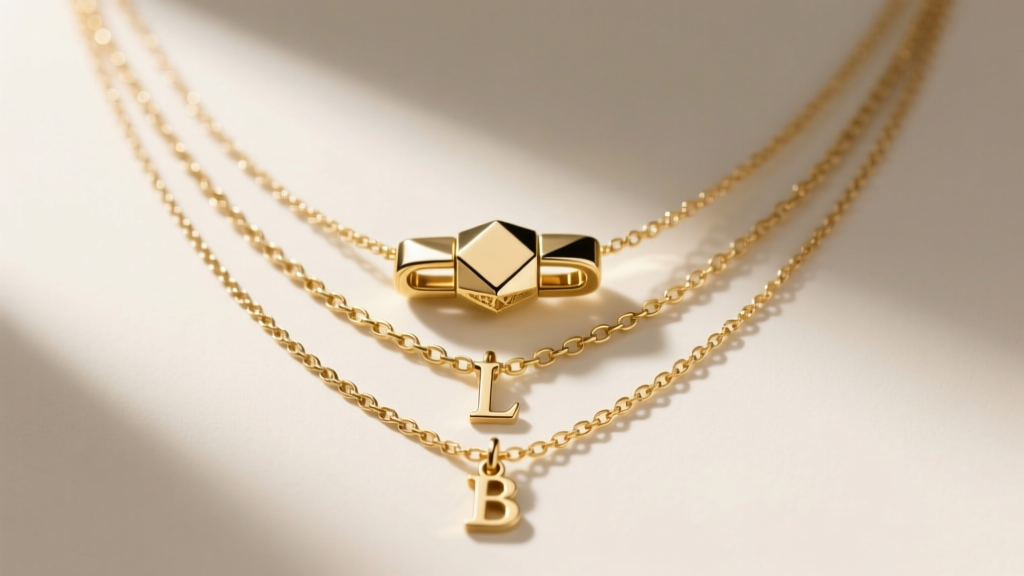
Expert Insight: If your initial pendants feature pavé diamond accents, friction from tangling can actually loosen the prongs over time. Keeping your layers separated isn't just about aesthetics; it protects the structural integrity of your gemstone settings.
Step 4: Neckline Pairing Framework
A perfectly curated layered initial necklace can be visually ruined if paired with the wrong neckline. The goal is to create a harmonious geometric relationship between the jewelry and the garment.
The V-Neck and Plunging Necklines
V-necks naturally create a downward visual vector. Your layered initial stack should mimic this shape. Use a 14-inch choker-length initial, an 18-inch medium initial, and finish with a 22-inch chain featuring a vertical bar or elongated initial pendant. This elongates the neck and torso.
The Crew Neck and High Collars
High necklines require shorter, tighter stacks that sit entirely above the fabric line. Stick to a two-layer stack: a 14-inch and a 16-inch chain. If the bottom chain dips into the fabric of a crew neck sweater, it will catch, pull, and ruin the drape of both the jewelry and the garment.
The Square Neck and Off-Shoulder
Square necklines provide a horizontal frame. To contrast this, use a single, bold 18-inch initial pendant on a slightly heavier chain, or a very tight three-layer stack (14", 15", 16") that sits entirely within the exposed skin of the décolletage, acting almost like a choker arrangement.
Maintenance: Caring for Your Layered Pieces
Because layered necklaces are subjected to constant friction, they require specific maintenance routines. Never store your layered initial stack tangled together in a jewelry box. Hang them individually on a multi-tier jewelry stand, or lay them flat in a segmented anti-tarnish box.
When cleaning, avoid harsh ultrasonic cleaners if your initial pendants feature soft gemstones like opals, pearls, or turquoise, which are sometimes used as birthstone accents alongside the letters. Instead, use a few drops of mild dish soap in warm water, gently agitate with a soft-bristled baby toothbrush, and dry thoroughly with a microfiber cloth before storing. By respecting the metallurgy and spatial dynamics of your jewelry, your layered initial necklace will remain a sophisticated, tangle-free staple in your wardrobe for years to come.


