How to Layer and Care for a Plunder Lottie Necklace
Master the art of layering and maintaining your Plunder Lottie necklace. Learn exact chain gauges, pairing matrices, and patina care tips.

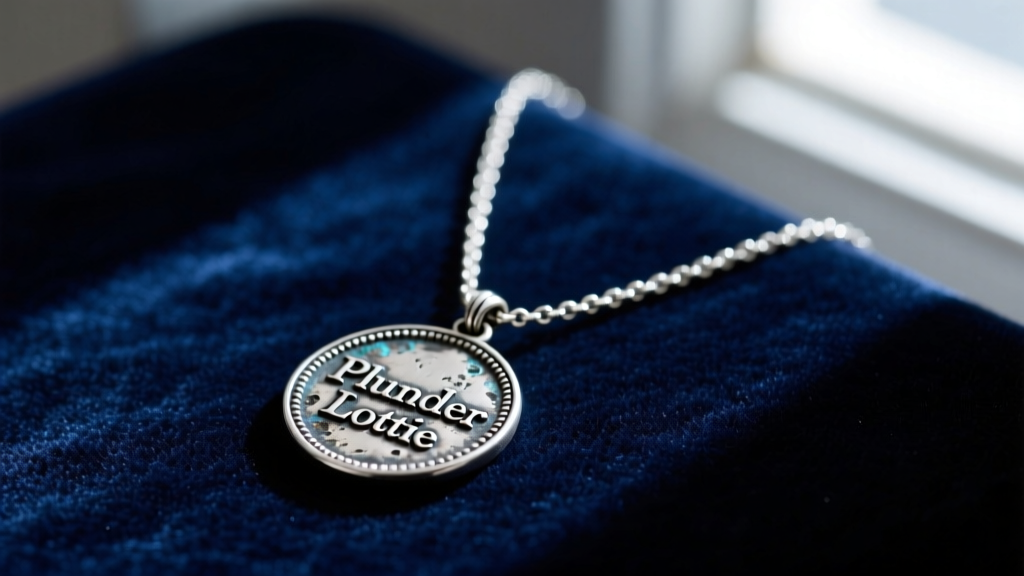
The curated vintage and artisan jewelry market has seen a massive resurgence, and at the center of this movement is the highly coveted Plunder Lottie necklace. Known for its intricate, antique-inspired medallion and mixed-metal aesthetic, the Lottie piece is a masterclass in wearable history. However, owning such a distinct statement piece is only half the battle; knowing how to properly layer it without causing chain friction, and maintaining its intentional oxidized patina, requires specific technical knowledge. As we navigate the jewelry trends of 2026, the contrast between raw, darkened metals and high-polish accents remains a dominant styling choice. This comprehensive guide will walk you through the exact anatomy, layering mechanics, and maintenance protocols required to get the most out of your Plunder Lottie necklace.
Understanding the Plunder Lottie Necklace Anatomy
Before attempting to layer or clean the necklace, you must understand its physical construction. The authentic Plunder Lottie necklace typically features a 22mm by 18mm cast medallion pendant. The base metal is usually 925 sterling silver that has undergone a chemical oxidation process to darken the recesses of the casting, highlighting the ornate, vintage-style engravings. Accents are often plated in 14k gold vermeil to create a striking bi-metal contrast.
The stock chain is generally a 1.2mm sterling silver cable chain, terminating in a standard 18-inch length with a 5mm lobster clasp. This specific 1.2mm gauge is delicate enough to slide through most pendant bails but requires careful pairing when layering to prevent the heavier pendant from pulling the chain out of alignment or causing micro-abrasions against softer gold chains.
Step-by-Step Layering Framework
Layering a heavy, textured piece like the Plunder Lottie necklace requires an understanding of chain physics. If you layer chains of the exact same gauge and link style, they will interlock and tangle within minutes due to friction and electrostatic attraction. To achieve a flawless, tangle-free stack, follow this three-tier framework.
Step 1: The Base Layer (16-Inch)
Your top chain should sit at the collarbone, measuring exactly 16 inches. To contrast the 1.2mm cable chain of the Lottie, select a 1.5mm or 2.0mm rope chain or herringbone chain. The differing link structures ensure the chains slide past one another rather than catching. A polished 14k yellow gold rope chain provides a brilliant backdrop that makes the oxidized silver of the Lottie pendant pop.
Step 2: The Focal Point (18-Inch Lottie)
The Plunder Lottie necklace serves as your anchor layer. Worn at its native 18-inch length, the 22mm medallion will rest perfectly in the sternal notch. Ensure the lobster clasp is secured at the base of your neck, and use a small drop of clear nail polish on the clasp spring mechanism if you experience it snagging on your hair.
Step 3: The Anchor Layer (20-to-22-Inch)
To frame the Lottie pendant and draw the eye downward, add a 20-inch or 22-inch box chain. A 2.5mm oxidized silver or darkened brass box chain adds weight to the bottom of the stack, preventing the lighter 16-inch chain from riding up your neck. The rigid, geometric links of a box chain offer a sharp visual contrast to the organic, vintage curves of the Lottie medallion.
Neckline Pairing Matrix
The visual weight of the Plunder Lottie necklace demands strategic neckline pairings. The medallion's dark patina can get lost against busy patterns or dark, textured fabrics. Use the matrix below to optimize your styling based on your wardrobe.
| Neckline Type | Recommended Stack Configuration | Styling Notes |
|---|---|---|
| Deep V-Neck | 16" Choker + 18" Lottie + 22" Chain | The V-shape naturally follows the layering cascade, elongating the neck and framing the medallion perfectly. |
| Crew Neck | 18" Lottie Only | Wear the Lottie solo over a crisp white or cream crew neck tee. The high contrast highlights the oxidized detailing. |
| Scoop Neck | 18" Lottie + 20" Delicate Chain | Keep the stack minimal to avoid cluttering the exposed décolletage. Let the medallion be the sole focal point. |
| Turtleneck | 20" Lottie (Extended) + 24" Chain | Use a chain extender to drop the Lottie to 20 inches so it rests on the fabric rather than choking the collar. |
Maintenance and Patina Preservation
The most common mistake owners make with the Plunder Lottie necklace is aggressively polishing it, which strips the intentional chemical oxidation (patina) from the recessed areas of the medallion, leaving it flat and overly bright. According to gemological and metallurgical care standards outlined by the Gemological Institute of America (GIA), mixed-metal and oxidized pieces require highly specific cleaning protocols.
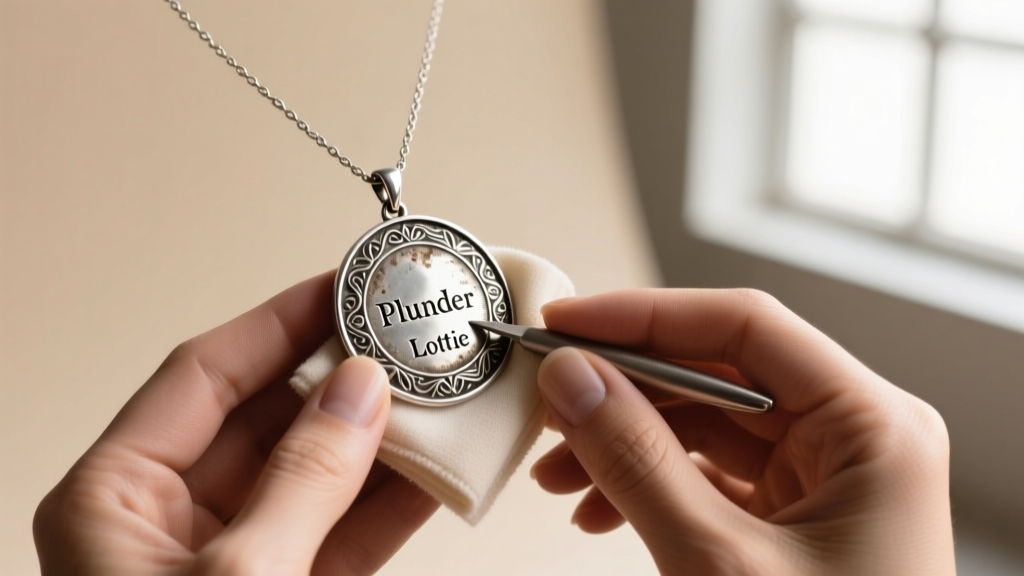
- Dry Polishing Only: Never use liquid silver dips or ultrasonic cleaners. These will instantly strip the darkened antiquing. Instead, use a dry, untreated microfiber cloth to gently wipe away skin oils and environmental dust from the high-polish areas.
- Targeted Brightening: If the 14k gold vermeil accents begin to dull, use a specialized gold polishing cloth (such as those made by Town Talk Polishing Co., as recommended in their official jewelry care guidelines). Gently dab the gold areas, strictly avoiding the silver recesses.
- Moisture Avoidance: The porous nature of oxidized silver means that prolonged exposure to humidity, sweat, or chlorine can cause the darkened finish to flake or turn an unnatural greenish-black. Always remove the necklace before swimming or exercising.
Troubleshooting Common Clasp and Chain Issues
Vintage-inspired hardware often mimics antique casting methods, which can sometimes result in stiff clasps or delicate links. Here is how to troubleshoot the most common mechanical issues with your Lottie necklace.
Stiff or Sticky Lobster Clasps
If the 5mm lobster clasp becomes difficult to open, do not force the lever, as the internal tension spring is prone to snapping. Instead, apply a microscopic drop of synthetic sewing machine oil to the hinge pin using a sewing needle. Work the lever back and forth gently to distribute the lubricant, then wipe away any excess oil with a cotton swab to prevent dust accumulation.
Chain Kinking and Tangling
The 1.2mm cable chain is susceptible to kinking if stored improperly. If a kink forms, lay the chain flat on a hard surface. Take a standard straight pin and gently work the tip into the center of the kinked link, applying light lateral pressure to pop the link back into its circular shape. To prevent future tangling in your jewelry box, thread the chain through a plastic drinking straw and clasp it shut before storing.
Vermeil Wear on the Pendant Bail
The bail (the loop connecting the pendant to the chain) experiences the highest friction. Over time, the 14k gold vermeil on the bail may wear down to the sterling silver base. This is a natural wear pattern. To slow this process, ensure you are using a smooth cable or rope chain rather than a sharp-edged box chain, which acts like a micro-file against the gold plating.
By respecting the unique material properties of the Plunder Lottie necklace and applying these precise layering and care techniques, you ensure that this artisan piece remains a versatile, breathtaking staple in your jewelry collection for years to come.