Mastering Layered Gold Necklaces: A Beginner's Guide
Learn how to style layered gold necklaces without tangling. Discover chain pairings, length formulas, and karat tips for the perfect everyday stack.

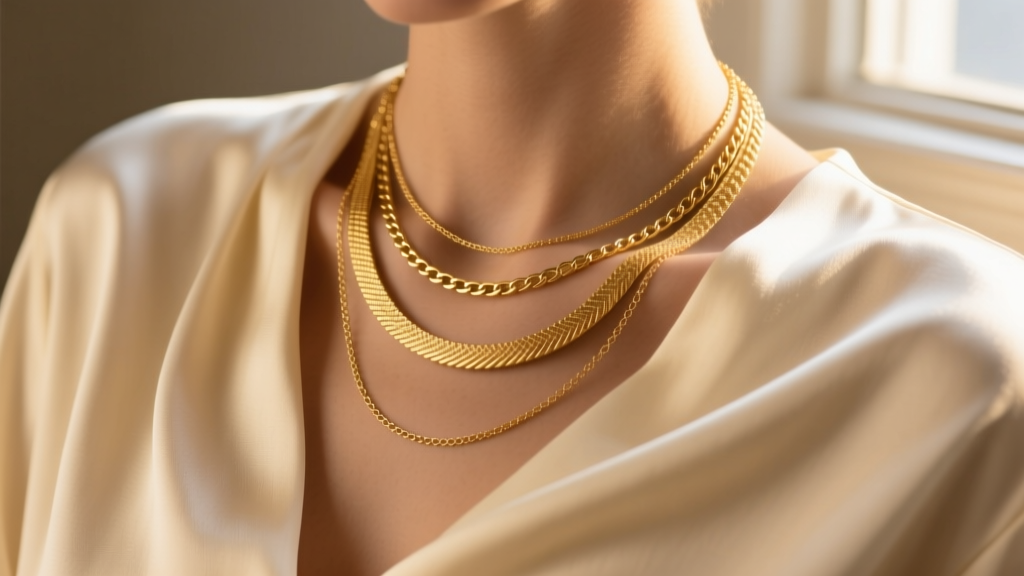
The Anatomy of a Perfect Gold Stack
Building a curated stack of layered gold necklaces is less about random accumulation and more about structural engineering. The most common mistake beginners make is choosing chains with identical lengths and similar link sizes, which guarantees a tangled mess within minutes. To achieve a effortless, professional-looking drape, you must adhere to the Two-Inch Rule. This dictates that each subsequent layer in your stack should be at least two inches longer than the one above it.
A standard beginner stack utilizes three distinct length zones:
- The Anchor (14-15 inches): Sits snugly on the collarbone. Best reserved for delicate chains (0.9mm to 1.2mm) or a simple gold choker.
- The Focal Point (16-18 inches): Rests on the upper chest. This is where you introduce a pendant or a medium-weight chain (2mm to 3mm). Ensure the pendant weight does not exceed 3 grams if the chain is under 1.5mm, or you risk micro-stretching the links over time.
- The Statement (20-24 inches): Falls lower on the torso. Ideal for heavier, textured chains like rope or thick curb links that provide visual weight and balance the upper layers.
Chain Styles That Play Well Together
Texture contrast is the secret to preventing friction-based tangling. When two chains have the exact same surface texture and link size, they act like gears, catching and twisting around one another. By mixing chain profiles, you allow them to glide past each other smoothly.
| Chain Style | Profile & Texture | Durability & Failure Modes | Best Layering Role |
|---|---|---|---|
| Cable | Round, uniform oval links. Classic and highly reflective. | Very durable. Solder points can snap if subjected to sharp lateral pulling. | Middle layer; ideal for holding lightweight pendants. |
| Herringbone | Flat, fluid, and seamless. Lies flush against the skin. | Low durability. Prone to permanent kinking (plastic deformation) if bent sharply or slept in. | Base layer; provides a sleek, metallic backdrop for textured chains. |
| Paperclip | Elongated, hollow or solid rectangular links. Modern and airy. | Medium durability. Hollow versions dent easily; solid versions are robust but heavy. | Statement layer; adds high visual impact without excessive weight. |
| Curb | Interlocking, flattened links. Dense and highly structured. | Extremely high durability. Resists pulling and twisting forces exceptionally well. | Outer layer; anchors the stack with masculine or bold geometric energy. |
The Karat Conundrum: 14k vs. 18k for Daily Wear
When investing in solid gold layering pieces, understanding metallurgy is crucial for longevity. Pure 24k gold is far too soft for jewelry, bending and warping under the tension of daily wear. Therefore, gold is alloyed with metals like copper, silver, and zinc to increase its Vickers hardness.
According to the Gemological Institute of America (GIA), the karat system dictates the ratio of pure gold to alloy. 18k gold (75% pure gold) offers a rich, buttery yellow hue but is relatively soft. It is more susceptible to surface scratching and link distortion if you frequently wear heavy pendants. 14k gold (58.5% pure gold) contains a higher percentage of strengthening alloys, making it significantly more resistant to tension, pulling, and clasp fatigue.
For a beginner building a daily-wear stack that will endure friction, sleeping, and active lifestyles, 14k solid gold is the superior structural choice. Reserve 18k or 22k gold for special-occasion pieces that won't be subjected to the mechanical stress of a multi-layer stack. The World Gold Council also notes that higher alloy content in 14k gold can slightly alter the color temperature, sometimes giving it a warmer or rosier undertone depending on the copper-to-silver ratio used by the manufacturer.
How to Stop Layered Gold Necklaces From Tangling
Even with perfect length spacing and mixed textures, environmental factors and body movement can cause chains to knot. Here are three expert-level troubleshooting methods to keep your stack pristine:
- Upgrade Your Clasps: The standard spring-ring clasp is notorious for internal spring fatigue and accidental snags. Upgrade the heaviest chain in your stack to a lobster clasp, which provides a more secure, tension-resistant closure.
- Use a Necklace Spacer: If you prefer the look of identical chains layered together, invest a multi-strand clasp or necklace spacer (typically priced between $20 and $45). These small gold or silicone bars connect multiple chains at the nape of the neck, locking them into parallel tracks and making tangling physically impossible.
- The Silicone Mat Method for Untangling: Never pull a knotted gold chain in the air. Lay the tangled stack flat on a silicone jewelry mat or a piece of parchment paper. Apply a single drop of baby oil to the knot, and use two fine sewing needles to gently push the links apart from the center outward. The silicone provides grip, preventing the chain from slipping while you work.
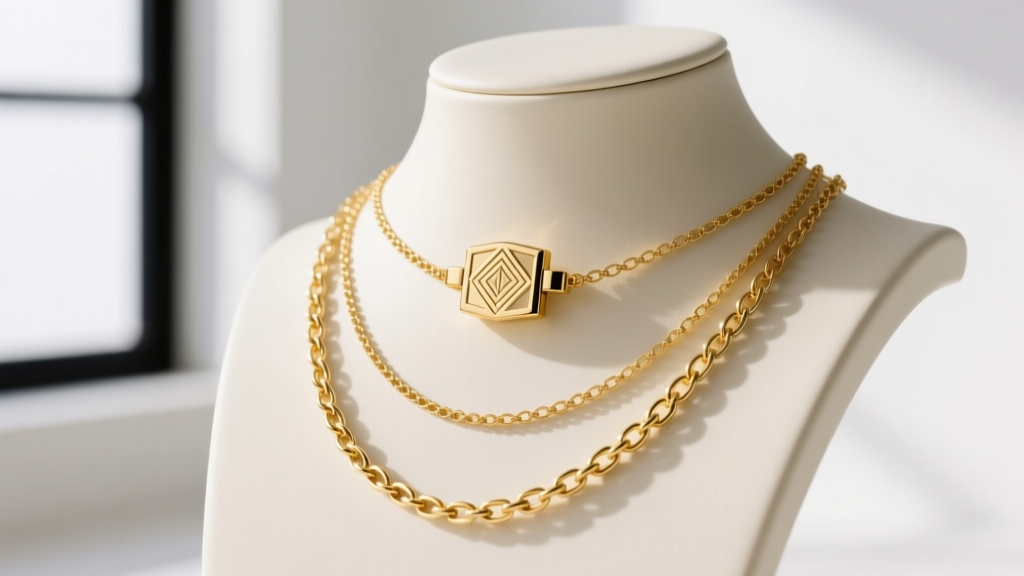
A Beginner’s Blueprint: 3 Foolproof Layering Formulas
If you are unsure where to start, use these tested layering recipes. They balance weight, texture, and price points to create a harmonious drape.
Formula 1: The Minimalist Everyday Stack
- Layer 1: 14-inch 1.2mm 14k Gold Herringbone Chain (approx. $120)
- Layer 2: 16-inch 1.5mm 14k Gold Cable Chain with a 2mm Solitaire Diamond or Moissanite Pendant (approx. $250)
- Why it works: The flat herringbone reflects light continuously, while the delicate cable chain allows the pendant to take center stage without competing for attention.
Formula 2: The Textured Statement
- Layer 1: 16-inch 2mm 14k Gold Rope Chain (approx. $180)
- Layer 2: 18-inch 4mm 14k Gold Paperclip Chain (approx. $300)
- Layer 3: 20-inch 5mm 14k Gold Curb Chain (approx. $450)
- Why it works: This stack relies entirely on chain architecture rather than pendants. The twisted rope, hollow paperclip, and flat curb provide three completely different light-catching surfaces, eliminating friction and tangling.
Expert Styling Tip: Always put your necklaces on in order from shortest to longest, and take them off in the exact reverse order (longest to shortest). This simple habit prevents the longer chains from looping over the shorter clasps during removal, which is the primary cause of severe knotting.
Mastering layered gold necklaces is an exercise in proportion and material science. By respecting the two-inch rule, mixing chain geometries, and choosing the right karat for your lifestyle, you will build a stack that looks intentionally curated and remains tangle-free for years to come.


