How to Tie a Knot for a Necklace: Essential Maintenance Guide
Learn how to tie a knot for a necklace to secure pendants, repair broken cords, and maintain pearl strands with expert jewelry care techniques.

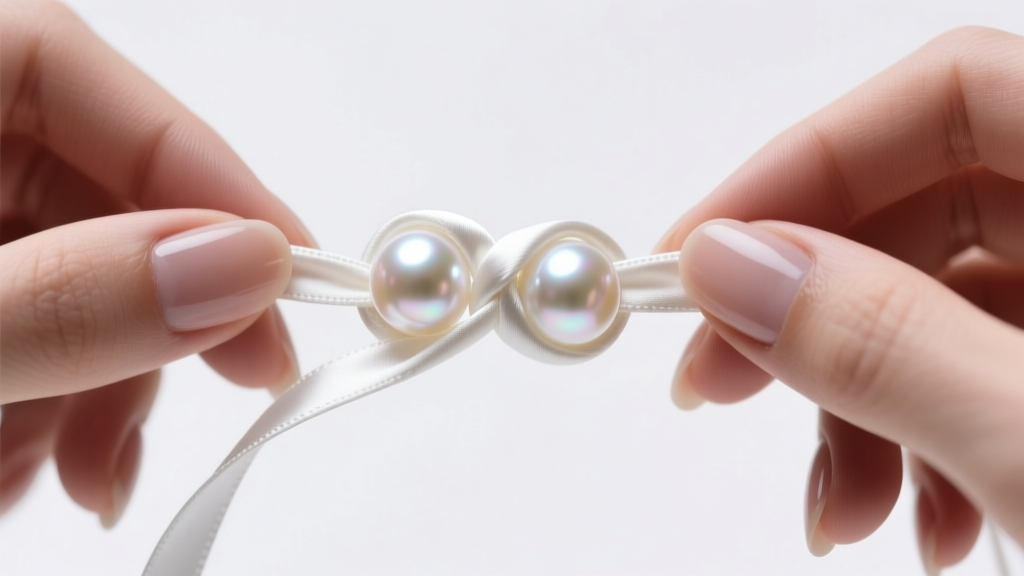
Knowing how to tie a knot for a necklace is one of the most valuable, yet frequently overlooked, skills in jewelry maintenance. Whether you are restringing a vintage pearl strand, securing a heavy gemstone pendant on a leather cord, or simply adjusting the length of a macramé piece, the structural integrity of your necklace relies entirely on the quality of your knots. In 2026, with the rising cost of precious gems and artisan jewelry, DIY maintenance and repair skills are no longer just for hobbyists—they are essential for protecting your investments.
At Jewel Style Radar, we believe that proper necklace care goes beyond simply wiping down your metals and storing your pieces in anti-tarnish pouches. True maintenance involves understanding the mechanical stresses placed on your stringing materials and knowing exactly how to secure them. This comprehensive guide will walk you through the science of cord degradation, the best materials for restringing, and step-by-step instructions for the most reliable jewelry knots.
The Science of Cord Degradation: Why Knots Fail
Before learning how to tie a knot for a necklace, you must understand why existing knots fail. The primary culprit is human biology. Your skin naturally produces sebum (oil), sweat, and lactic acid. When you wear a necklace, these substances transfer to the cord.
Protein-based fibers, like natural silk, are highly susceptible to this environment. The acids in sweat break down the peptide bonds in silk fibers, causing them to rot, stretch, and eventually snap. Synthetic fibers like nylon or thermally fused polyethylene are more resistant to oils and acids, but they suffer from mechanical fatigue. Repeated bending and stretching cause micro-fractures in the synthetic polymers, leading to fraying at the knot points where friction is highest. According to the Gemological Institute of America (GIA), pearl necklaces worn frequently should be inspected annually and restrung as needed to prevent catastrophic cord failure.
Choosing the Right Thread for Restringing
The type of knot you can tie—and how well it holds—depends heavily on your stringing material. You cannot use a bulky leather knotting technique on delicate silk, nor can you rely on a simple overhand knot for a heavy pendant on slippery nylon. Here is a breakdown of the most common necklace cords and their maintenance profiles.
| Material | Best Application | Stretch Factor | Oil/Sweat Resistance | Recommended Knot Type |
|---|---|---|---|---|
| Griffin Silk (Sizes #0-#16) | Pearls, lightweight gemstones | Low | Poor | Overhand (with awl) |
| Beadalon Nylon | Heavy glass, crystal beads | Medium | High | Surgeon's Knot |
| WildFire (Polyethylene) | Seed beads, sharp gemstones | Zero | Excellent | Double Overhand |
| Braided Leather | Pendants, rustic/masculine styles | Low | Medium | Sliding Square Knot |
Step-by-Step: How to Tie a Knot for a Necklace
Below are the two most critical knotting techniques for necklace maintenance. Mastering these will allow you to handle 90% of all necklace repairs and adjustments at home.
Method 1: The Surgeon’s Knot for Pendants and Leather
The Surgeon’s Knot is an essential variation of the standard square knot. It introduces an extra twist in the first throw, which increases friction and prevents the knot from slipping while you tie the second half. This is the ideal knot for securing pendants on slippery synthetic cords or tying off leather necklaces.
- Form the First Loop: Cross the right cord over the left cord to form a simple overhand knot base.
- The Extra Twist: Instead of pulling it tight immediately, pass the right end through the loop a second time. This double-wrap creates the necessary friction.
- Pull Tight: Gently pull both ends to seat the knot against the pendant bail or the desired resting point on the neck.
- The Second Throw: Now, cross the left cord over the right cord (the opposite direction of your first cross) and pass it through the loop once.
- Lock and Trim: Pull tight to lock the knot. Apply a micro-drop of adhesive (see below) and trim the tails to 2mm.
Method 2: The Traditional Pearl Knot (French Knot)
If you are maintaining a pearl necklace, the beads must be separated by individual knots. This prevents the pearls from rubbing against each other (which destroys their nacre) and ensures that if the cord breaks, you only lose one pearl instead of the entire strand.
- Thread the Bead: Pass your silk cord (pre-tipped with a twisted wire needle) through the pearl.
- Tie a Loose Overhand: Tie a standard overhand knot, but do not pull it tight. Leave the loop slightly open.
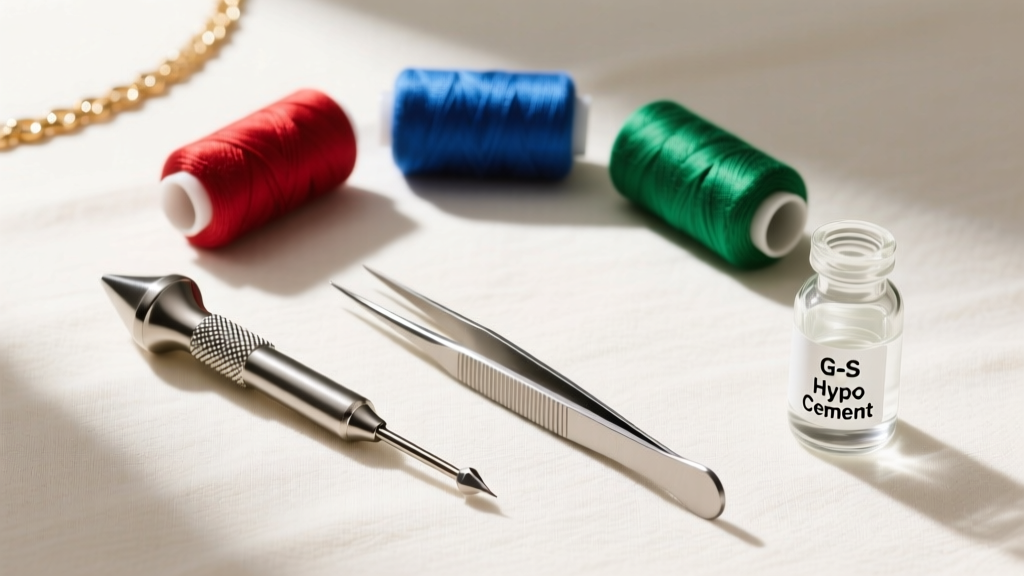
- Insert the Awl: Take a fine beading awl (a 0.4mm tip is ideal for size #2 to #6 silk) and insert it into the loose knot.
- Slide and Seat: Use the awl to push the knot down the cord until it rests flush against the top of the pearl.
- Tighten and Remove: Pull the cord taut to tighten the knot around the awl, then carefully slip the awl out while maintaining tension. Give a final pull to lock the knot perfectly against the bead.
Sealing and Curing Your Knots
A knot is only as strong as its ability to resist untying. In jewelry maintenance, we use specialized adhesives to wick into the fibers and lock them in place. Never use super glue (cyanoacrylate) on silk or nylon; it cures hard and brittle, creating a sharp edge that will eventually cut through the cord.
Instead, use a flexible jewelry adhesive like G-S Hypo Cement. This adhesive comes with a precision needle applicator that allows you to place a microscopic drop directly into the center of the knot. Capillary action will draw the glue into the fibers. Allow the piece to cure flat on a non-stick silicone mat for a full 24 hours before wearing. For thermally fused polyethylene threads like WildFire, you can use a specialized thread burner or carefully apply a heated metal tool to melt the tail into a tiny bead that sits inside the adjacent bead's hole, eliminating the need for glue entirely.

Troubleshooting Common Knotting Mistakes
Even experienced jewelers run into issues when learning how to tie a knot for a necklace. Here is how to troubleshoot the most common maintenance roadblocks:
- The Knot Keeps Slipping: This usually happens with waxed cords or monofilament. Switch to a double or triple Surgeon's knot, or lightly score the cord with fine-grit sandpaper where the knot will sit to increase surface friction.
- Frayed Thread Ends: If your silk or nylon thread frays while trying to pass it through a bead, do not use saliva to wet it (the enzymes will degrade the fiber). Instead, use a beeswax thread conditioner or a specialized thread burner to seal the tip.
- Glue Stains on Gemstones: If G-S Hypo Cement seeps out of the knot and onto a porous stone like turquoise or opal, do not wipe it. Let it dry completely into a hard bead, then gently flake it off with a wooden toothpick to avoid scratching the stone's surface.
The Annual Maintenance Checklist
Knowing how to tie a knot for a necklace is a reactive skill; true care is proactive. To ensure your knotted necklaces remain secure, perform this quick maintenance check every 12 months, or every 6 months for pieces worn daily:
The Stretch Test: Hold the necklace by both ends and gently pull. Look closely at the knots. If you see more than 1mm of cord between the knot and the bead, or if the cord looks fuzzy and discolored, the structural integrity is compromised. It is time to cut the old knots off and restring the piece using the techniques outlined above.
By mastering these knotting techniques and understanding the material science behind your jewelry cords, you transition from a passive jewelry owner to an active curator of your collection. For more in-depth material specifications and stringing resources, the Fire Mountain Gems Encyclopedia remains an invaluable reference for both novice and professional jewelers alike. Proper maintenance ensures your necklaces remain beautiful, secure, and ready to be passed down to the next generation.


