How to Tie Sliding Knot for Necklace: Adjustable Cord Guide
Learn how to tie sliding knot for necklace cords with our step-by-step guide. Master adjustable macrame sliders using waxed cotton or nylon.

The Mechanics of the Perfect Adjustable Necklace
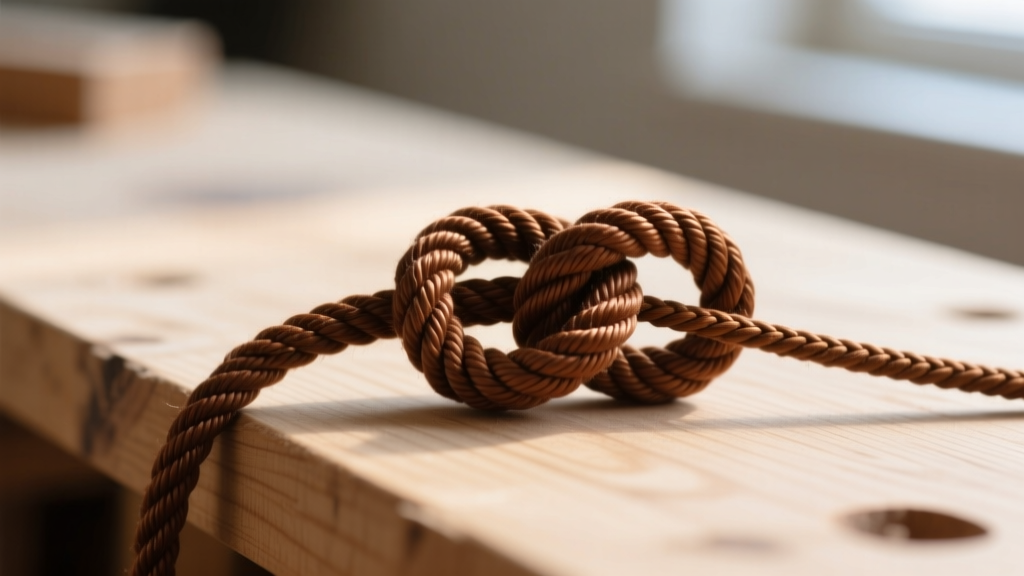
When it comes to custom, artisan, or everyday pendant necklaces, metal clasps can often be a point of failure. Lobster clasps pinch the skin, spring rings break under tension, and metallic findings can tarnish or trigger contact dermatitis. This is exactly why learning how to tie sliding knot for necklace closures is a fundamental skill for both jewelry makers and enthusiasts. The macrame sliding knot (often referred to as a square knot slider or double half-hitch barrel knot) provides a seamless, infinitely adjustable, and highly durable closure that relies entirely on the friction of the cord itself.
As we move through 2026, the trend of minimalist, hardware-free jewelry continues to dominate. Whether you are stringing a raw crystal pendant, a vintage locket, or a hand-carved wooden talisman, a properly tied sliding knot ensures your piece sits perfectly at the collarbone, sternum, or anywhere in between. However, a sliding knot is only as reliable as the materials and technique used to create it. A poorly executed knot will either fray, slip open unexpectedly, or become permanently jammed. Below, we break down the exact material science, gauge requirements, and step-by-step mechanics required to master this essential jewelry technique.
Choosing the Right Cord: Material Science and Gauge
The most common reason a sliding knot fails is the selection of the wrong cord material or thickness. The friction coefficient of the cord dictates how smoothly the knot will glide and how securely it will lock in place when pulled tight. According to the Fire Mountain Gems Jewelry Making Encyclopedia, understanding the structural properties of your cord is the first step to a lasting finish.
Cord Thickness (Gauge) Rules
For a standard sliding knot, the "Goldilocks zone" for cord thickness is between 1.0mm and 1.5mm.
- 0.5mm - 0.8mm: Too thin. The resulting knot will be minuscule, lacking the surface area needed to generate sufficient friction. It can also act like a wire, cutting into the back of the neck.
- 1.0mm - 1.5mm: Ideal. Provides excellent structural integrity, a comfortable profile against the skin, and enough bulk to create a secure, easy-to-grip slider.
- 2.0mm and above: Too thick. The knot becomes incredibly bulky, stiff, and difficult to pull open or closed, often resulting in a rigid "dead zone" on the necklace.
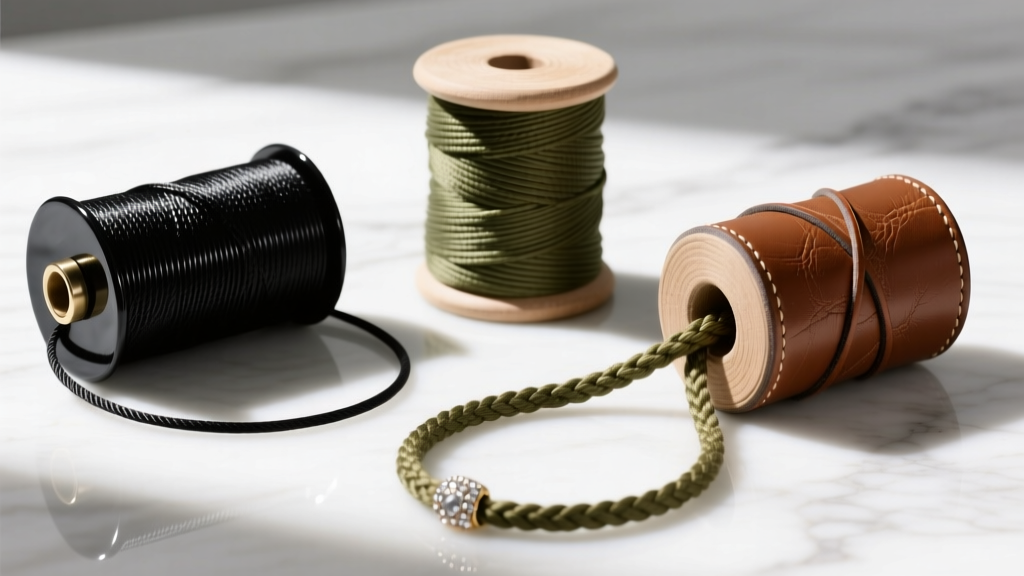
Material Comparison Chart
| Material | Ideal Gauge | Meltable? | Friction Level | Best Use Case |
|---|---|---|---|---|
| C-Lon / S-Lon Nylon | 1.0mm - 1.5mm | Yes | Medium | Waterproof everyday wear, beach jewelry |
| Chinese Waxed Cotton | 1.0mm - 1.5mm | No | High | Bohemian styles, heavy pendants, rustic looks |
| Suede / Flat Leather | 1.5mm - 2.0mm | No | Very High | Statement pieces (requires barrel knot, not square) |
| Silk Cord | 1.0mm - 2.0mm | No | Low | Pearls (Not recommended for sliding knots due to slip) |
Expert Note: Never use pure silk or highly polished synthetic satin cords for sliding knots. Their friction coefficient is too low, meaning the knot will slowly loosen throughout the day, risking the loss of your pendant.
Step-by-Step: How to Tie Sliding Knot for Necklace
For this guide, we will focus on the Square Knot Slider, which is the most elegant, symmetrical, and reliable knot for rounded cords like nylon and waxed cotton. For deeper insights into macrame foundations, the Interweave Jewelry archives offer excellent visual references for tension control.
Step 1: Preparation and Alignment
Cut a single length of your chosen 1.5mm cord. For a standard necklace that adjusts from 16 inches (choker) to 24 inches (princess length), you will need approximately 40 inches of cord for the main loop, plus an additional 12 inches of a separate working cord to tie the actual knot. Lay the main necklace cord in a U-shape, overlapping the two tail ends by about 4 inches on a flat, clean workspace. Secure the overlap with a piece of painter's tape to keep it stable.
Step 2: The Anchor Wrap
Take your 12-inch working cord and place it horizontally underneath the overlapped main cords, positioning it near the left side of the overlap. Bring the right end of the working cord over the main cords, then under the left end of the working cord. Pull it snug. This creates your foundational anchor. Ensure the working cord is centered so you have roughly equal lengths on both sides.
Step 3: The Square Knot Sequence
Now, execute the standard macrame square knot sequence over the two main cords:
- Take the right working cord and pass it over the two main base cords, then under the left working cord.
- Take the left working cord and pass it under the two main base cords, then up and through the loop created by the right cord on the right side.
- Pull both working ends outward to tighten the first half-knot against the base cords.
- Reverse the process: Pass the left cord over the base cords and under the right cord.
- Pass the right cord under the base cords and up through the left loop.
- Pull tight. You have now completed one full square knot.
Repeat this sequence until you have created a slider that is approximately 1/2 inch to 3/4 inch long (usually 4 to 6 full square knots). The knot should be tight enough to hold its shape but loose enough that the inner base cords can slide through with a firm tug.
Step 4: Securing and Finishing the Ends
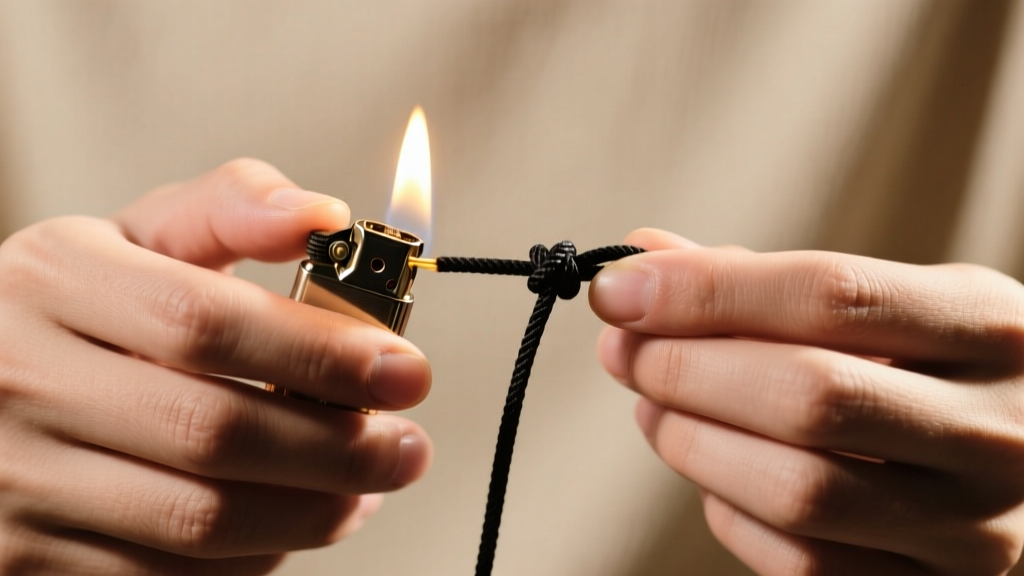
Once the slider reaches your desired length, trim the working cords as close to the knot as possible using flush cutters. How you finish the cut depends entirely on your material:
- For Nylon (C-Lon/S-Lon): Use a micro-torch or butane lighter. Briefly touch the flame to the trimmed end until it melts into a small, clear bead. Immediately press this molten bead flat against the side of the knot using the flat metal edge of your lighter or a specialized jewelry melting tool. This creates a permanent, waterproof weld.
- For Waxed Cotton: Cotton will burn, not melt. Apply a microscopic drop of cyanoacrylate (CA glue / Super Glue) or flexible jewelry adhesive like E6000 to the trimmed end. Use a toothpick to push the glued tip snugly against the body of the knot. Wipe away any excess adhesive immediately to prevent white hazing on the dark wax.
Troubleshooting Common Sliding Knot Issues
Even experienced jewelers run into mechanical issues when tying adjustable cords. Here is how to diagnose and fix the most common problems, drawing on troubleshooting frameworks recommended by The Spruce Crafts.
The Knot is Jammed and Won't Slide
Cause: You pulled the working cords too tightly during the knotting sequence, or your base cords are too thick (e.g., using a 2mm cord inside a tight square knot).
Solution: Unfortunately, a jammed square knot slider cannot be easily loosened without fraying the cord. You must cut it off and start over. To prevent this, use a "sizing mandrel" or a smooth metal rod (like a knitting needle or awl) placed between the base cords and the working cord while you tie. This guarantees a consistent internal channel for the cords to slide through.
The Knot Slips Open on Its Own
Cause: The cord material is too slick (like polished leather or silk), or the knot barrel is too short to generate adequate surface friction.
Solution: Add two more square knots to increase the length and friction surface area of the slider. If the cord itself is the issue, switch to a high-friction material like waxed cotton, or change your knot style to a Double Half-Hitch Barrel Knot, which grips slick materials much more aggressively than a square knot.
The Base Cords are Curling or Twisting
Cause: Uneven tension during the square knot sequence. If you consistently pull the left working cord tighter than the right, the knot will spiral, forcing the inner base cords to twist.
Solution: Pay strict attention to your tension. Pull both working ends simultaneously and evenly. If the base cords are already twisted, unroll them and apply a light mist of water (for cotton) or gentle heat (for nylon) to relax the fibers before re-tying.
Pro Tips for Longevity and Smooth Gliding
To ensure your adjustable necklace lasts for years, treat the sliding mechanism with care. Avoid applying lotions, perfumes, or sunscreen directly onto the knot area, as the oils and alcohols can degrade the wax coating on cotton cords and break down the structural integrity of lower-grade nylons. If your waxed cotton knot begins to feel dry or difficult to slide after a year of wear, you can rejuvenate it by rubbing a tiny amount of natural beeswax or specialized cord wax into the base cords where they enter and exit the slider. This restores the water resistance and provides a smooth, friction-balanced glide that keeps your necklace functioning perfectly.


