Troubleshooting Your Antique Amethyst Necklace: Repairs & Care
Learn how to authenticate, clean, and repair an antique amethyst necklace. Expert troubleshooting for foil-back damage, weak clasps, and brittle settings.

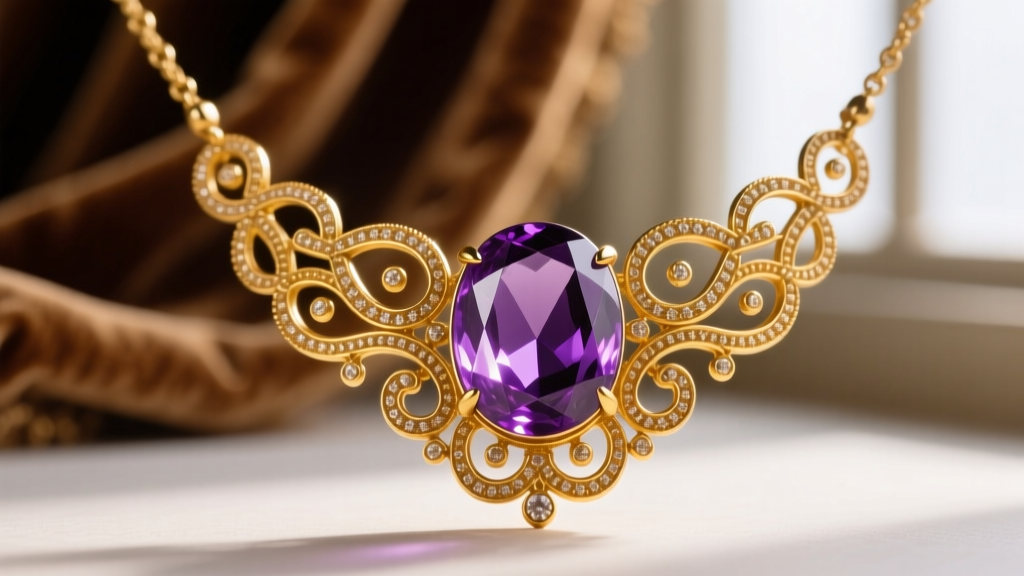
Owning an antique amethyst necklace is a privilege that bridges geological history and masterful craftsmanship. Whether you have inherited a Georgian-era piece or recently acquired an Edwardian pendant, these jewels carry unique vulnerabilities that modern jewelry simply does not possess. As of 2026, the vintage market has seen a surge in collectors seeking out purple quartz, but this popularity has also led to an increase in misidentified stones and improper restoration attempts. Troubleshooting an antique amethyst necklace requires a deep understanding of historical metallurgy, gemological diagnostics, and the delicate chemistry of antique settings.
The Unique Vulnerabilities of Antique Amethyst Jewelry
Amethyst is a purple variety of quartz, rating a 7 on the Mohs hardness scale. While this makes it relatively durable for daily wear, antique cuts—such as rose cuts, old mine cushions, and step cuts—often feature extremely thin girdles and sharp, unprotected corners. When set in the soft, high-karat golds or silver alloys of the 18th and 19th centuries, these girdles are highly susceptible to chipping if the prongs or bezels become worn.
Furthermore, the historical context of the stone dictates its care. According to the Victoria and Albert Museum (V&A), jewelry from the Georgian and early Victorian periods frequently utilized closed-back settings to protect delicate foil backings. This construction method fundamentally changes how you must clean, store, and repair the necklace, as introducing moisture to the setting will destroy the antique materials hidden beneath the stone.
Troubleshooting Authentication: Real vs. Synthetic vs. Glass
The most common issue collectors face is verifying the authenticity of the central stone. In the 19th century, purple glass (often referred to as "paste") was widely used to mimic amethyst. By the mid-20th century, hydrothermal synthetic quartz entered the market, and today, these synthetics are sometimes artificially aged and sold as antique. To troubleshoot the identity of your stone, you must look beyond simple color.
Visual and Physical Diagnostic Tests
Natural amethyst exhibits specific gemological fingerprints. Under magnification, you should look for "Brazil law twinning" (parallel growth lines) and natural inclusions like liquid feathers or "tiger's thumb" marks. Glass paste, conversely, will reveal spherical air bubbles and swirl marks from the molding process. Synthetic quartz is chemically identical to natural amethyst but is typically flawless or contains "bread crumb" inclusions and seed plate remnants.
| Material | Refractive Index (RI) | Key Inclusions & Features | Thermal Conductivity |
|---|---|---|---|
| Natural Amethyst | 1.544 - 1.553 | Color zoning, Brazil twinning, liquid feathers | Moderate (feels cool to touch) |
| Purple Glass (Paste) | 1.50 - 1.70 (varies) | Spherical bubbles, mold marks, conchoidal fractures | Low (feels warm quickly) |
| Synthetic Quartz | 1.544 - 1.553 | Exceptional clarity, seed plate remnants, lack of twinning | Moderate (identical to natural) |
Solving the Foil-Back Dilemma: Cleaning Without Ruining the Stone
If your antique amethyst necklace dates prior to 1850, there is a high probability that the stones are foil-backed. Jewelers used thin sheets of silver or colored metallic foil behind the amethyst to reflect light and intensify the purple hue. Over 150 years, the sealant securing the bezel can degrade, allowing microscopic amounts of moisture and air to breach the setting.
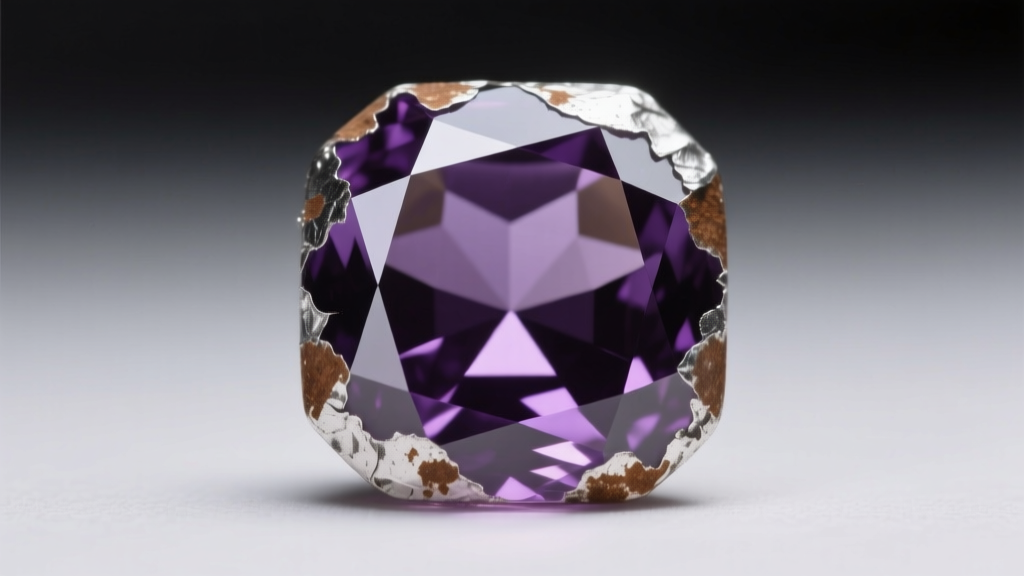
When this happens, the foil oxidizes, turning black or grey, which makes the amethyst look dull, muddy, or completely opaque. Never place a foil-backed antique amethyst necklace in an ultrasonic cleaner, and never use steam. The vibrations will shatter the brittle foil, and the moisture will permanently ruin the backing.
Safe Cleaning Protocol for Closed-Back Settings
- Dry Brushing: Use a clean, ultra-soft baby hair brush to gently sweep away dust from the crown and table of the amethyst.
- Slightly Damp Cloth: If the stone has skin oils on the surface, lightly breathe on the stone to fog it, then wipe gently with a dry, lint-free microfiber cloth. Do not apply liquid directly to the stone.
- Avoid Chemicals: Never use ammonia, silver dip, or commercial jewelry cleaners on the metal surrounding a closed-back stone, as capillary action can draw the liquid beneath the bezel.
If the foil is already oxidized, the only solution is professional restoration. A master jeweler specializing in antique pieces will carefully lift the bezel, remove the amethyst, clean or replace the foil using archival silver leaf, and reseal the setting using a laser welder to prevent future moisture ingress.
Structural Failures: Fixing Brittle Chains and Worn Clasps
The chain and clasp of an antique amethyst necklace are often the first points of mechanical failure. In the UK, Victorian jewelry was frequently crafted in 15k gold (stamped .625) or 9k gold (stamped .375). 15k gold, which was standard until 1932, contains a specific alloy mix that makes it notably harder and more brittle than modern 14k or 18k gold. This brittleness means that antique jump rings and chain links are highly prone to snapping under sudden tension.
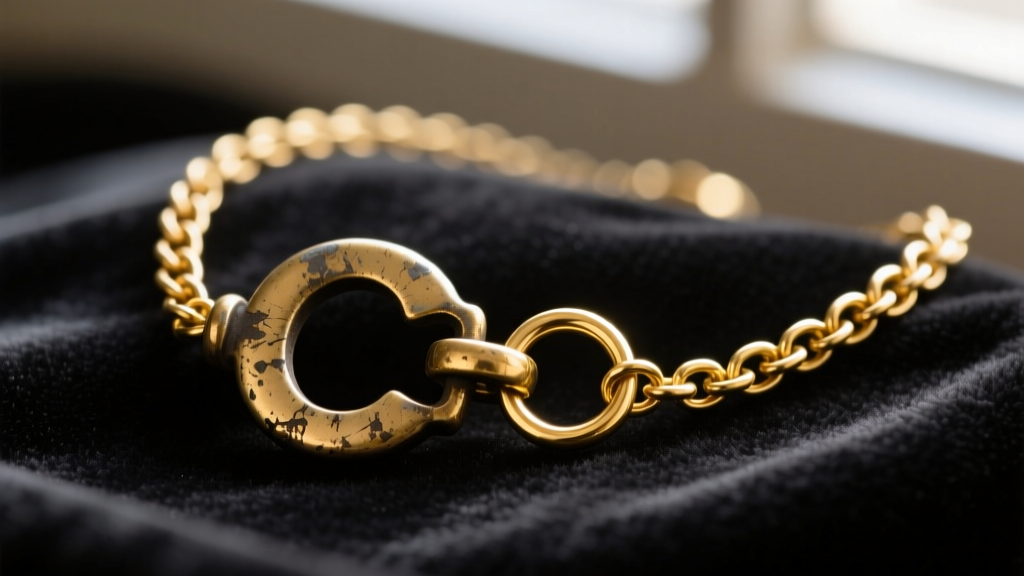
Identifying Metal Fatigue and Clasp Wear
Early antique necklaces utilized simple "C-clasps" without the locking mechanisms we see today. Over decades of wear, the pin of the brooch or pendant rubs against the inside of the C-clasp, wearing away the metal and creating a gap wide enough for the pin to slip out. If your necklace features a C-clasp, troubleshoot the fit by gently testing the tension. If the pin slides out with minimal resistance, the necklace is unsafe to wear.
According to Lang Antique Jewelry University, adding a modern safety chain or figure-8 catch to a Victorian C-clasp is a standard and acceptable restoration practice that preserves the value of the piece while ensuring security. However, this must be done using a laser welder. Traditional torch soldering requires heating the surrounding gold, which can easily melt the delicate, paper-thin repoussé or cannetille wirework often found on antique amethyst pendants.
When to Seek a Specialist: Cost and Value Considerations
Not every repair should be attempted by a standard mall jeweler. Antique amethyst necklaces require artisans who understand historical preservation. Below is a 2026 estimated cost matrix for common troubleshooting repairs, helping you budget for proper restoration.
| Repair Type | Specialist Technique Required | Estimated Cost Range (USD) |
|---|---|---|
| Foil Replacement (Per Stone) | Bezel lifting, archival silver leaf application, laser sealing | $180 - $350 |
| C-Clasp Tensioning & Safety Catch | Laser welding, period-correct figure-8 fabrication | $85 - $150 |
| 15k Gold Chain Link Soldering | Laser welding to prevent alloy melting and patina loss | $60 - $110 per link |
| Amethyst Girdle Re-polishing | In-situ lapidary work to remove chips without unsetting | $120 - $250 |
"The goal of antique jewelry restoration is never to make the piece look brand new. The objective is to stabilize the structure, preserve the original patina, and ensure the piece can be safely worn for another century." — Gemological Institute of America (GIA) Educational Guidelines on Antique Preservation.
Conclusion
Troubleshooting an antique amethyst necklace is an exercise in historical empathy. By understanding the specific vulnerabilities of foil-backed settings, the metallurgical quirks of 15k Victorian gold, and the gemological markers of natural purple quartz, you can protect your investment from irreversible damage. Always prioritize laser welding over torch soldering, keep moisture far away from closed-back bezels, and trust only certified antique specialists with your chain and clasp repairs. With the right care, your antique amethyst necklace will continue to captivate for generations to come.


