Robot Necklace Troubleshooting: Fixing Joints & Clasps
Learn how to troubleshoot and repair your robot necklace. Expert fixes for stuck articulated joints, broken clasps, and LED battery issues.

Introduction to Kinetic and Smart Robot Pendants
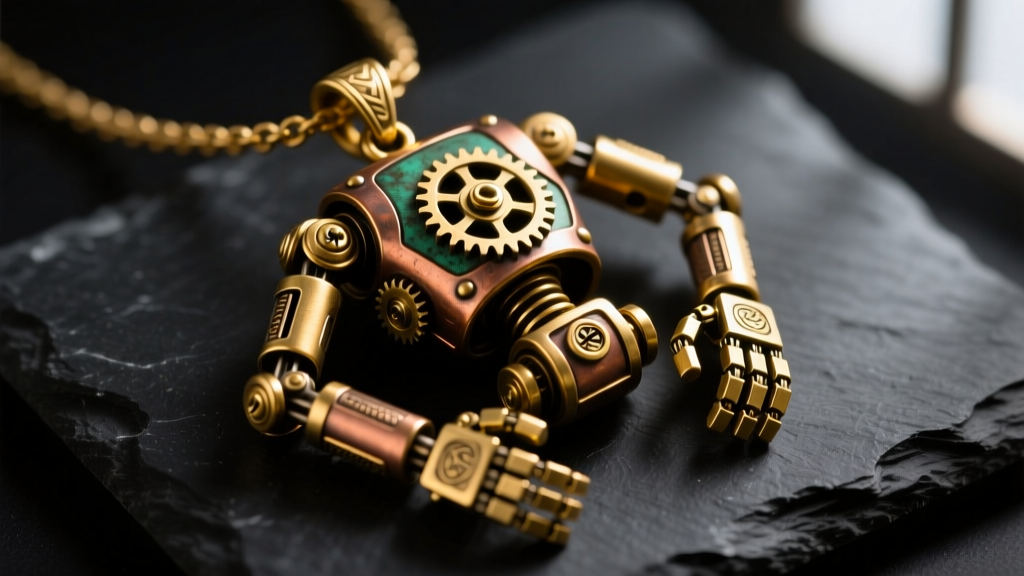
Robot necklaces have evolved from simple cast charms into complex feats of micro-engineering. As we navigate the jewelry trends of 2026, the integration of micro-kinetics, articulated limbs, and smart-LED components in alternative and steampunk jewelry has made the robot necklace more intricate than ever. Modern pieces often feature 3D-printed titanium micro-hinges, movable jaw mechanisms, or USB-C rechargeable smart pendants. However, the foundational mechanical failures remain remarkably consistent across both vintage and contemporary designs.
When a robot necklace breaks, it is rarely a catastrophic failure of the main body. Instead, the issues almost always stem from three specific vulnerability points: friction-locked articulated joints, fatigued jump rings bearing heavy dynamic loads, and oxidized battery contacts in LED-integrated eyes or chests. Troubleshooting these issues requires an understanding of horology (watchmaking) and metallurgy, rather than standard jewelry repair techniques. Below is a comprehensive, expert-level guide to diagnosing and resolving the most common mechanical and electronic failures in kinetic robot pendants.
Diagnosing Stuck Articulated Joints
The defining feature of a premium robot necklace is its articulation. Whether it is a ball-and-socket shoulder joint or a loop-in-loop spinal column, these moving parts are highly susceptible to environmental debris. Human skin naturally sheds microscopic flakes and secretes sebum (oil). Over time, this organic matter mixes with atmospheric dust and works its way into the micro-tolerances of the pendant's joints, creating a thick, abrasive grinding paste that seizes the metal.
The Science of Galling in Micro-Hinges
If your robot necklace is crafted from sterling silver or soft brass, you may be dealing with a phenomenon known as galling. Galling occurs when two similar, soft metals rub together under pressure, causing microscopic friction-welding. The metals essentially cold-weld to one another, resulting in a joint that feels completely frozen. Forcing a galled joint with pliers will sheer the internal pin, destroying the pendant. According to metallurgical guidelines from the Gemological Institute of America (GIA), preventing metal-on-metal friction is paramount in kinetic jewelry care.
Step-by-Step Joint Rehabilitation
To safely free a seized joint without causing structural damage, follow this precise rehabilitation protocol:
- Ultrasonic Degreasing: Submerge the pendant (excluding any LED or battery components) in an ultrasonic cleaner filled with a mild, ammonia-free horological cleaning solution for exactly 3 minutes at 40kHz. This will shatter the hardened sebum-dust matrix.
- Thermal Expansion: If the joint remains stuck, apply localized heat using a precision butane micro-torch. Heat the outer barrel of the joint to approximately 150°F (65°C). The outer metal will expand slightly faster than the inner pin, breaking the galling seal.
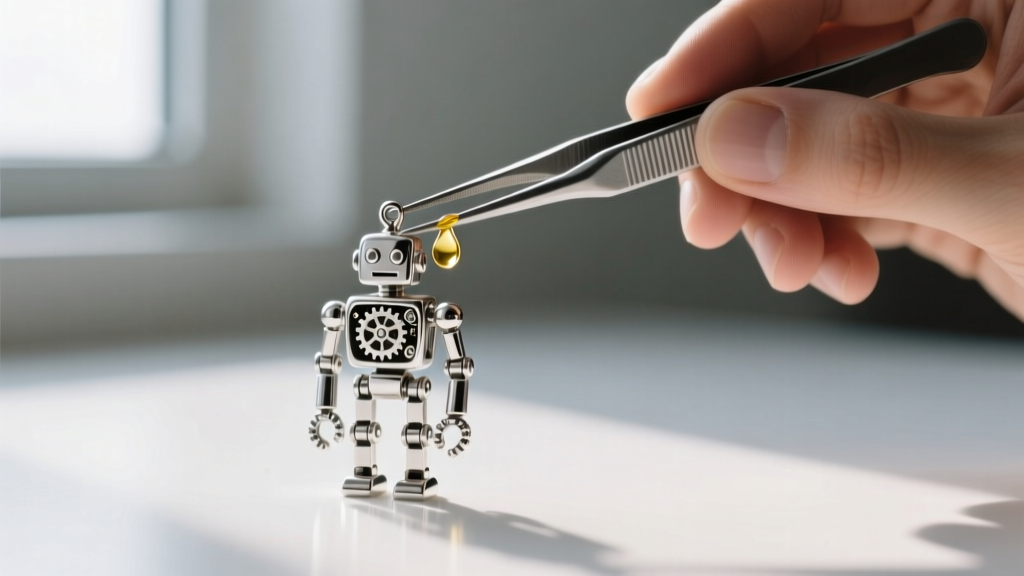
- Capillary Lubrication: Once the joint moves, apply a micro-drop of synthetic watch oil using a 0.1mm dip-oiler. Capillary action will draw the lubricant deep into the hinge.
Lubricant Selection Matrix
Choosing the wrong lubricant is a common amateur mistake that leads to rapid re-seizing. Refer to this matrix before applying any chemical to your robot necklace:
| Lubricant Type | Best Application | Contraindications |
|---|---|---|
| Synthetic Watch Oil (10W) | Brass/Steel micro-hinges and pins | Avoid if porous stones (e.g., turquoise) are set nearby |
| PTFE Dry Lube | Silver-on-silver friction joints | High-moisture environments; requires frequent reapplication |
| Moebius 8200 Grease | Heavy-load ball-and-socket shoulders | Micro-joints under 1mm; viscosity is too high |
| WD-40 / Solvent Sprays | NEVER USE | Strips patinas, attracts dust, degrades O-rings |
Resolving Clasp and Jump Ring Fatigue
Robot pendants are inherently heavy. A solid brass or stainless steel articulated robot can easily weigh between 20 and 45 grams. Standard necklace chains are typically fitted with 18-gauge (1.0mm) or 20-gauge (0.8mm) machine-cut jump rings. While these rings can support the static weight of the pendant, they cannot withstand the dynamic, cyclical loading caused by walking, bending, and sudden movements.
Over time, the repetitive stress causes metal fatigue at the split of the jump ring. The ring slowly pulls apart, resulting in the loss of the pendant. If you notice a gap forming in the jump ring connecting your robot charm to the chain, immediate intervention is required.
Upgrading to Heavy-Duty Hardware
To permanently solve clasp failures, you must upgrade the connection hardware. Jewelry supply experts at Rio Grande recommend utilizing split rings or soldered rings for heavy kinetic pendants. Here is the upgrade protocol:
- Upgrade to 16-Gauge or 14-Gauge: Replace the factory 18G jump ring with a 16-gauge (1.3mm) or 14-gauge (1.6mm) stainless steel split ring. Split rings function like miniature keyrings, making it physically impossible for the pendant to slip off under dynamic tension.
- Install a Locking Lobster Clasp: Standard spring-ring clasps fail under heavy loads. Swap the clasp for a 12mm or 15mm locking lobster clasp featuring a secondary safety latch.
- Soldered Ring Integration: For pendants exceeding 40 grams, have a professional jeweler install a soldered (closed) jump ring directly onto the pendant's bail, attaching the chain via a heavy-duty split ring at the clasp end instead.
Troubleshooting LED and Battery Failures
Many contemporary robot necklaces feature integrated LEDs, typically illuminating the eyes or a central chest core. When these lights begin to flicker or die completely, the issue is rarely a burnt-out diode; it is almost always a failure of the power delivery system caused by galvanic corrosion.
Fixing Galvanic Corrosion on Contacts
Most LED robot pendants utilize standard AG13/LR44 (11.6mm x 5.4mm) or CR2032 (20mm x 3.2mm) coin cell batteries. The battery compartments are usually lined with nickel-plated copper contacts. When the wearer sweats, microscopic amounts of saltwater vapor penetrate the compartment seams. This triggers galvanic corrosion, creating a layer of non-conductive copper oxide on the contacts, which starves the LED of voltage.
The Fix: Remove the battery and inspect the metal contacts. If you see a green or white crust, do not use a metal blade to scrape it off, as this will remove the protective nickel plating. Instead, use a fiberglass scratch pen to gently polish the contact point down to bare, shiny metal. Wipe away the fiberglass dust with 99% isopropyl alcohol. Before inserting a fresh battery, apply a microscopic layer of dielectric grease to the edges of the battery compartment seal to prevent future moisture ingress.
Preventative Maintenance Protocol
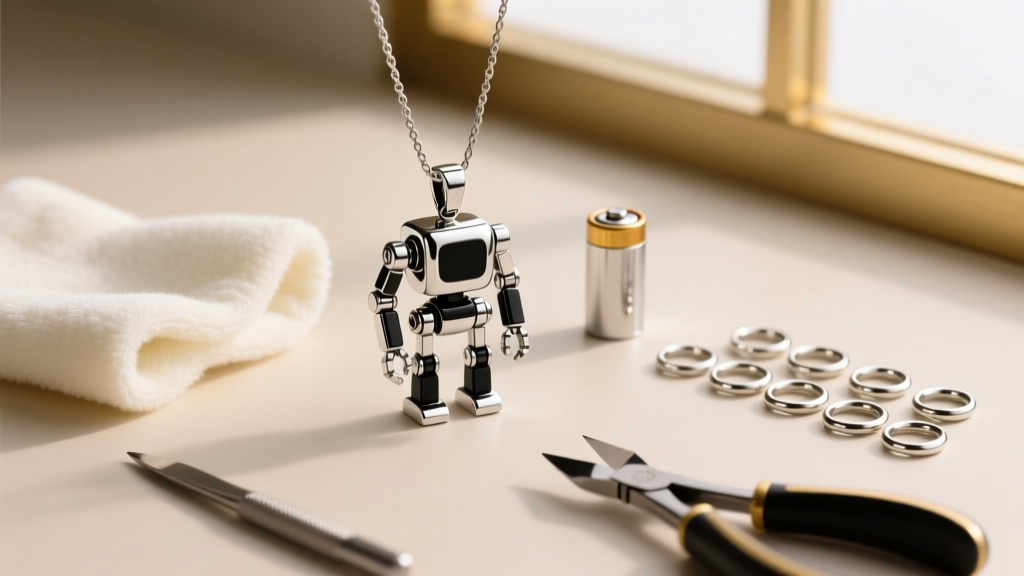
Kinetic jewelry requires a proactive maintenance schedule to ensure longevity. Implement this bi-annual routine to keep your robot necklace functioning flawlessly:
- Monthly: Wipe down the pendant with a dry, untreated microfiber cloth to remove surface sebum and acidic sweat before it can seep into the micro-hinges.
- Bi-Annually: Apply a single drop of PTFE dry lubricant to all visible articulation points. Cycle the joints manually to distribute the lubricant, then wipe away any excess to prevent dust attraction.
- Annually: Inspect the bail and jump rings under a 10x jeweler's loupe. Look for micro-fractures or thinning of the metal at the bend points. Replace hardware preemptively if wear is detected.
- Battery Care: If you do not plan to wear the LED robot necklace for more than a month, remove the battery entirely to prevent catastrophic acid leaks that will destroy the internal circuitry.
When to Consult a Master Jeweler
While joint lubrication and hardware upgrades can be performed at home with basic tools, certain failures require professional intervention. If a micro-pin shears off inside a blind hinge, or if the internal wiring of a smart-pendant fractures, DIY repairs will likely cause irreversible damage.
"Kinetic pendants are essentially miniature automata. When a structural pin breaks inside a sealed brass joint, we often have to carefully drill out the remnants under a microscope and machine a new titanium replacement pin. It is a horological procedure, not a standard jewelry soldering job."
By understanding the mechanical and metallurgical realities of your robot necklace, you can transition from simply wearing a piece of alternative fashion to actively preserving a complex work of kinetic art. Proper troubleshooting ensures your pendant remains articulated, illuminated, and secure for years to come.


