How to Unknot a Necklace Chain: DIY Fixes vs Repair Costs
Learn how to unknot a necklace chain safely. Compare DIY lubricants and tools against professional jeweler repair costs to protect your jewelry's value.


The Financial Risk of a Knotted Chain
When evaluating how to unknot a necklace chain, the primary concern isn't just patience—it is value preservation. A tightly pulled knot on a delicate 0.8mm 14k gold rope chain doesn't just create a frustrating tangle; it initiates a metallurgical process called work-hardening. As you pull and yank at the knot, the crystalline structure of the gold or silver deforms, becoming brittle. What started as a simple storage mishap can quickly escalate into a micro-fracture, turning a $400 asset into scrap metal.
From a budget and value assessment perspective, the decision to tackle the knot yourself or hand it over to a professional jeweler hinges entirely on the chain's gauge, material, and weave. In 2026, professional laser welding repair costs have stabilized, but they still represent a significant sunken cost if a DIY attempt fails. This guide breaks down the exact economics of unknotting, providing a framework to protect your jewelry investment.
Chain Anatomy: Which Styles Are Worth Saving Yourself?
Not all chains react to knots equally. The structural integrity of the weave dictates whether a DIY approach is a smart financial move or a costly gamble. Below is a value-assessment matrix to help you decide your next move based on current repair benchmarks.
| Chain Style | Gauge / Thickness | Knot Severity Risk | DIY Success Rate | Pro Repair Cost (If Snapped) |
|---|---|---|---|---|
| Rope Chain | 0.9mm - 1.5mm | High (Interlocking twists) | 75% | $85 - $130 (Laser Weld) |
| Box Chain | 0.8mm - 1.2mm | Extreme (Rigid links kink) | 40% | $65 - $95 (Link Replacement) |
| Omega Chain | 2.0mm+ | Critical (Will crease/snap) | 10% | $120+ (Often unrepairable) |
| Snake Chain | 1.0mm - 2.5mm | High (Fluid but kinks) | 60% | $90 - $140 (Sleeve Solder) |
| Cuban Link | 3.0mm+ | Low (Thick, heavy links) | 95% | $45 - $75 (Torch Solder) |
According to guidelines on metal stress from the Gemological Institute of America (GIA), hollow or semi-solid chains (like many lightweight box and rope chains) are exceptionally prone to crushing when forced. If your chain falls into the 'Omega' or delicate 'Box' category, the financial risk of DIY unknotting heavily outweighs the $50-$80 cost of professional intervention.
The Budget-Friendly DIY Unknotting Protocol
If your chain's gauge and weave suggest a high DIY success rate, you must use the correct materials to avoid degrading the metal or any attached gemstones. The goal is to eliminate friction without introducing corrosive chemicals.
Step 1: Select the Right Lubricant
- Best Value (Safe & Cheap): 100% Mineral Oil or Baby Oil. These are chemically inert, won't go rancid, and are safe for all metals and porous stones like turquoise or pearls.
- For Sterling Silver: A tiny dab of graphite powder (from a mechanical pencil) can act as a dry lubricant, preventing the moisture-induced tarnish that liquid oils might trap in the crevices.
- What to Avoid: Never use WD-40 or household degreasers. The solvents will strip the nacre off pearls, dissolve the adhesives in foil-backed vintage stones, and leave a residue that attracts microscopic dust, effectively grinding the knot tighter.
Step 2: Tool Selection
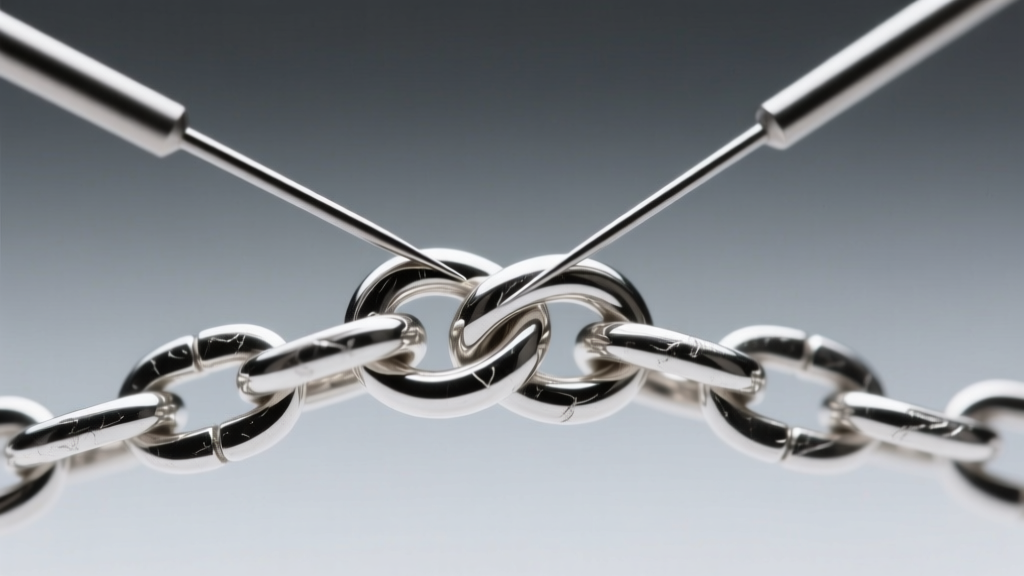
Discard standard sewing needles. Their sharp tips can easily scratch 18k gold or catch and pry open the microscopic jump rings of a snake chain. Instead, invest $4 in a pack of T-pins or blunt-tipped titanium tweezers. The flat heads of T-pins allow you to push and roll the knot loose without piercing the links.
Step 3: The 'Massage' Technique
Lay the chain flat on a hard, non-porous surface (glass or slate). Apply a single drop of mineral oil directly to the knot. Using two T-pins, gently tap the center of the knot to loosen the tension. Do not pull the ends of the chain. Pulling tightens the outer loops while shrinking the inner loops. Instead, push the outer loops inward toward the center mass until the knot yields.
When to Stop: Assessing the Sunk Cost
Knowing when to abandon a DIY attempt is a critical value-preservation skill. If you have been working on a knot for more than 15 minutes, or if the knot has compressed to the size of a pinhead on a chain under 1.0mm thick, stop immediately. At this stage, the metal has likely work-hardened. Continuing to apply force will result in a clean snap.
The Jewelers of America organization frequently notes that consumer-inflicted damage—specifically stretched links and tool scratches from improper unknotting—complicates professional repairs and can increase the final restoration bill by up to 30% due to the need for link reshaping and polishing.
Professional Repair Costs vs. DIY Savings in 2026
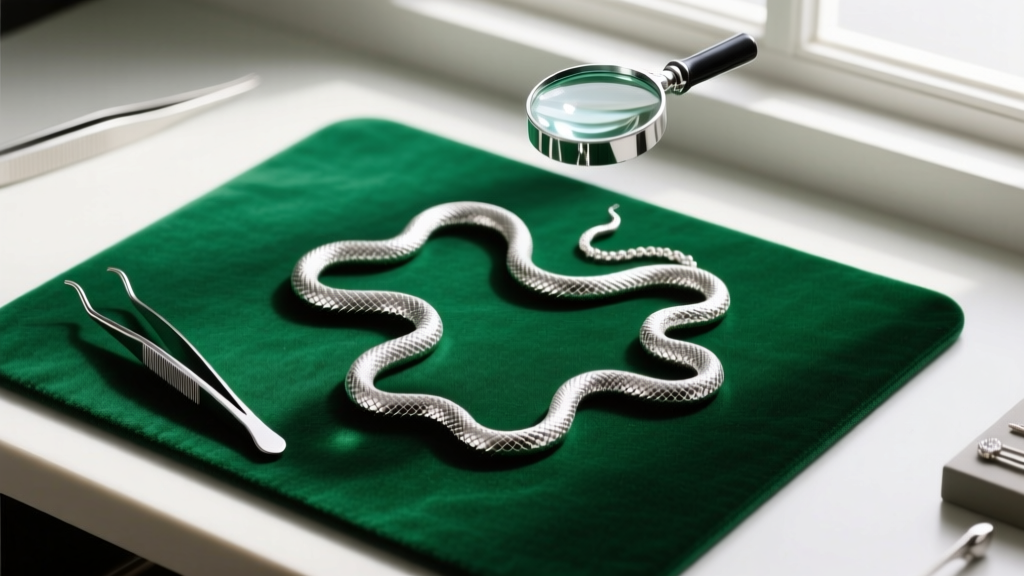
If the chain snaps during your DIY attempt, or if you wisely hand a severe omega knot over to a professional, you will face current market repair rates. Understanding these costs helps contextualize the value of your initial jewelry purchase.
- Traditional Torch Soldering ($45 - $75): Used for thicker chains (Cuban links, thick ropes). The jeweler uses a laser or torch to melt a small amount of solder into the break. It is budget-friendly but often leaves a visible, slightly discolored seam on high-karat gold.
- Laser Welding ($85 - $150): The 2026 industry standard for delicate chains (under 1.5mm). A laser welder fuses the exact metal of the chain without adding foreign solder, resulting in an nearly invisible repair. This is mandatory for platinum and white gold to avoid color-matching issues, but it commands a premium price.
- Chain Rebuilding / Sleeve Soldering ($120+): Required when a snake or box chain kinks and snaps. The jeweler must cut out the damaged, work-hardened section and solder in a new segment or a reinforcing sleeve, which alters the chain's drape and intrinsic resale value.
Value Preservation: Anti-Knot Storage Investments
The highest ROI (Return on Investment) in necklace care is preventative storage. Spending $20 upfront on proper storage eliminates the risk of a $120 laser welding bill down the line.
- The Straw Method (Zero Cost): Thread delicate chains (0.9mm and under) through a plastic or silicone drinking straw before clasping them. This physically prevents the chain from folding back on itself, making knots impossible.
- Anti-Tarnish Zip Bags ($10 for 50): Storing silver chains in treated polyethylene bags prevents the sulfur-induced tarnish that creates microscopic friction between links, making them more prone to catching and knotting.
- Hanging Jewelry Armoires ($40 - $80): Gravity is the ultimate unknotting tool. Storing chains vertically on individual hooks ensures they hang straight, preserving both their structural integrity and their financial value over decades of wear.
Ultimately, learning how to unknot a necklace chain is an exercise in risk management. By matching your DIY techniques to the specific metallurgy and gauge of your jewelry, you can save hundreds of dollars in avoidable repair costs while keeping your collection in pristine, investment-grade condition.


