How to Craft and Style a Wild Turkey Spur Necklace
Learn how to clean, drill, and assemble a custom wild turkey spur necklace. Includes hardware sizing, knotting techniques, and rustic styling tips.

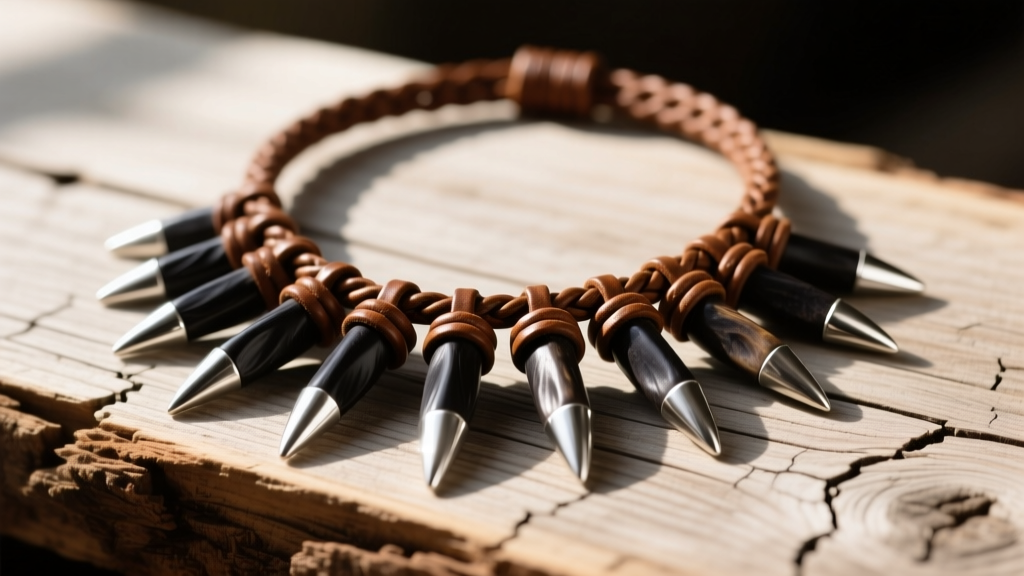
The Intersection of Hunting Heritage and Artisan Jewelry
For outdoor enthusiasts and hunters, preserving the memory of a successful harvest goes beyond traditional taxidermy. The wild turkey spur necklace has emerged as a premier piece of rustic trophy jewelry, bridging the gap between field heritage and everyday artisan style. Unlike generic pendants, a custom-crafted spur necklace carries deep personal significance and a distinctly rugged aesthetic. However, transforming raw biological material into a durable, wearable piece of jewelry requires specific knowledge of keratin preservation, precision drilling, and structural assembly. According to the National Wild Turkey Federation, proper field care and post-harvest preparation are critical to ensuring the longevity of any turkey trophy. This comprehensive guide will walk you through the exact steps to craft, assemble, and style a wild turkey spur necklace that will last a lifetime.
Step 1: Harvesting and Prepping the Spurs
The foundation of any high-quality wild turkey spur necklace is the preparation of the raw material. Turkey spurs consist of a bony core covered by a keratin sheath—the same protein that makes up human fingernails and rhino horns. If the bony core is not properly cleaned and dried, it will eventually rot, emit a foul odor, and cause the keratin sheath to crack or detach.
Cleaning the Medullary Cavity
Immediately after harvesting, remove the spurs from the bird's legs. Using a fine-toothed saw, cut the spur off about a quarter-inch above the base to ensure you have a flat surface for setting the jewelry cap later. Next, you must clean out the medullary cavity (the hollow center of the bony core). Submerge the spurs in a pot of gently simmering water for 45 to 60 minutes. This softens the connective tissue and marrow. Use a specialized wire brush or a bent paperclip to carefully scrape out all organic matter from the hollow core. Rinse thoroughly with cold water and a mild degreasing soap like Dawn dish detergent to remove any residual oils that could cause yellowing over time.
The Desiccant Drying Method
Air drying is insufficient and often leads to micro-fractures in the keratin. Instead, bury the cleaned spurs in a sealed container filled with silica gel desiccant packets. Leave them for 10 to 14 days. The silica gel will rapidly draw out moisture without causing the rapid shrinkage that leads to cracking, ensuring the keratin sheath remains tightly bonded to the bony core.
Step 2: Selecting Hardware and Cording
Choosing the right cording and findings is essential for both the durability and the aesthetic of your wild turkey spur necklace. Because spurs are relatively lightweight (typically between 5 and 15 grams each), you do not need heavy-duty chains, but you do need materials that resist sweat and outdoor elements. When sourcing high-quality jewelry findings and clasps, experts at Rio Grande Jewelry Supply recommend using hypoallergenic metals and treated organic fibers for rustic designs.
| Cord Material | Ideal Thickness | Pros | Cons | Best For |
|---|---|---|---|---|
| Braided Leather | 2mm - 3mm | Classic rustic look, ages beautifully | Can stretch, degrades with heavy sweat | Casual wear, outdoor events |
| Waxed Cotton | 1.5mm - 2mm | Highly durable, water-resistant | Less premium feel than leather | Everyday wear, active hunters |
| Sterling Silver Chain | 18' - 20' length | High-end finish, hypoallergenic | Expensive, can clash with rustic vibe | Formal rustic events, gifts |
For the spur caps, opt for sterling silver or brass bezel cups specifically designed for irregular organic shapes. These cups will hide the cut base of the spur and provide a secure loop for threading your chosen cord.
Step 3: Drilling and Setting the Spurs
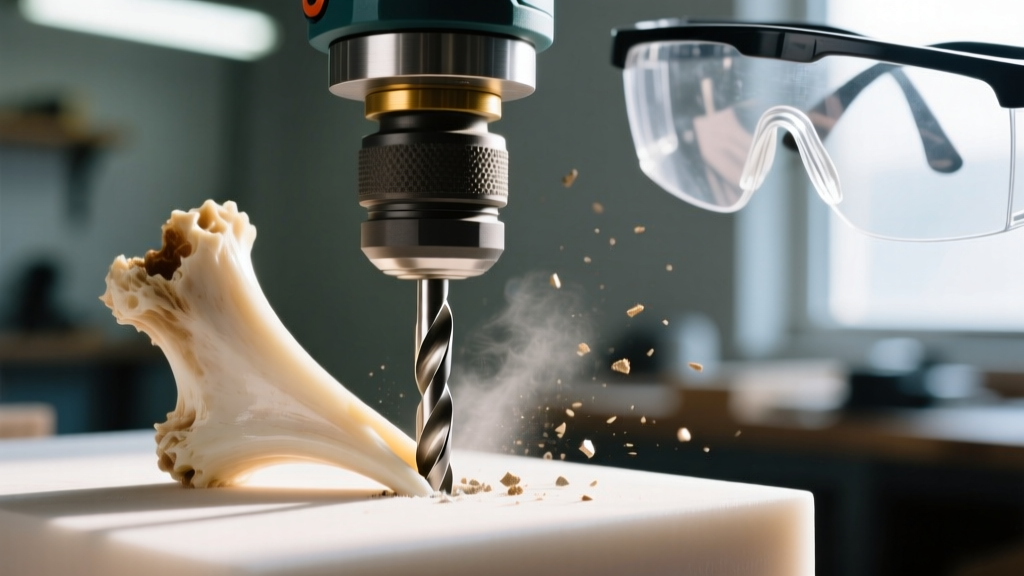
Drilling into keratin requires extreme care. High speeds will melt the keratin, causing it to fuse to the drill bit and potentially shatter the spur. Low speeds with the wrong bit will cause splintering and blowout at the exit point.
Precision Drilling Technique
Secure the dried spur in a padded vise or a specialized jewelry holding jig. You must drill a pilot hole through the side or the base of the spur to accommodate a jump ring or the cord itself. Use a 3/32-inch carbide-tipped drill bit, which is ideal for standard 14-gauge or 16-gauge sterling silver jump rings. Set your rotary tool or drill press to a low RPM (under 500 RPM). Apply minimal, steady pressure, and periodically pull the bit out to clear the keratin dust. To prevent blowout on the opposite side, press the spur firmly against a scrap piece of hardwood while drilling.
Epoxy Setting and Capping
Do not use standard cyanoacrylate (super glue) to attach your metal bezel cap to the base of the spur; it becomes brittle and will fail under the sheer stress of daily wear. Instead, use a two-part clear epoxy, such as JB Weld ClearWeld or System Three Quick Cure. Mix the epoxy thoroughly, apply a generous bead to the inside of the metal cap, and press it onto the flat, sawed base of the spur. Wipe away any excess immediately with a cotton swab dipped in isopropyl alcohol. Allow the epoxy to cure for a full 24 hours before putting any tension on the setting.
Step 4: Assembly and Knotting Techniques
Once the epoxy has fully cured, it is time to assemble the necklace. If you are using a braided leather or waxed cotton cord, the most practical and adjustable closure is the macrame sliding knot. This eliminates the need for fragile metal lobster clasps that can snag on hunting gear or flannel shirts.
- Cut the Cord: Measure out approximately 40 inches of your chosen cord to allow enough slack for the sliding knots and a comfortable over-the-head fit.
- Thread the Spurs: Pass both ends of the cord through the jump rings attached to your metal spur caps. Ensure the spurs sit symmetrically at the bottom center of the necklace.
- Tie the Sliding Knot: Overlap the two ends of the cord. Using a separate 12-inch piece of thinner waxed cotton (about 1mm), tie a series of half-hitches (square knot macrame) around the two overlapping main cords. Wrap the knot about 3/4 of an inch wide, finish with a hidden tuck, and melt the ends of the thinner cord with a lighter to seal them.
- Finish the Ends: Tie a simple overhand knot at the very ends of the main cords to prevent them from slipping through the sliding mechanism, and trim the excess.
Styling Your Wild Turkey Spur Necklace
A wild turkey spur necklace is a bold, conversational piece that demands the right styling to avoid looking like a mere costume. The key to integrating rustic trophy jewelry into a modern wardrobe is balancing the organic textures with refined, structured clothing.
Neckline Pairings
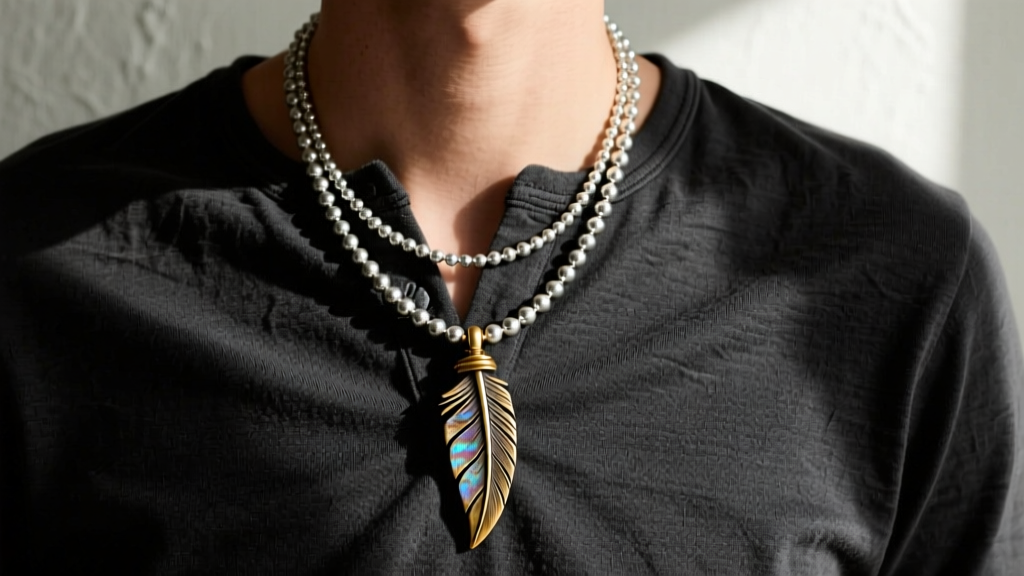
The spur necklace sits best at a 20-inch to 22-inch drop, placing the pendants right at the sternum. This length pairs perfectly with deep V-necks, unbuttoned henleys, and open-collar flannel shirts. Avoid tight crew necks, as the spurs will tangle with the collar and look visually cramped.
The Rule of Three for Layering
To elevate the necklace from a simple hunting souvenir to a curated fashion statement, utilize the 'Rule of Three' layering technique. Make the wild turkey spur necklace your focal point at 22 inches. Add a shorter, 18-inch oxidized silver chain with a small, understated pendant (like a raw turquoise or onyx bead). Finally, add a longer, 26-inch lightweight leather lariat or raw stone necklace to create depth and visual cascading. This layered approach grounds the rustic spurs in contemporary men's and women's bohemian or heritage fashion.
Maintenance and Long-Term Care
Keratin is an organic material that remains susceptible to environmental damage even after it has been dried and set. Prolonged exposure to UV radiation from direct sunlight will cause the dark, striking melanin in the spur sheath to bleach and turn a dull, chalky gray. Furthermore, prolonged moisture can rehydrate the core and weaken the epoxy bond.
To maintain the deep, rich color of your wild turkey spur necklace, wipe the spurs down once a month with a microfiber cloth lightly dampened with mineral oil or a specialized horn-and-bone conditioning wax. This replenishes the natural lipids lost during the drying process and provides a subtle, protective barrier against sweat and humidity. When not in use, store the necklace in a dark, climate-controlled jewelry box or a soft cotton pouch to prevent the keratin from scratching against harder metal jewelry pieces. With proper care and precise craftsmanship, your custom spur necklace will remain a striking, wearable testament to your time in the field for decades to come.


