How to Craft a Custom Wire-Wrapped Necklace With a Rock
Learn how to craft a custom wire-wrapped necklace with a rock. Step-by-step guide covering wire gauges, stone prep, and wrapping techniques.

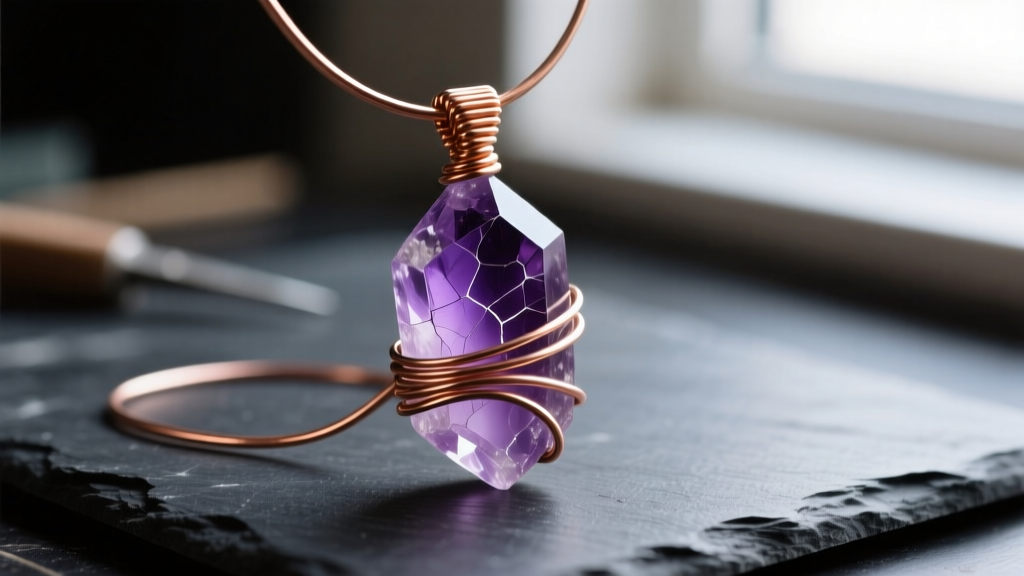
The shift toward organic, unrefined aesthetics in jewelry design has made the raw stone pendant a staple in modern collections. Learning how to craft a custom wire-wrapped necklace with a rock allows you to transform an ordinary geological find or a rough-cut crystal into a wearable piece of art. Unlike traditional bezel settings that require soldering and precise stone calibration, wire wrapping relies on tension, structural framing, and woven wire to secure the stone. This guide provides a comprehensive, professional-grade approach to creating a secure and visually striking wire-wrapped pendant.
Essential Tools and Materials for Stone Wrapping
Before you begin wrapping, you must select the correct wire temper and gauge. Using the wrong temper is the most common reason beginners experience cracking or structural failure. Wire temper refers to the metal's hardness and malleability.
| Wire Temper | Characteristics | Best Application |
|---|---|---|
| Dead-Soft | Extremely malleable, bends easily with fingers, work-hardens quickly. | Weaving wire, intricate loops, securing small stones. |
| Half-Hard | Stiffer, holds its shape well, requires pliers for sharp bends. | Main structural frames, clasps, ear wires, and bail bases. |
| Hard | Very stiff, difficult to bend, high tensile strength. | Jump rings, structural pins, heavy-duty clasps (rarely used for wrapping). |
For a standard pendant, you will need 20-gauge half-hard wire for the main frame and 26-gauge or 28-gauge dead-soft wire for the decorative weaving. According to jewelry supply experts at Rio Grande, combining a rigid frame with a pliable weaving wire ensures the stone remains locked in place without the frame warping under pressure.
Required Tool Kit
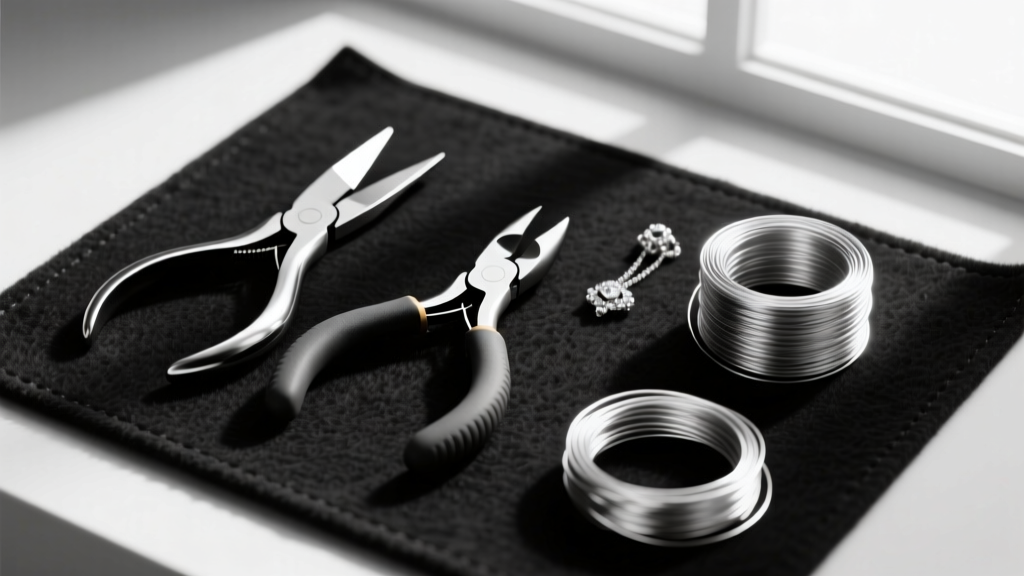
- Flush Cutters: For clean, flat cuts on soft wire.
- Chain-Nose Pliers: Flat inner jaws for gripping, bending, and tucking wire ends.
- Round-Nose Pliers: Conical jaws for creating perfectly round loops and bails.
- Nylon Jaw Pliers: Essential for straightening wire and removing tool marks without scratching the metal.
- Liver of Sulfur (Optional): For oxidizing and antiquing the finished piece to highlight the wire texture.
Step 1: Selecting and Preparing Your Stone
Not every rock is suitable for wire wrapping. The stone's hardness, shape, and structural integrity dictate how it will handle the tension of the wire. Consult the Mohs Hardness Scale via the GIA to understand your material. Stones with a Mohs rating below 4 (like selenite or raw fluorite) are highly prone to scratching and cleaving under wire pressure. For beginners, agates, jaspers, and rough quartz (Mohs 7) offer the best durability.
Cleaning and Inspecting
Raw stones often harbor grit, oils, and loose mineral inclusions. Wash your rock in warm water with a mild, phosphate-free dish soap. Use a soft-bristled toothbrush to clean crevices. Never use ultrasonic cleaners on raw, fractured, or porous stones, as the high-frequency vibrations can cause internal fissures to shatter the rock entirely. Once dry, examine the stone to find its natural "waist"—the narrowest point where the main structural wires will rest.
Step 2: Creating the Wire Frame and Bail
The frame is the skeleton of your necklace with a rock. It must cradle the stone securely while providing a bail (the loop that the chain passes through).
- Measure and Cut: Cut two pieces of 20-gauge half-hard wire, each about 6 inches long. The exact length depends on the stone's circumference, but excess wire is easily trimmed later.
- Form the Base: Align the two wires side-by-side. Using your round-nose pliers, grip both wires about 1.5 inches from the top end. Bend the wires around the plier jaw to create a U-shape, forming the top of the bail.
- Shape the Cradle: Bend the longer ends of the wires downward and outward, contouring them to match the natural curves of your stone's "waist." You are essentially building a custom metal corset for the rock.
- Bind the Bail: Take a 12-inch piece of 26-gauge dead-soft wire. Anchor it at the base of the bail loop, then wrap it tightly and evenly around the two 20-gauge frame wires to bind them together. This creates a sturdy, unified bail.

Step 3: Securing the Rock (The Wrapping Process)
With the bail formed and the base frame shaped to the stone's lower half, it is time to lock the rock into the setting.
The Tension Lock Technique
Place the stone into the wire cradle. Gently push the frame wires up against the sides of the rock. To secure it, you will use the 26-gauge weaving wire to create "cages" or cross-weaves over the front and back of the stone.
Start weaving at the bottom point of the stone. Wrap the thin wire around the left frame wire twice, stretch it across the face of the rock, and wrap it twice around the right frame wire. Repeat this process, moving upward. The key to a professional finish is maintaining consistent tension. If the weaving wire is too loose, the stone will rattle; if pulled too aggressively, the thin wire will snap or the frame will warp inward.
Adding Decorative Elements
Once the stone is structurally secure, you can add small accent beads (like 2mm faceted garnets or tiny raw diamond chips) onto the weaving wire before wrapping it around the frame. This adds a layer of high-end custom detailing that elevates the piece from a simple craft project to fine artisan jewelry.
Step 4: Choosing the Right Chain and Styling
A heavy raw stone pendant requires a chain with adequate tensile strength and visual weight. Delicate chains like snake chains or thin cable chains will snap under the weight of a 50-gram quartz cluster and look visually unbalanced.
- Rolo Chains: Featuring uniform, round interlocking links, a 3mm to 5mm rolo chain in sterling silver or gold-fill provides excellent durability and a classic, rugged aesthetic that complements raw stones.
- Wheat (Spiga) Chains: Woven in a V-pattern, wheat chains are incredibly strong and have a fluid, textile-like drape that pairs beautifully with organic, uncut crystals.
- Leather Cords: For a bohemian or earthy look, a 2mm braided leather cord with a sterling silver end-cap and lobster clasp is an ideal, lightweight alternative to metal chains.
Troubleshooting Common Wire-Wrapping Mistakes
Even experienced jewelers encounter issues when working with irregular, asymmetrical rocks. Here is how to troubleshoot the most common failures:
1. The Wire is Work-Hardening and Cracking
As you bend and manipulate metal, its crystalline structure compresses, making it brittle (work-hardening). If your 26-gauge weaving wire keeps snapping, you are over-manipulating it. Solution: Anneal the wire using a micro-torch to heat it to a dull red, then quench it in water. This resets the crystalline structure, returning it to a dead-soft state. Alternatively, simply cut a new piece of weaving wire and seamlessly tuck the ends.
2. Sharp Wire Ends Scratching the Skin
Nothing ruins a handmade necklace faster than a sharp wire poke. Solution: Always finish your wire ends by trimming them flush, then using the flat jaw of your chain-nose pliers to press the cut end firmly flat against the adjacent frame wire. For an extra layer of security, apply a microscopic drop of jeweler's epoxy (like G-S Hypo Cement) over the tucked end.
3. The Stone Slips Out of the Cradle
If your rock has a highly irregular shape with deep indentations, standard side-wrapping won't hold it. Solution: Create a "basket weave" underneath the stone. Before placing the rock in the frame, weave a tight mesh of dead-soft wire between the bottom frame wires to create a literal net that catches the stone's lowest point, preventing it from sliding downward.
Final Thoughts on Raw Stone Jewelry
Crafting a wire-wrapped necklace with a rock is an exercise in adapting rigid materials to organic, unpredictable shapes. By understanding wire temper, respecting the stone's natural geometry, and applying consistent tension during the weaving process, you can create durable, museum-quality pendants. Whether you are wrapping a piece of beach-tumbled sea glass or a raw, glittering geode slice, mastering these foundational techniques ensures your jewelry will withstand daily wear while showcasing the raw beauty of the earth.


