How to Clean Jewelry With Diamonds: Troubleshooting Cloudy Stones
Learn how to clean jewelry with diamonds safely. Troubleshoot cloudy stones, protect fragile settings, and restore brilliance with expert methods.

There is nothing more frustrating than pulling your favorite diamond ring out of a cleaning solution only to find it looking dull, milky, or clouded. While diamonds are the hardest natural material on earth, ranking a perfect 10 on the Mohs scale, they are not immune to looking lifeless. In fact, their high refractive index means that even a microscopic layer of oil, hard water deposits, or lotion can completely destroy their brilliance. If you are struggling with stubborn grime or accidental damage, understanding how to clean jewelry with diamonds requires a diagnostic, problem-solving approach rather than a one-size-fits-all soak.
The Root Cause: Why Your Diamonds Look Cloudy After Cleaning
Before reaching for an ultrasonic machine or a harsh chemical, we must identify why the stone is cloudy. Cloudiness generally falls into three distinct categories, each requiring a completely different troubleshooting method:
- Hard Water Spotting: If you rinse your jewelry in tap water, calcium and magnesium carbonate deposits will bake onto the pavilion (the underside) of the diamond as it dries, creating a frosted, cloudy appearance.
- Pavilion Grime Ring: Diamonds are lipophilic, meaning they attract and hold onto oils. A mixture of sebum, hand lotion, and soap scum often forms a hardened, opaque ring right where the girdle of the diamond meets the prongs, blocking light return.
- Treatment Damage: If your diamond has been fracture-filled or laser-drilled, improper cleaning methods can permanently alter the stone's internal optics, causing a milky or cloudy appearance that cannot be washed away.
Diagnostic Checklist: Identify Your Diamond Treatment
The most critical mistake consumers make is assuming all diamonds can withstand the same cleaning protocols. According to the Gemological Institute of America (GIA), various clarity enhancements require vastly different care regimens. If you do not have the original grading report, look for the 'flash effect'—a subtle blue or purple iridescent flash under magnification—which indicates fracture filling.
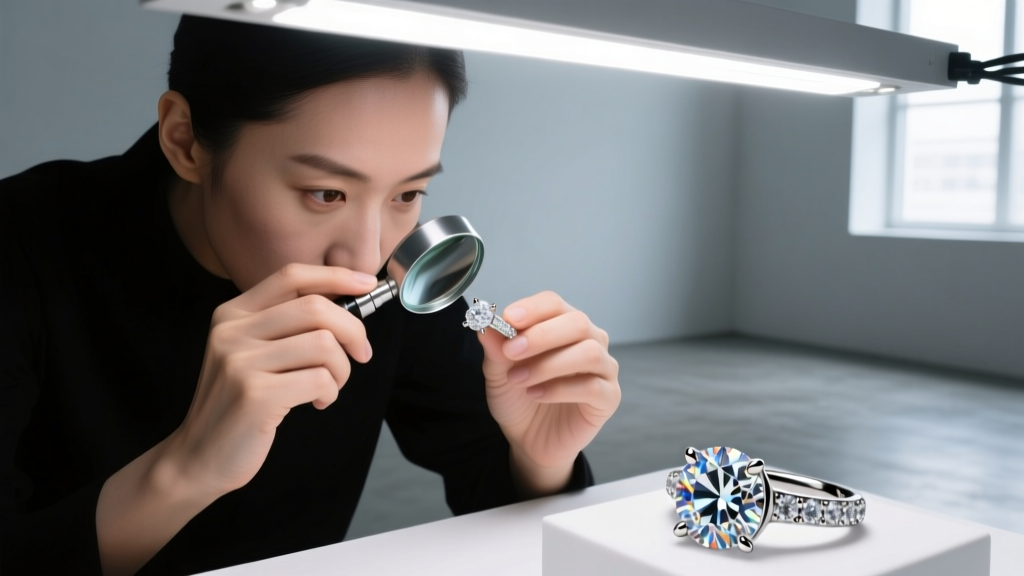
| Treatment Type | Identification Clue | Ultrasonic Safe? | Steam Safe? | Recommended Cleaning Method |
|---|---|---|---|---|
| Untreated (Natural/Lab) | GIA Report states 'None' | Yes (if prongs >0.8mm) | Yes | Ammonia soak or Ultrasonic |
| Fracture-Filled (e.g., Yehuda) | Flash effect under 10x loupe | NO | NO | pH-neutral soap & lukewarm water |
| Laser-Drilled | Visible microscopic drill channels | Yes | Yes | Ultrasonic (to clear channel debris) |
| HPHT Color Treated | Color-zoning anomalies | Yes | Yes | Standard ammonia soak |
Using an ultrasonic cleaner or a high-pressure steamer on a fracture-filled diamond will cause the glass-like filler to melt, crack, or turn completely opaque. If you suspect your stone is treated, skip to Protocol B below.
How to Clean Jewelry With Diamonds: The Troubleshooting Protocols
Once you have identified your diamond's treatment status and the type of grime you are dealing with, you can proceed with the correct methodology. Here is how to clean jewelry with diamonds based on your specific troubleshooting scenario.
Protocol A: The Distilled Water Soak (For Untreated Stones)
This protocol is designed to dissolve the lipophilic oils and hard water spots without leaving behind new mineral deposits.
- Mix the Solution: Combine 6 parts distilled water (never tap water) with 1 part household ammonia in a small glass beaker. Ammonia is highly effective at breaking down cosmetic oils and sebum.
- The Soak: Submerge the jewelry for exactly 15 to 20 minutes. Do not exceed 30 minutes, especially if your setting includes porous side-stones like emeralds or pearls, which ammonia will destroy.
- Agitation: Remove the piece and use a brand-new, ultra-soft baby toothbrush. Gently brush the pavilion (underneath the stone) where the girdle meets the basket setting. Do not scrub the top of the stone; the oils hide underneath.
- The Rinse: Rinse thoroughly under a gentle stream of distilled water to ensure no ammonia residue remains.
- Drying: Use a lint-free microfiber cloth. Avoid paper towels, as the wood pulp fibers can snag on microscopic burrs in the metal setting.
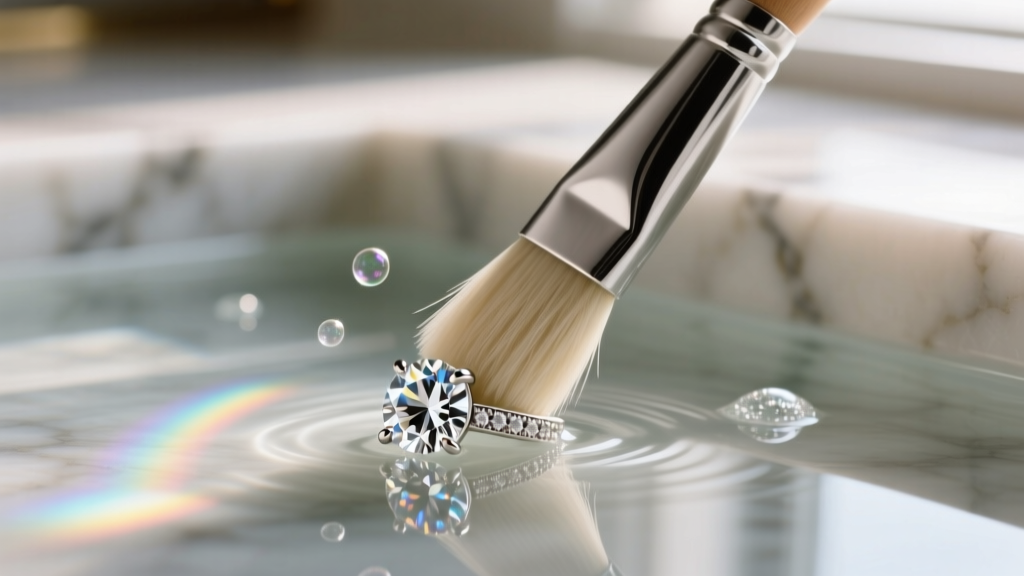
Protocol B: The pH-Neutral Wipe (For Fracture-Filled Stones)
If your diamond is clarity-enhanced, you must avoid ammonia, acids, and high heat. Instead, use a few drops of pH-neutral dish soap (like Dawn Free & Clear) mixed with lukewarm distilled water. Soak for only 5 minutes, gently wipe with a soft cotton swab around the prongs, and pat dry. Never use a brush on a fracture-filled stone, as the bristles can catch the edge of the filler and pull it out of the fissure.
Troubleshooting Common Cleaning Disasters
Even with the best intentions, things can go wrong. Here is how to handle the most frequent emergencies encountered when cleaning fine jewelry at home.
Disaster 1: A Pavé Stone Popped Out During Ultrasonic Cleaning
Ultrasonic cleaners typically operate at a frequency of 40 kHz, creating thousands of microscopic cavitation bubbles per second. While this is excellent for blasting dirt out of laser-drilled channels, the high-frequency vibration will easily shake loose any pavé diamonds held by worn prongs. If a prong has degraded to less than 0.6mm in thickness, the ultrasonic waves will snap it or vibrate the stone out of its bead setting. The Fix: Immediately stop the machine. Retrieve the stone from the tank's filter basket. Place the jewelry and the loose stone in a sealed ziplock bag and take it to a bench jeweler for a prong re-tipping and laser welding. Never attempt to push a pavé stone back in with tweezers; you will chip the girdle.
Disaster 2: The Stone Turned Milky After Steaming
If your diamond turned milky or cloudy immediately after using a jewelry steamer, it is almost certainly fracture-filled, and the thermal shock has compromised the filler. The Fix: Unfortunately, this cannot be reversed at home. The piece must be sent to a specialized lapidary to have the damaged filler boiled out in acid and re-filled. To prevent this, always verify your diamond's treatment status via its grading report before applying heat.
Tools to Ban From Your Cleaning Kit
Misinformation on social media has led to several destructive DIY cleaning trends. To protect your investment, permanently ban the following items from your jewelry care routine:
- Toothpaste: Toothpaste contains hydrated silica, which has a Mohs hardness of about 7. While it won't scratch the diamond (hardness 10), it will severely scratch the 14k or 18k gold setting (hardness 2.5 to 3), leaving a dull, matte finish that requires professional re-polishing.
- Baking Soda Pastes: Similar to toothpaste, baking soda is an abrasive. Furthermore, its high alkalinity can cause oxidation and discoloration in lower-karat gold alloys and silver settings.
- Chlorine Bleach: Never use bleach. Chlorine reacts chemically with the copper and zinc alloys in gold, causing structural brittleness. Over time, bleach exposure will cause prongs to snap off entirely, resulting in the loss of your diamond.
Preventative Maintenance and Professional Care
Knowing how to clean jewelry with diamonds is only half the battle; preventative maintenance ensures the structural integrity of the setting. The GIA recommends having your fine jewelry inspected by a professional jeweler at least once a year. During this visit, the jeweler will use a microscope to check for prong wear, gallery wire fatigue, and hidden hair wrapped around the diamond's base—a common issue that traps moisture and causes localized skin irritation and metal tarnishing.
For daily wearers, a quick wipe with a dedicated, untreated jeweler's polishing cloth every evening before bed removes the day's accumulation of oils, keeping the stone's light return at its absolute maximum and reducing the need for deep, aggressive cleaning sessions.

