The Science Behind a Safe Jewelry Cleaner DIY: Chemistry and Risks
Explore the chemistry behind a safe jewelry cleaner DIY. Learn the galvanic reactions, surfactant mechanics, and destructive risks of acids.

When searching for an effective jewelry cleaner diy, the internet is saturated with anecdotal recipes ranging from ketchup soaks to toothpaste scrubs. As a metallurgist and gemologist, I frequently see the catastrophic results of these well-meaning but chemically flawed home remedies. Cleaning precious metals and gemstones is not merely about removing dirt; it is an exercise in applied chemistry. Every metal alloy and gemstone lattice has specific electrochemical properties, Mohs hardness ratings, and pH vulnerabilities. In this expert deep dive, we will bypass the Pinterest myths and examine the actual molecular mechanics of DIY cleaning solutions, detailing exactly why certain reactions work, where they fail, and how to formulate safe, highly effective cleaning matrices at home.
The Electrochemistry of Silver: The Foil Method
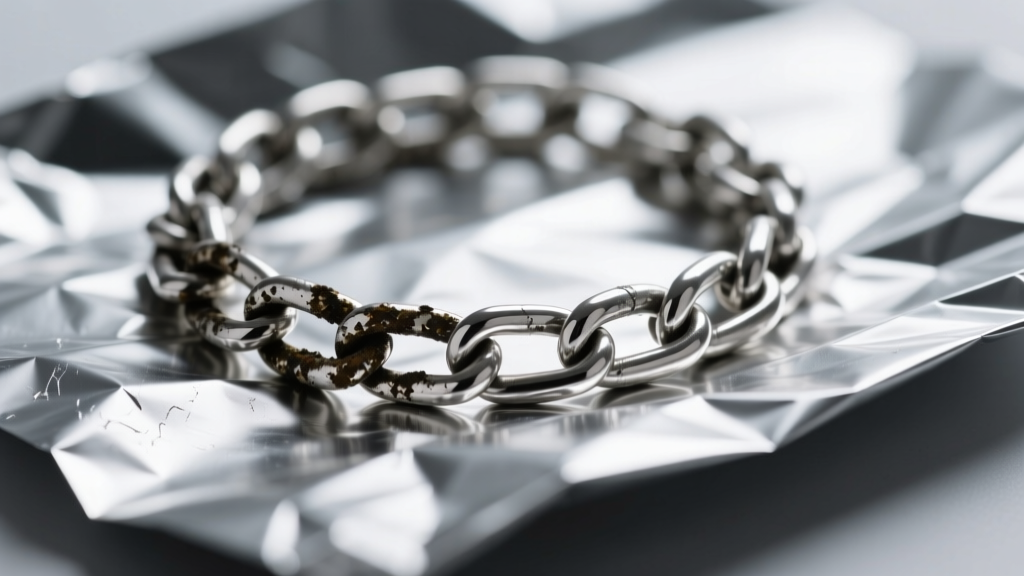
Silver tarnish is not dirt; it is a chemical compound called silver sulfide (Ag2S) that forms when elemental silver reacts with hydrogen sulfide in the atmosphere. Scrubbing this tarnish with abrasive DIY pastes like baking soda and water physically removes a microscopic layer of your silver, leading to cumulative weight loss and scratched surfaces over time. The only scientifically sound jewelry cleaner diy for silver relies on a galvanic reduction reaction.
The Galvanic Cell Mechanics
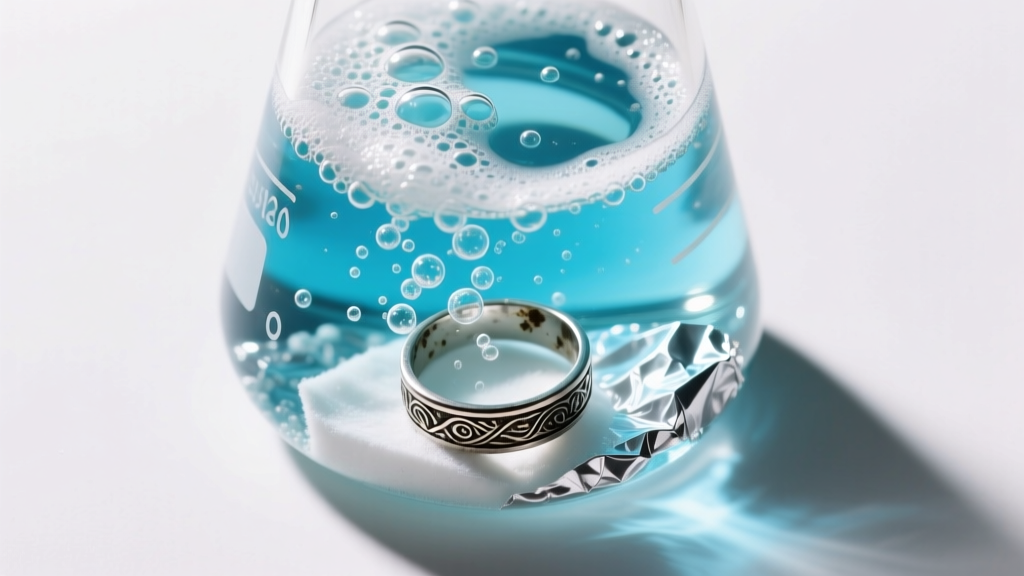
By lining a glass bowl with aluminum foil and adding hot water and sodium bicarbonate (baking soda), you create a rudimentary electrochemical cell. Aluminum has a lower reduction potential than silver. When the tarnished silver touches the aluminum in the alkaline electrolyte solution, an electron transfer occurs. The aluminum oxidizes, donating electrons to the silver sulfide, which reduces back into elemental silver. The sulfur bonds with the aluminum, eventually releasing a small amount of hydrogen sulfide gas (the distinct rotten egg odor). According to the chemical breakdown by Compound Interest, this process reverses the tarnish without removing any underlying silver metal.
For optimal results, the water must be near boiling (around 85 degrees Celsius) to accelerate the ion transfer. Use exactly one tablespoon of baking soda per cup of water. Ensure the silver piece is in direct physical contact with the aluminum foil, as the foil acts as the anode. Dwell time should not exceed three to five minutes; prolonged exposure to the alkaline solution can cause a dull, whitish oxidation on the silver surface that requires gentle polishing to remove.
Surfactant Chemistry: Degreasing Diamonds and Gold
Diamonds are oleophilic, meaning they have a natural affinity for oils. Throughout the day, a diamond ring accumulates sebum, lotions, and microscopic lipid films. This hydrophobic layer drastically reduces the stone's refractive index, making it appear cloudy and dull. The most effective jewelry cleaner diy for diamonds and high-karat gold relies on non-ionic or anionic surfactants to break the surface tension of these oils.
Liquid dish soap is the gold standard here, but formulation matters. You must avoid 'moisturizing' or 'hand-softening' dish soaps. These contain added lipid esters and glycerin that will leave a secondary hydrophobic film on the diamond's pavilion. A high-surfactant, zero-lipid formula like Dawn Ultra is ideal. The surfactant molecules feature a hydrophilic (water-loving) head and a lipophilic (oil-loving) tail. The tails embed themselves into the sebum on the diamond, while the heads bind to the water, allowing the oil to be emulsified and rinsed away.
| Material | Recommended DIY Agent | Chemical Mechanism | Risk Level |
|---|---|---|---|
| Diamond (Carbon) | Dawn Ultra + Warm Water | Lipid emulsification via anionic surfactants | Zero |
| 18k Yellow Gold | Mild Dish Soap + Soft Brush | Surface tension reduction for particulate removal | Low |
| Sterling Silver | Aluminum Foil + Baking Soda | Galvanic reduction of silver sulfide | Low (if timed) |
| Pearls (Calcium Carbonate) | Damp Microfiber Cloth Only | Mechanical removal of surface oils | High (if submerged) |
| White Gold (Rhodium Plated) | Dawn Ultra + Distilled Water | Gentle degreasing without acidic corrosion | Medium (if acidic) |
The Danger Zone: Acetic Acid and Rhodium Stripping
One of the most destructive DIY trends involves soaking jewelry in white vinegar or lemon juice to remove tarnish or hard water spots. White vinegar is a dilute solution of acetic acid, typically sitting at a pH of 2.4. While this mild acid can dissolve copper oxides (tarnish on brass or bronze), it is highly detrimental to fine jewelry.
White gold is almost universally plated with rhodium, a platinum-group metal that provides a brilliant, hard, white finish. While rhodium is highly inert, the microscopic pores in the electroplated layer can allow acidic solutions to penetrate and attack the underlying nickel or copper alloys. This causes micro-pitting, delamination, and premature wearing of the rhodium plating. Furthermore, if your jewelry features porous gemstones, an acid bath is catastrophic. The Gemological Institute of America (GIA) explicitly warns against exposing organic gems to harsh chemicals, as acids will literally dissolve their structural integrity.
Porous Gemstones and pH Sensitivity
Gemstones are not uniform in their chemical resistance. The Mohs scale measures scratch resistance, but it tells you nothing about chemical stability. Pearls, coral, turquoise, malachite, and opals are highly porous and chemically reactive. Pearls are composed of calcium carbonate (CaCO3). When exposed to the acetic acid in vinegar or the citric acid in lemon juice, a rapid chemical reaction occurs, producing calcium acetate, water, and carbon dioxide gas. You are essentially dissolving the nacre of your pearls.
Similarly, turquoise is a hydrous phosphate of copper and aluminum. It is highly susceptible to dehydration and chemical alteration. Submerging turquoise in any liquid DIY cleaner, even mild soapy water, can cause the stone to absorb the liquid, leading to permanent color shifts, cracking, and the degradation of any stabilizing resins used by the lapidary. For these stones, the only safe cleaning method is mechanical: wiping gently with a dry, untreated microfiber cloth.
Mechanical Agitation: The Role of the Bristle Brush
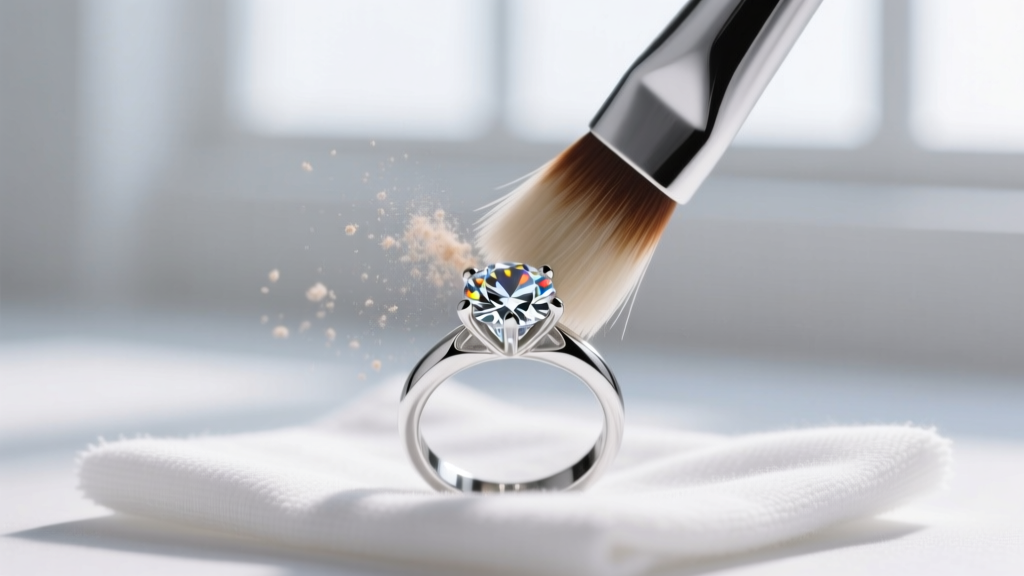
Chemical baths only do half the work; mechanical agitation is required to dislodge particulate matter trapped under the girdle of a gemstone or inside the intricate milgrain detailing of a setting. However, the tool you use is critical. Standard toothbrushes, even those labeled 'soft', possess bristles with a Shore A hardness that can easily micro-scratch high-polish gold alloys. Pure 24k gold has a Mohs hardness of just 2.5, making it softer than a human fingernail. Even 14k and 18k gold alloys rarely exceed a Mohs hardness of 3.5.
For safe mechanical agitation, use a dedicated, ultra-soft baby toothbrush or a specialized jeweler's brass-bristle brush (brass is softer than gold and platinum, preventing scratches). Always brush from the back of the setting (the pavilion) outward, pushing debris away from the stone rather than grinding it deeper into the prong seats.
Expert Formulation Matrix for Home Use
To synthesize this technical data into actionable protocols, follow these precise formulations for your home cleaning matrix:
- For Diamonds, Sapphires, and Rubies: Mix three parts distilled water with one part high-surfactant, non-moisturizing dish soap. Heat to 40 degrees Celsius. Soak for 15 minutes. Agitate with an ultra-soft brush. Rinse with distilled water to prevent hard water calcium deposits. Dry with compressed air or a lint-free microfiber cloth.
- For Solid Gold and Platinum: Use the same surfactant solution as above, but avoid heating the water above room temperature if the piece contains any secondary gemstones with unknown thermal shock resistance (like emeralds or fracture-filled rubies).
- For Sterling Silver: Line a glass beaker with aluminum foil (shiny side up). Add one tablespoon of baking soda and one cup of boiling distilled water. Submerge the silver for exactly three minutes. Remove with wooden tongs, rinse thoroughly, and pat dry. Do not use this method on oxidized (intentionally blackened) silver jewelry, as it will strip the deliberate patina.
Understanding the molecular interaction between your cleaning agents and your jewelry is the difference between restoring a piece to its original brilliance and causing irreversible metallurgical damage. When in doubt, rely on the gentlest surfactant and avoid the acid.
Ultimately, a successful jewelry cleaner diy is not about finding the harshest chemical to strip away grime, but about leveraging precise electrochemical and surfactant reactions to lift debris while preserving the atomic lattice of your precious metals and gems. By respecting the chemistry of your materials, you ensure your jewelry remains structurally sound and optically brilliant for generations.