Troubleshooting Your DIY Jewelry Cleaner Recipe: What Went Wrong?
Did your DIY jewelry cleaner recipe ruin your favorite ring? Learn how to troubleshoot common homemade cleaning disasters and safe alternatives.

The Anatomy of a DIY Jewelry Cleaner Disaster
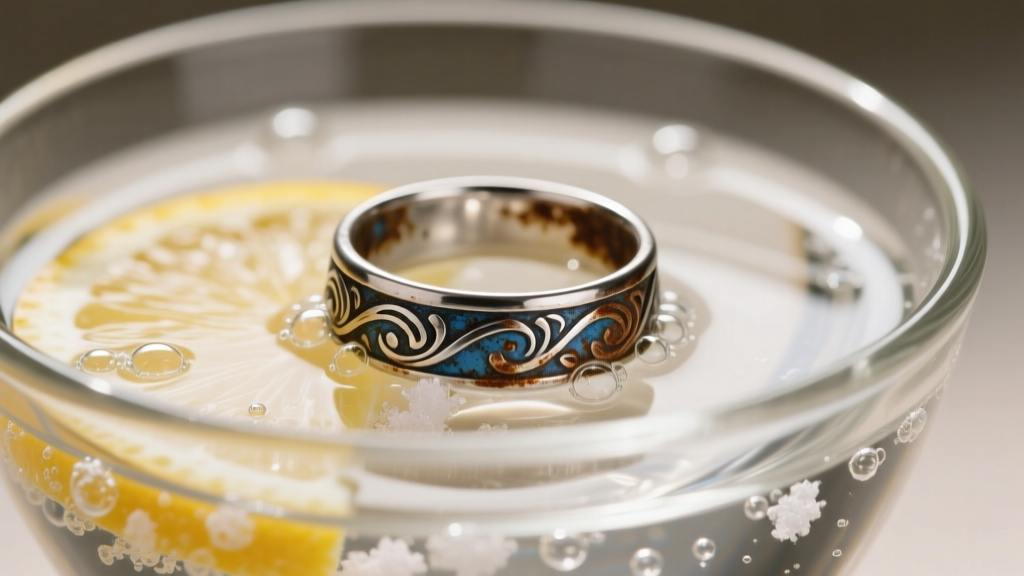
The internet is flooded with pantry-based chemistry hacks promising to restore your fine jewelry to its original brilliance. However, treating complex metallurgy and delicate gemstones with household ingredients often leads to irreversible damage. When a jewelry cleaner recipe goes wrong, it is rarely due to bad luck; it is almost always a failure to account for the Mohs hardness scale, pH sensitivity, or the lipophilic properties of certain gems. As a jewelry care specialist, I see the aftermath of these viral hacks daily: micro-scratched gold bands, dissolved pearl nacre, and diamonds trapped in a greasy film. To fix your jewelry, you first need to understand exactly why your homemade solution failed.
Troubleshooting Common Recipe Failures
Before we build a safe cleaning protocol, let us diagnose the damage. If your jewelry looks worse after a DIY soak, identify your scenario below to understand the chemical or mechanical failure that occurred.
Scenario 1: 'The Baking Soda Paste Scratched My Gold'
Baking soda (sodium bicarbonate) is a staple in abrasive cleaning recipes. While it feels soft to human skin, it registers at a 2.5 on the Mohs hardness scale. Pure 24k gold is also a 2.5, and 18k gold (which is 75% pure gold) is even softer and highly malleable. When you rub a baking soda paste onto a high-polish 18k or 22k gold ring, you are essentially sanding the metal with microscopic rocks. The resulting micro-scratches scatter light, leaving the gold looking permanently dull and cloudy. 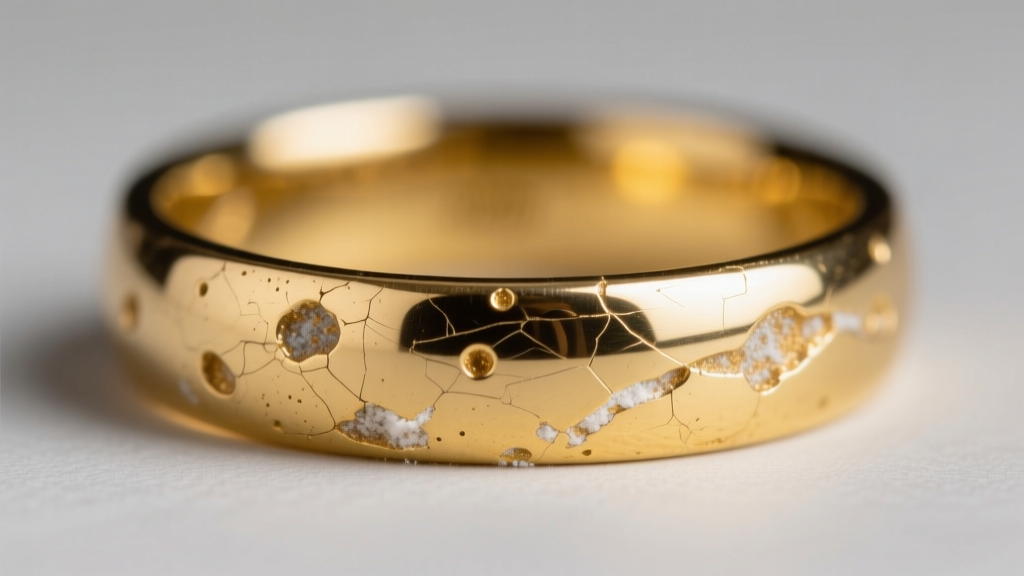
Scenario 2: 'The Vinegar Soak Destroyed My Pearls'
Acidic recipes utilizing white vinegar, lemon juice, or ketchup are catastrophic for organic and porous gemstones. Pearls, coral, and turquoise are largely composed of calcium carbonate. When exposed to acetic acid (vinegar) or citric acid (lemon), a rapid chemical reaction occurs, converting the solid calcium carbonate into water-soluble calcium acetate or calcium citrate, while releasing carbon dioxide gas. According to the Gemological Institute of America (GIA), this etching destroys the nacre's crystalline structure, stripping the pearl of its luster and causing irreversible surface pitting.
Scenario 3: 'The Dish Soap Left a Greasy Film on My Diamond'
Diamonds are lipophilic, meaning they naturally attract and bind to oils and grease while repelling water. Many viral recipes suggest using 'a squirt of dish soap' without specifying the type. If you use a dish soap containing added moisturizers, aloe, or heavy fragrances, the lipids in the soap will bind directly to the pavilion (bottom) facets of the diamond. This greasy film acts as a barrier, preventing light from entering and reflecting back through the crown, making the diamond look dead and gray.
The Only 3 Jewelry Cleaner Recipes That Actually Work
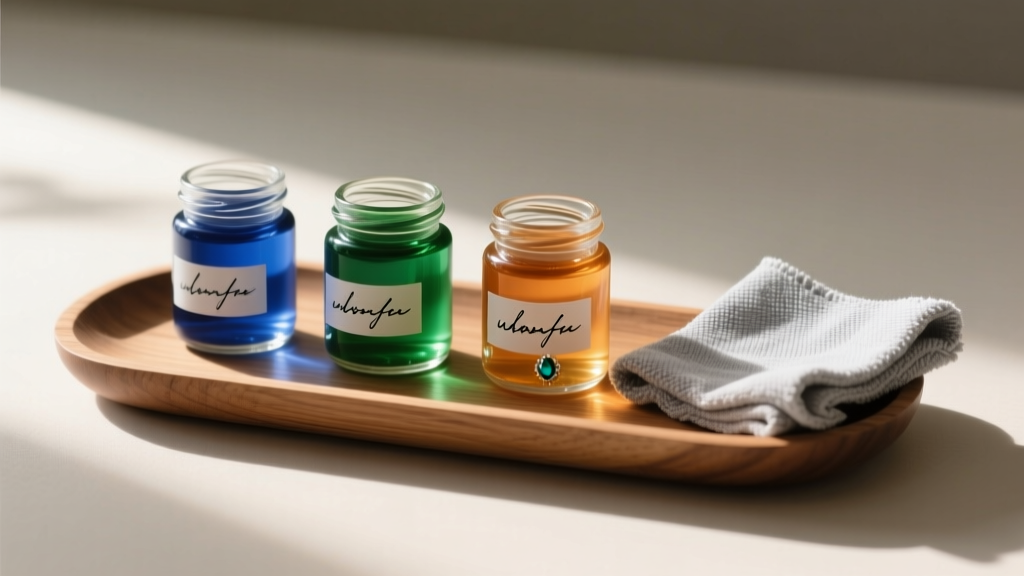
To safely clean your collection, you must abandon one-size-fits-all hacks and use targeted formulations based on material science. Here are the only three recipes you need, engineered for safety and efficacy.
| Recipe Type | Target Materials | pH Level | Max Soak Time |
|---|---|---|---|
| Mild Surfactant Bath | Diamonds, Sapphires, Rubies, 14k/18k Gold, Platinum | 7.0 - 8.0 (Neutral) | 20 Minutes |
| Electrochemical Reduction | Sterling Silver (No intentional patina/oxidation) | 8.5 - 9.5 (Alkaline) | 3 Minutes |
| Hydration Mist | Pearls, Opals, Turquoise, Emeralds, Coral | 7.0 (Pure Water) | 0 Minutes (Wipe only) |
Recipe 1: The Lipid-Free Surfactant Bath (For Hard Stones & Precious Metals)
The Mix: 8 ounces of distilled water warmed to 95°F (35°C) + exactly 3 drops of plain, unscented, lotion-free dish degreaser (such as original Dawn or a pure Castile soap).
The Method: Soak for 15 minutes. Agitate gently with a baby-soft toothbrush (no harder than 0.15mm bristle diameter) to dislodge sebum from under the prongs. Rinse with distilled water and dry with a lint-free microfiber cloth. The GIA Diamond Care Guide specifically recommends this mild, non-abrasive approach to maintain optimal light return.
Recipe 2: The Hydration Mist (For Porous & Organic Gems)
The Mix: 100% pure distilled water in a fine-mist spray bottle. No soaps, no salts, no acids.
The Method: Never submerge pearls or opals. Submerging opals can cause water to penetrate microscopic fractures, leading to crazing (internal cracking) as it evaporates. Instead, lightly mist the stone and immediately wipe it with a damp, soft cotton cloth. Dry immediately. This removes surface dust and skin oils without compromising the stone's internal moisture balance or the silk thread used in pearl stringing.
The Electrochemical Silver Dip: A Recipe With Caveats
The most famous DIY silver cleaning recipe involves lining a glass bowl with aluminum foil, adding boiling water, a tablespoon of baking soda, and a teaspoon of table salt. This is not a myth; it is a highly effective galvanic cell. The aluminum acts as an anode, oxidizing and releasing electrons that travel through the conductive saline solution to the silver sulfide (tarnish) on your jewelry, reducing it back to pure silver.
The Troubleshooting Caveat: While the Smithsonian Museum Conservation Institute acknowledges the chemistry behind this method, it comes with a massive warning for modern jewelry. This electrochemical reaction does not discriminate between accidental tarnish and intentional oxidation. If your silver piece features 'antiqued' or 'oxidized' details—where the jeweler intentionally darkened the recesses to create contrast—the aluminum dip will strip those dark details, leaving the piece looking flat and cheap. Furthermore, the boiling water temperature can fracture temperature-sensitive stones like garnets or tanzanite if they are set in the silver.
When to Abandon the Kitchen and See a Professional
Not every cleaning problem can be solved with a better recipe. You must recognize the mechanical failure modes that require a jeweler's bench. If you encounter any of the following, stop your DIY efforts immediately:
- Black Crevice Tarnish: If tarnish is deeply embedded in porous casting voids or under tight bezel settings, chemical dips will not reach it. A jeweler must use a fiberglass scratch brush or a magnetic tumbler.
- Cloudy Gemstones from the Inside: If a diamond or sapphire looks cloudy after a thorough degreasing, the dirt is likely trapped between the stone and a closed-back setting, or the stone has internal fractures filled with degraded resin that requires professional re-treatment.
- Loose Prongs or Rattling: Never submerge or brush a stone that moves in its setting. Water and soap will act as a lubricant, allowing the stone to slip out of the weakened prong and wash down the drain.
True jewelry care is less about aggressive cleaning and more about strategic maintenance. The best 'recipe' is removing your jewelry before applying lotions, swimming in chlorinated pools, or doing dishes, thereby preventing the chemical bonds that make deep cleaning necessary in the first place.