Advanced Polyclay Jewelry Making: Mica Shift Techniques
Master advanced polyclay jewelry making with expert guides on mica shift illusions, structural armatures, and precise curing temperatures.

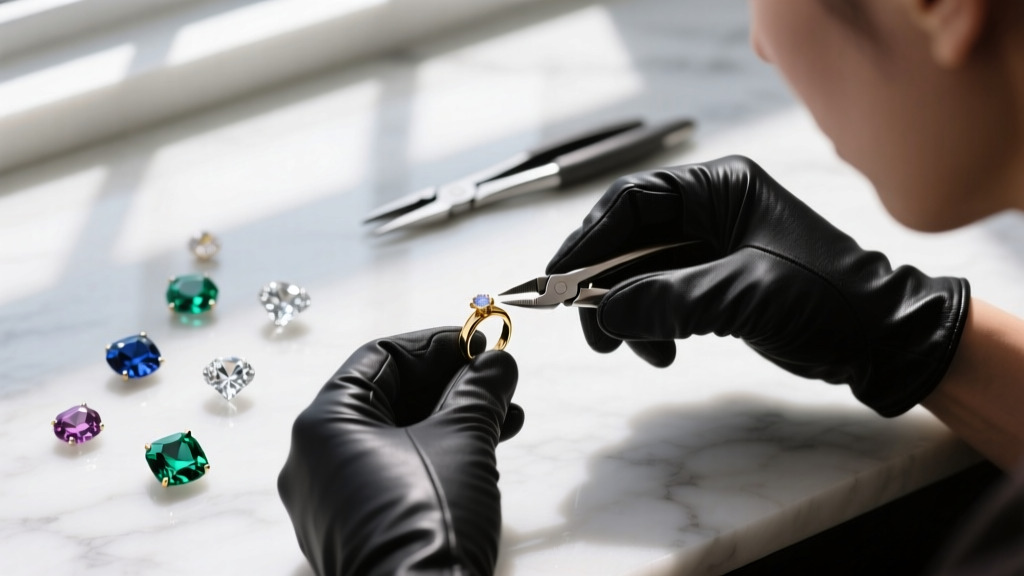
Polyclay jewelry making has evolved far beyond the simple extruded beads and basic canes of the early 2000s. Today, studio jewelers and mixed-media artists leverage advanced polymer clay formulations to create high-end, gallery-quality pieces that rival traditional metalsmithing. As we navigate the technical landscape of 2026, the integration of complex surface illusions, structural engineering, and precise thermal management has become the standard for professional-grade polyclay jewelry making. This deep dive explores the chemistry, structural armatures, and advanced finishing protocols required to elevate your polymer clay practice from a casual craft to a master-level jewelry discipline.
The Polymer Matrix: Selecting Formulations
To master polyclay jewelry making, you must first understand the material at a molecular level. Polymer clay is not actually clay; it is a synthetic modeling material consisting of polyvinyl chloride (PVC) resin particles suspended in a plasticizer. When heated to the glass transition temperature (typically between 110°C and 130°C, depending on the brand), the plasticizer is absorbed into the PVC resin, causing the particles to swell and fuse into a solid, cross-linked matrix. Modern formulations have largely shifted toward non-phthalate plasticizers to meet stringent global safety standards, which has subtly altered the curing windows and flexibility of contemporary clays.
Choosing the right brand is critical for structural integrity and surface finish. According to the experts at The Blue Bottle Tree, different brands offer vastly different working properties, translucency, and post-bake flexibility.
| Clay Brand | Flexibility | Translucency | Best Jewelry Application |
|---|---|---|---|
| Fimo Professional | Low (Rigid) | Low | Mica shift, intricate canes, structural pendants |
| Premo Sculpey | High | Medium | Durable earrings, flexible bangles, everyday wear |
| Cernit Number One | Medium | Very High | Faux porcelain, translucent petals, gemstone imitations |
| Sculpey Soufflé | Medium (Matte) | None (Opaque) | Large statement pieces, lightweight textured cuffs |
Mastering the Mica Shift Illusion
The mica shift technique is arguably the most striking surface effect in advanced polyclay jewelry making. It creates a holographic, three-dimensional illusion on a perfectly flat surface. This effect relies on the physics of anisotropic mica platelets embedded within the metallic clay. When you condition and roll metallic polymer clay, the flat mica flakes align parallel to the surface, reflecting light directly back to the viewer (creating a bright, metallic sheen).
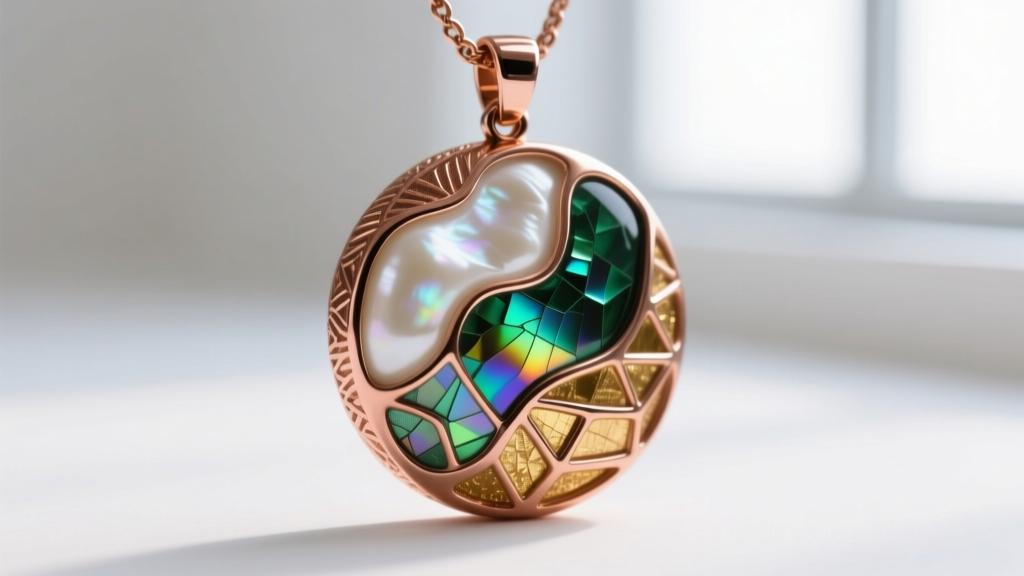
Particle Alignment and Carving Depth
To execute a flawless mica shift, begin by conditioning your metallic clay (Fimo Professional in Gold or Copper is the industry standard) and rolling it through a pasta machine on the thickest setting. Use a smooth acrylic brayer to compress the surface, forcing the mica particles into strict horizontal alignment. Next, stamp or carve your design into the clay. The carving depth is critical: you must remove exactly 0.5mm to 1.0mm of the surface layer. This exposes the edge-on mica particles in the recessed areas, which absorb light and appear dark. Finally, use a sharp, flexible tissue blade to carefully shave off the raised, uncarved surface layer until the piece is entirely flat. When sanded and polished, the contrast between the face-on (light) and edge-on (dark) mica creates a breathtaking 3D optical illusion without any actual topographical depth.
Structural Armatures for Large-Scale Pendants
One of the most common failure modes in polyclay jewelry making is the cracking of large pendants during the curing process. This occurs due to the coefficient of thermal expansion; polymer clay expands when heated and contracts as it cools. If a pendant is too thick, the exterior cures and shrinks before the interior reaches the glass transition temperature, leading to internal shearing and surface fractures.
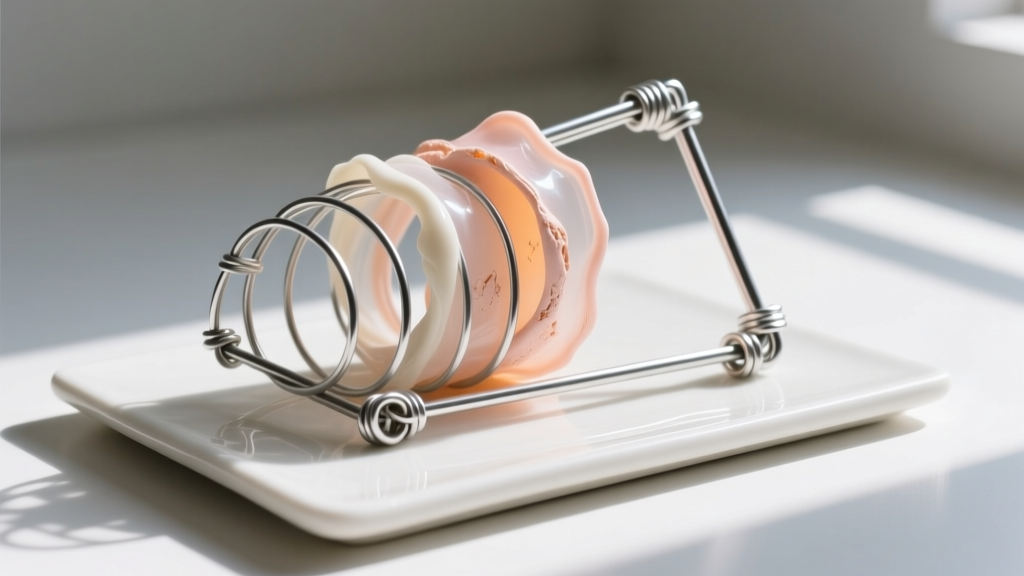
To prevent this, professional jewelers employ internal armatures. For pendants exceeding 40mm in diameter or 6mm in thickness, an 18-gauge aluminum wire skeleton is essential. Aluminum is preferred over steel or copper because its thermal expansion rate closely mimics that of the PVC matrix, and it will not rust or bleed through translucent clays. Wrap the wire armature tightly with a thin layer of scrap clay or aluminum foil to reduce the overall mass of the raw clay, ensuring you maintain a uniform clay thickness of 2mm to 3mm over the entire armature. This uniform thickness guarantees even heat penetration and eliminates internal stress fractures.
Precision Curing and Thermal Management
Proper curing is the single most important factor in the longevity of polymer clay jewelry. Under-baked clay remains brittle and will shatter upon impact, while over-baked clay will scorch, releasing hydrogen chloride gas and compromising the structural integrity of the piece. The official Sculpey guidelines mandate specific temperatures, but built-in oven dials are notoriously inaccurate, often fluctuating by as much as 15°C.
Expert Safety Note: Never rely on your oven's built-in thermostat. Always use a standalone digital oven thermometer placed on the same rack as your jewelry. Furthermore, always 'tent' your pieces with a loose sheet of aluminum foil to protect them from the direct radiant heat of the oven's exposed heating elements, which can cause localized scorching and ambering on light-colored clays.
For a professional cure, employ a 'ramp-up' baking schedule. Place your jewelry in a cold oven, set the temperature to 130°C (265°F), and allow the oven to heat up gradually with the pieces inside. Once the target temperature is reached, begin your timer (usually 30 minutes per 6mm of thickness). This gradual thermal ramping prevents thermal shock and ensures the plasticizer fully integrates into the PVC resin.
Finishing: Wet Sanding and Polishing Protocols
The difference between amateur craft jewelry and high-end polyclay jewelry making lies entirely in the finishing process. Raw polymer clay has a slight texture and a matte finish. To achieve a glass-like, gemstone-quality luster, you must employ a rigorous wet sanding protocol. Wet sanding is mandatory; dry sanding polymer clay generates micro-plastic dust that is hazardous to inhale and will clog your sandpapers instantly.
Use a spray bottle filled with water and a single drop of dish soap to act as a lubricant. Follow this exact grit progression for optimal results:
- 400 Grit: Removes tool marks, carving lines, and surface imperfections.
- 600 & 800 Grit: Eliminates the deep scratches left by the 400-grit paper.
- 1000 & 1200 Grit: Begins to smooth the surface and introduce a soft, satin sheen.
- Micro-Mesh 1500 to 12000: These specialized resin-bonded abrasives polish the PVC matrix to a high-gloss, glass-like finish without the need for liquid polishes.
After completing the Micro-Mesh progression, the piece should already possess a brilliant shine. For an extra layer of depth and protection, buff the piece using a Dremel rotary tool fitted with a clean felt buffing wheel. Keep the RPM below 5,000 to prevent friction-burning the clay. Finally, apply a micro-thin layer of Renaissance Wax using a soft microfiber cloth, let it haze for 10 minutes, and buff it to a hard, protective shell. This meticulous finishing process ensures your polyclay jewelry is durable, scratch-resistant, and visually indistinguishable from polished stone or enamel.
By mastering the chemistry of the polymer matrix, leveraging optical illusions like mica shift, engineering robust internal armatures, and executing flawless wet-sanding protocols, you transform polyclay from a simple modeling compound into a premier medium for fine jewelry design.


