DIY Breast Milk Jewelry: The 2026 Supply Buying Guide
Discover what to look for in DIY breast milk jewelry kits and supplies. Compare resins, preservation powders, and safety gear for lasting keepsakes.

The Emotional and Technical Weight of Keepsake Crafting
Creating DIY breast milk jewelry is one of the most emotionally resonant crafting projects you can undertake. Transforming a deeply personal biological material into a permanent, wearable keepsake requires more than just pouring liquid into a mold. It demands a strict understanding of bio-preservation, polymer chemistry, and material safety. As the DIY resin market has matured leading into 2026, the market is flooded with all-in-one kits and a la carte supplies, making it difficult for beginners to separate marketing gimmicks from professional-grade materials. This comprehensive buying guide will break down exactly what to look for when sourcing supplies for DIY breast milk jewelry, ensuring your finished pieces remain pristine, cloud-free, and safe to wear for decades.
The Core Challenge: Biological Preservation
The single biggest point of failure in DIY breast milk jewelry is moisture. Epoxy and UV resins are highly sensitive to water; introducing unpreserved milk directly into resin will result in cloudy curing, aggressive bubbling, and eventual biological rot inside the bezel. Before you even look at resin, you must invest in a reliable preservation method.
Commercial Powders vs. DIY Reduction
Commercial preservation powders (often branded under names like Milk Magic or similar proprietary blends) utilize a combination of desiccants and mild biocides to draw out moisture and halt bacterial growth. You typically mix a small amount of milk with the powder, let it dehydrate for 24 to 48 hours, and then blend the resulting paste into your resin. Alternatively, the DIY heat reduction method involves gently simmering the milk on a stovetop until it reduces to a thick, condensed paste, which is then bound with arrowroot or cornstarch to absorb residual water.
| Preservation Method | Time Required | Shelf Life | Difficulty Level |
|---|---|---|---|
| Commercial Desiccant Powder | 24 - 48 Hours | 5+ Years | Beginner |
| Stovetop Heat Reduction | 2 - 3 Hours | 2 - 3 Years | Advanced |
| Freeze-Drying (Lyophilization) | 12 - 24 Hours | 10+ Years | Professional |
Buying Advice: If you are a beginner, invest in a reputable commercial preservation powder. The stovetop method risks scorching the milk sugars (lactose), which can turn your jewelry an unwanted yellowish-brown before the resin is even poured.
Selecting the Right Resin: Epoxy vs. UV
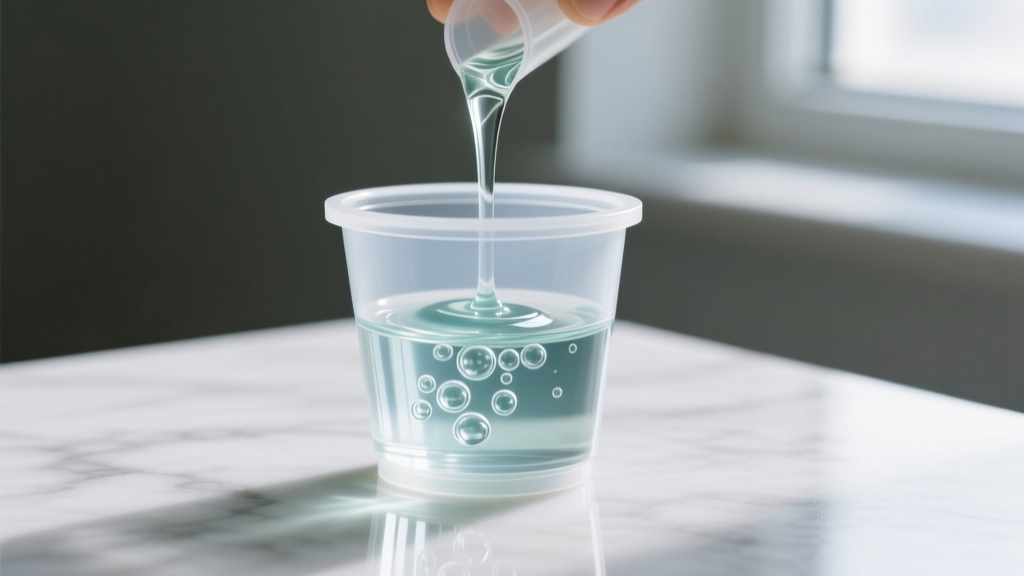 Not all resins are created equal, and yellowing is the ultimate enemy of white breast milk jewelry. When shopping for resin, you will encounter two primary categories: two-part epoxy and UV resin.
Two-Part Epoxy Resin
Epoxy resin is the gold standard for deep bezels and pendants. It cures via a chemical reaction between a resin (Part A) and a hardener (Part B). When shopping, look for brands that explicitly advertise HALS (Hindered Amine Light Stabilizers) and UV inhibitors. According to ArtResin's safety and formulation guidelines, high-quality epoxies use proprietary UV stabilizers to delay the inevitable yellowing process caused by ultraviolet light exposure. Be hyper-aware of mixing ratios: some epoxies require a 1:1 ratio by volume, while others demand a strict 2:1 or 3:1 ratio by weight. Inaccurate measuring will result in a tacky, uncured mess.
UV Resin
UV resin cures in minutes when exposed to a UV or LED lamp. It is excellent for shallow bezels, sealing top layers, or quick repairs. However, UV resin is notorious for shrinking during the curing process and yellowing much faster than high-grade epoxy. If you buy UV resin, ensure it is a 'hard type' formulated specifically for jewelry, and always pair it with a high-wattage (36W or higher) UV lamp to ensure a complete, non-brittle cure.
Molds, Bezels, and Findings: Material Grades Matter
The hardware you choose dictates both the aesthetic and the longevity of the jewelry. When sourcing molds and bezels for DIY breast milk jewelry, material purity is non-negotiable.
- Silicone Molds: Always purchase platinum-cure silicone molds. Tin-cure silicones degrade faster and can sometimes release byproducts that inhibit the curing of certain epoxy resins. As noted by the experts at Resin Obsession, platinum silicone provides a glass-like finish that minimizes the need for sanding and polishing.
- Bezel Trays: Avoid cheap zinc alloy or mystery-metal bezels often found in bulk kits. These can react with the resin or cause skin discoloration. Invest in 316L stainless steel or sterling silver bezels. 316L is surgical-grade, hypoallergenic, and provides a pristine, non-reactive bed for your preserved milk.
- Findings and Chains: Match your findings to your bezels. If you use stainless steel pendants, ensure your jump rings and chains are also stainless steel to prevent galvanic corrosion and uneven tarnishing.
Safety Gear: Protecting Your Lungs and Skin
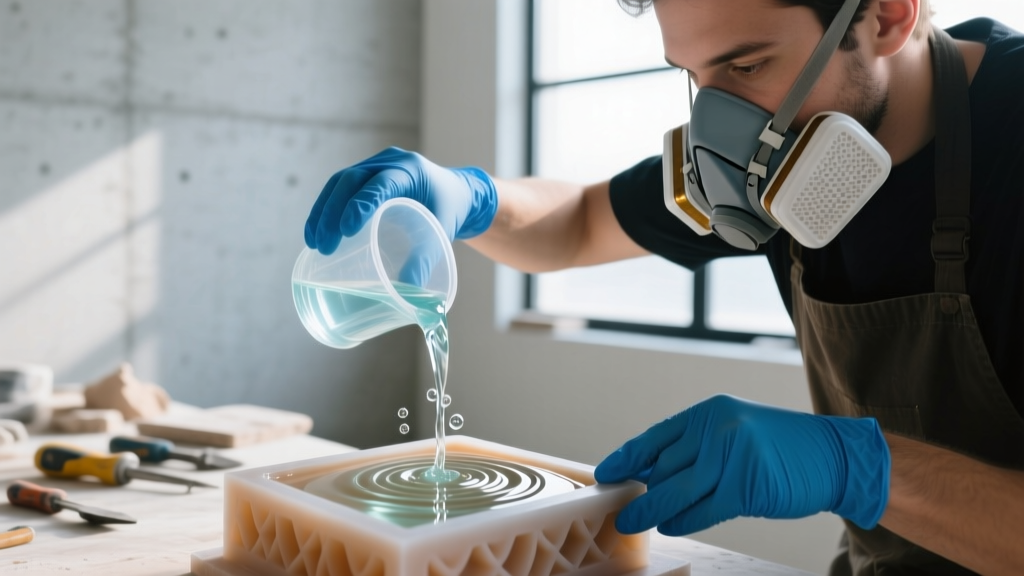 Working with uncured resin exposes you to Volatile Organic Compounds (VOCs) and potential skin sensitizers. Many entry-level DIY breast milk jewelry kits completely omit safety gear, which is a critical oversight. You must budget for the following personal protective equipment (PPE):
- Nitrile Gloves: Never use latex gloves. The chemicals in uncured resin can break down latex, exposing your skin to sensitizing agents. Thick, 4-mil to 6-mil nitrile gloves are mandatory.
- Organic Vapor Respirator: A standard paper N95 mask will not stop resin VOCs. You need a half-mask respirator (like the 3M 6200) fitted with 6001 Organic Vapor cartridges. This is especially crucial if you are working in a spare bedroom or a space without professional-grade cross-ventilation.
- Silicone Mat and Eye Protection: Resin is notoriously difficult to remove from porous surfaces. Work on a dedicated silicone craft mat and wear polycarbonate safety glasses to protect against accidental splashes during the mixing phase.
Kit vs. A La Carte: The 2026 Cost Breakdown
Should you buy a pre-packaged kit or source your supplies individually? Here is a realistic look at the economics of DIY breast milk jewelry making in 2026.
The All-In-One Kit ($40 - $75)
Kits are excellent for testing the waters. They typically include a small bottle of UV resin, a few basic silicone molds, a UV lamp, and a small packet of preservation powder. The downside: The resin included in these kits is often a generic, unbranded formula that lacks advanced UV inhibitors, meaning your keepsake may yellow within a year. The hardware is usually lower-grade alloy.
The A La Carte Route ($120 - $180 Initial Investment)
Sourcing supplies individually requires a higher upfront cost but yields vastly superior, professional-grade results. You will purchase a premium bottle of HALS-stabilized epoxy resin ($45), a high-quality silicone mold set ($25), a dedicated preservation powder ($20), 316L stainless steel bezels ($15), and proper PPE ($40). While the initial outlay is higher, the cost per finished piece drops to under $3, and the archival quality of the jewelry is guaranteed.
Final Sourcing Tips for Lasting Keepsakes
When shopping for your DIY breast milk jewelry supplies, prioritize chemical stability over convenience. Read the Safety Data Sheets (SDS) provided by resin manufacturers, verify the grade of your metals, and never skip the preservation step. By investing in platinum-cure molds, 316L stainless steel hardware, and UV-stabilized epoxy, you ensure that the deeply personal keepsakes you create will stand the test of time, remaining as vibrant and meaningful as the day they were cast.