DIY Decorate Apple Airpods 3 to Look Like Jewelry: 2026 Buying Guide
Learn how to DIY decorate Apple Airpods 3 to look like jewelry with our 2026 buying guide. Discover the best adhesives, crystals, and tools for tech mods.

The Intersection of Tech and Fine Embellishment
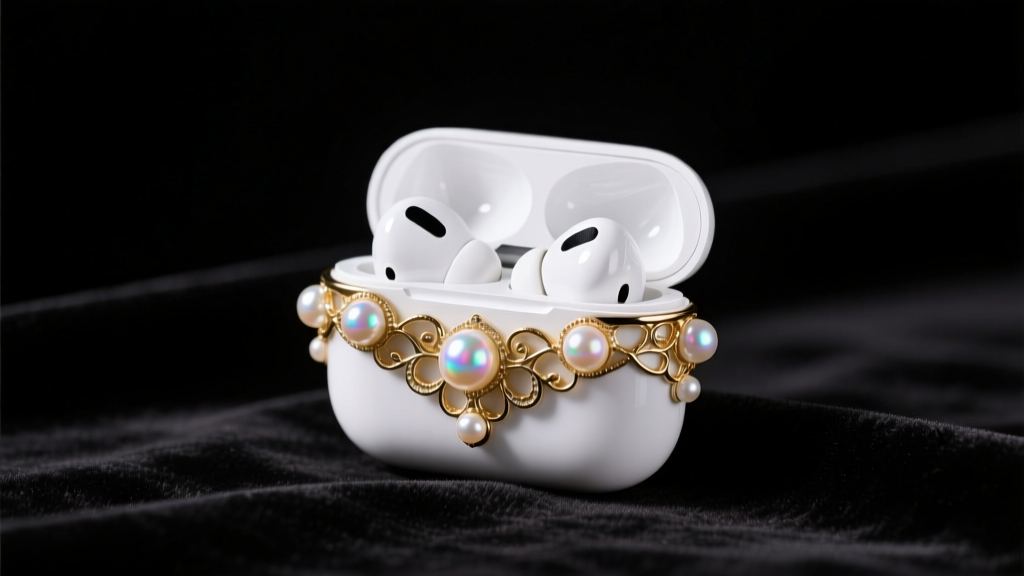
In 2026, the boundary between consumer electronics and personal adornment has completely dissolved. Learning how to DIY decorate Apple Airpods 3 to look like jewelry is no longer just a niche TikTok trend; it is a legitimate micro-craft that requires an understanding of polymer chemistry, hinge mechanics, and precision gem-setting. The Airpods 3 charging case, with its smooth polycarbonate-ABS blend and glossy finish, presents a unique canvas. However, treating it like a standard jewelry box or a fabric hair clip will result in ruined tech, melted plastics, and broken hinges.
This comprehensive buying guide cuts through the fluff to tell you exactly what materials, adhesives, and tools you need to source to transform your earbud case into a bespoke, jewel-encrusted masterpiece without compromising the device's structural integrity or wireless charging capabilities.
The Golden Rule: Adhesive Selection for Polycarbonate
The most critical mistake beginners make is reaching for cyanoacrylate (super glue) or acetone-based cements. The Apple Airpods 3 case is constructed from a specialized polycarbonate and ABS plastic blend. Cyanoacrylate causes 'frosting' (a permanent white, chalky residue) on these plastics and can degrade the glossy finish. Furthermore, liquid super glue can easily seep into the magnetic hinge or the Lightning/USB-C port, permanently bricking the device.
When sourcing adhesives for tech-jewelry, you must prioritize viscosity, flexibility, and plastic-safety. Below is a breakdown of the top adhesives for this specific application, based on material compatibility and cure profiles.
| Adhesive Type | Cure Time | Flexibility | Best Application | Tech-Safety Rating |
|---|---|---|---|---|
| E6000 Jewelry & Craft | 24-72 Hours | High (Rubbery) | Attaching metal filigree, large cabochons, and heavy charms. | Excellent (Non-corrosive) |
| UV Curing Resin (Hard) | 60-120 Seconds | Low (Rigid) | Encapsulating micro-beads, creating faux-enamel inlays, sealing flatbacks. | Good (Requires base coat) |
| Two-Part Clear Epoxy | 5-30 Minutes | Medium | High-stress areas, structural bonding of 3D printed jewelry sleeves. | Excellent (Odorless variants) |
| Gem-Tac (Fabric/Craft) | 24 Hours | High | Temporary or semi-permanent crystal pave layouts. | Poor (Peels off glossy plastic) |
Pro-Tip: For the best results, lightly scuff the back and sides of the Airpods 3 case with a 2000-grit wet/dry sandpaper. This creates microscopic grooves for the E6000 adhesive or epoxy to grip, increasing shear strength by up to 400% without visibly scratching the case once the jewels are applied.
Embellishments: Navigating Weight and Curvature
When you set out to DIY decorate Apple Airpods 3 to look like jewelry, the physical limitations of the device dictate your material choices. The magnetic hinge on the Airpods 3 lid is calibrated for a specific tension. Adding more than 12 to 15 grams of embellishment to the lid will cause it to sag, fail to snap shut magnetically, and eventually strip the internal micro-springs.
Crystal Flatbacks: Sizing and Radii
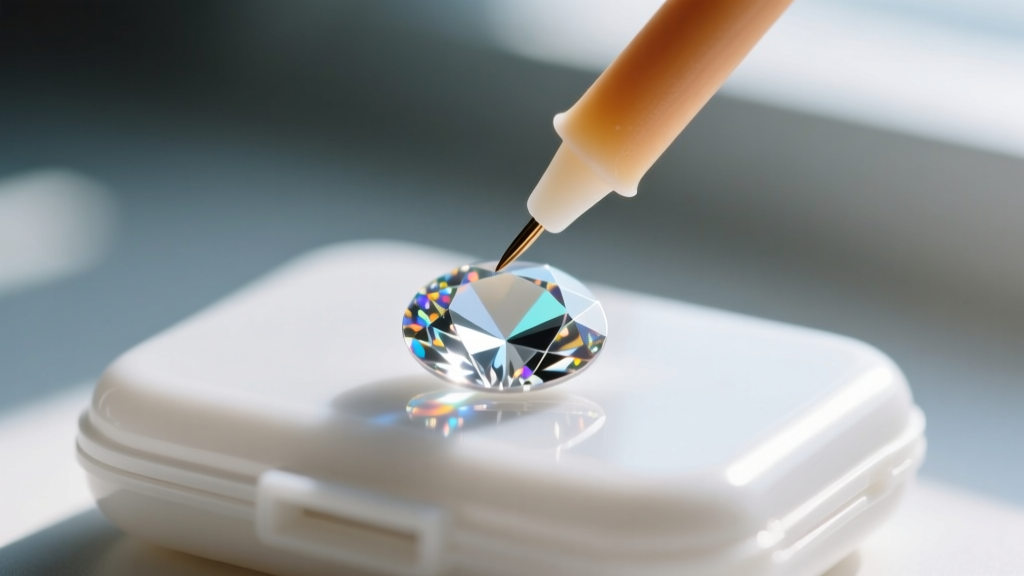
Swarovski and Preciosa Maxima crystal flatbacks are the gold standard for tech embellishment. However, the Airpods 3 case features compound curves (curving in multiple directions simultaneously). Large crystals (SS34 or SS48) will 'gap' at the edges, creating an uneven surface that catches on pocket lint and eventually pops off.
- SS10 (2.7-2.9mm): Essential for tight radii, corners, and outlining the LED indicator light. These provide the flexibility needed to navigate the case's rounded edges.
- SS16 (3.8-4.0mm): The workhorse size. Ideal for filling large, relatively flat expanses on the back of the case and creating dense pave backgrounds.
- SS20 (4.6-4.9mm): Use sparingly as focal points or in a 'cluster' design on the lid, keeping in mind the strict weight limits.
Alternative Embellishments
If crystals feel too flashy, consider lightweight alternatives. Freshwater seed pearls (3-4mm) offer a sophisticated, vintage aesthetic and weigh a fraction of glass crystals. Alternatively, 24-gauge gold-filled or sterling silver wire can be woven into a delicate filigree cage that slips over the case, requiring zero adhesive and preserving the original tech underneath. Sourcing high-quality metal stampings from suppliers like Fire Mountain Gems allows you to bend lightweight brass filigree to match the exact contour of the Airpods case before adhering it with a thin layer of UV resin.
Essential Tools for Micro-Embellishing
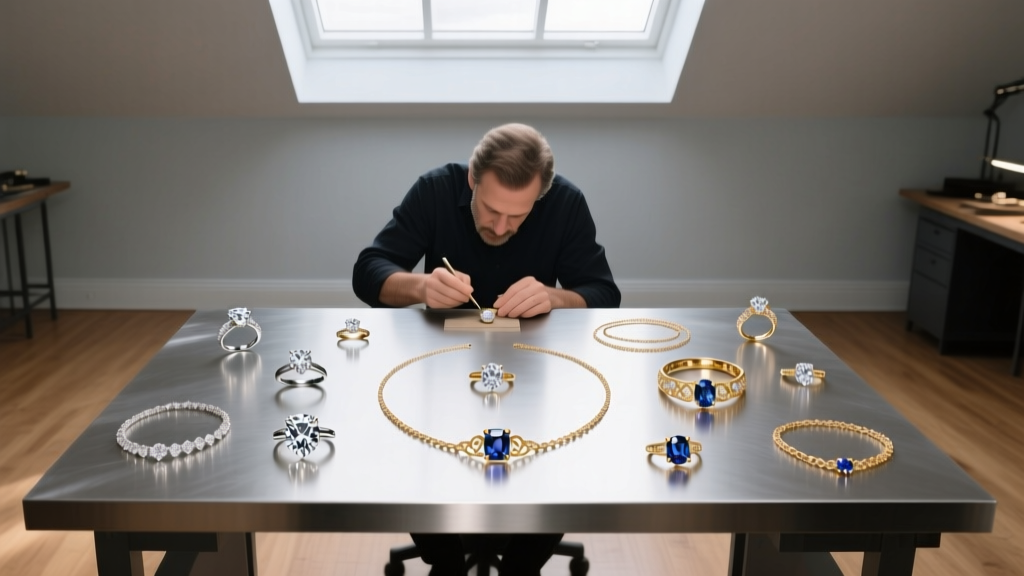
Jewelry making on a macro scale requires different tools than micro-embellishing a 2-inch plastic case. Standard bead tweezers are too clumsy for placing SS10 crystals next to the Airpods hinge. You need precision instruments designed for watchmaking or micro-pave setting.
'The difference between a messy, amateur-looking tech mod and a professional jewel-encrusted piece lies entirely in the placement tools. A wax-tipped stylus is non-negotiable for crystal work.' — Master Jeweler & Tech Modder, 2025 Craft Symposium.
The 2026 Tool Buying Checklist
- Wax-Tipped Beading Stylus: Essential for picking up flatback crystals without scratching their foil backing. The wax provides just enough tackiness to lift the stone and release it cleanly into a drop of adhesive.
- ESD-Safe Precision Tweezers (Vetus #7 or #5): Anti-magnetic and anti-static tweezers prevent tiny metal charms or glass beads from clinging to the tips. The ultra-fine points are necessary for placing embellishments within 1mm of the charging port.
- Silicone Glue Work Mat: Protects your desk from E6000 and UV resin spills. Silicone is non-stick, meaning any excess adhesive can be peeled off once cured.
- 36W UV/LED Nail Lamp: If you are using UV resin to encapsulate your design or secure metal filigree, a high-wattage lamp ensures a complete, rock-hard cure in under two minutes, preventing the resin from yellowing over time.
- Isopropyl Alcohol (99%) & Lint-Free Wipes: Crucial for degreasing the Airpods case before application. The natural oils from your hands will create a barrier that prevents adhesives from bonding to the polycarbonate.
Design Layouts and Tech Safety
Before applying any adhesive, map out your design using a piece of low-tack painter's tape over the case. This allows you to arrange your crystals, pearls, or metal pieces to ensure they do not interfere with the device's functionality.
Crucial Safety Zones:
- The Hinge: Never apply glue, resin, or thick embellishments within 4mm of the metal hinge cylinder. Debris here will grind into the mechanism and cause mechanical failure.
- The LED Indicator: If you are doing a full-coverage pave design, use a single, clear Swarovski crystal or a tiny glass seed bead directly over the LED light. This acts as a lens, diffusing the green/amber charging light beautifully while protecting the diode.
- Wireless Charging Coil: The Airpods 3 case supports Qi wireless charging. Thick metal plates, heavy brass filigree, or metallic magnetic clasps placed on the back of the case will disrupt the inductive charging field, causing the case to overheat or fail to charge. Stick to non-ferrous metals, glass, and acrylics on the rear panel.
Maintenance and Longevity
Once you have successfully transformed your tech, maintenance is key. Avoid spraying perfumes, hand sanitizers, or hairspray directly onto the case, as the alcohol and solvents can degrade the E6000 adhesive over time and cloud the UV resin. To clean your newly jeweled Airpods 3 case, use a dry, soft-bristled makeup brush to gently sweep away dust from between the crystal settings. For smudges on the crystals themselves, a microfiber cloth lightly dampened with distilled water will restore their brilliance without risking moisture damage to the underlying electronics.
By carefully selecting plastic-safe adhesives, respecting the mechanical weight limits of the hinge, and utilizing precision micro-setting tools, you can elevate a mass-produced tech accessory into a stunning, personalized piece of wearable art that stands the test of time.