How to Make Wire Wrapped Jewelry: A Budget & Value Guide
Learn how to make wire wrapped jewelry without overspending. We break down tool, wire, and stone costs to maximize your DIY budget and value.

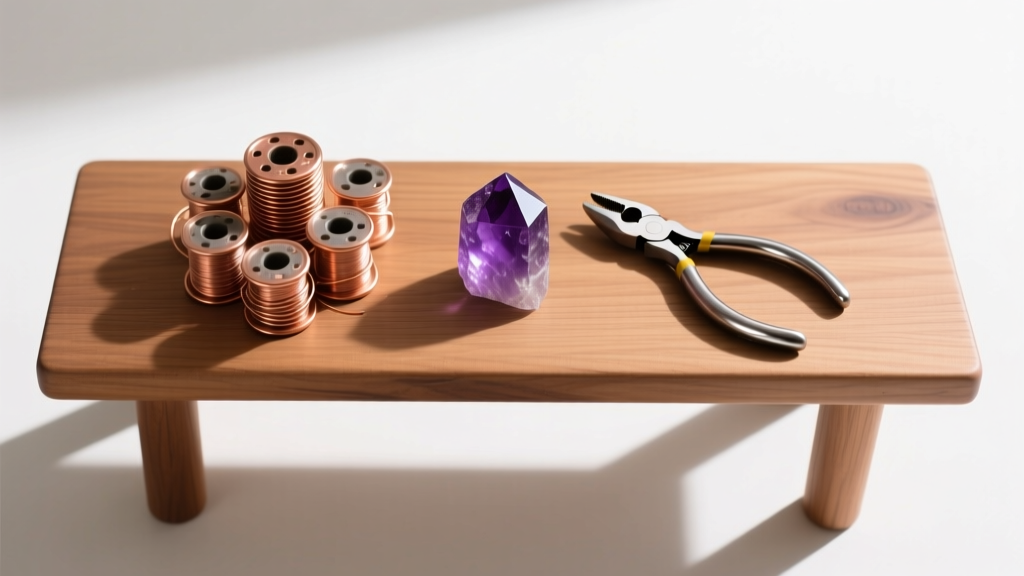
The Real Cost of Starting Wire Wrapping
When learning how to make wire wrapped jewelry, the most common point of failure isn't a lack of manual dexterity—it's a fundamental misunderstanding of material costs and tool mechanics. Many beginners abandon the craft after purchasing heavily marketed, low-quality "starter kits" that result in marred wire, pinched cuts, and wasted semi-precious stones. A true budget and value assessment requires stripping away the gimmicks and investing in a minimum viable toolkit that respects the metallurgy of your materials.
To build a sustainable practice in 2026, you must view wire wrapping not just as an art, but as an exercise in resource management. Below, we break down the exact costs, material grades, and sourcing strategies needed to maximize your return on investment, whether you are crafting for personal wear or building an online storefront.
Wire Alloys: Where to Save and Where to Splurge
Wire is your primary consumable. Understanding the difference between metal alloys and their respective tempers is critical for budget management. According to metallurgical standards outlined by Rio Grande, wire temper dictates how much the metal has been work-hardened during the drawing process.
Dead Soft vs. Half-Hard
Dead Soft: Essential for intricate weaving and wrapping around tight curves. It work-hardens as you manipulate it, eventually becoming stiff. Use 24-gauge (0.51mm) or 26-gauge (0.40mm) dead soft wire for weaving.
Half-Hard: Offers structural integrity. It resists bending, making it ideal for the base frames, clasps, and ear wires that must hold their shape under tension. Use 20-gauge (0.81mm) or 18-gauge (1.02mm) half-hard for structural elements.
Alloy Value Comparison
| Material | Grade / Purity | Approx. Cost (per oz) | Tarnish Rate | Best Use Case |
|---|---|---|---|---|
| Pure Copper | 110 Grade | $0.40 - $0.60 | High (Days) | Practice, prototyping, rustic designs |
| Jeweler's Brass | Red Brass | $0.80 - $1.10 | Medium (Weeks) | Affordable gold-tone alternative |
| Sterling Silver | 925 Standard | $28.00 - $32.00 | Medium (Weeks) | High-end retail, traditional markets |
| Argentium Silver | 935 / 960 | $34.00 - $38.00 | Very Low (Months) | Premium pieces, low-maintenance wear |
Value Insight: While Argentium Sterling is roughly 15% more expensive upfront than standard 925 Sterling, its germanium content makes it highly tarnish-resistant. For sellers, this drastically reduces customer service complaints and returns regarding blackened silver, offering superior long-term value.
Essential Tools: Avoiding the "Cheap Kit" Trap
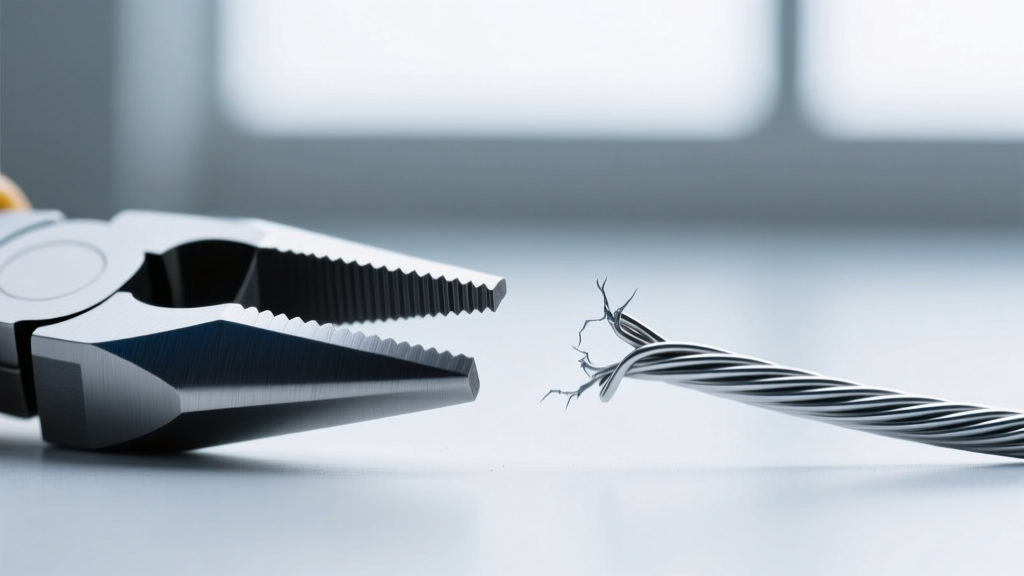
The fastest way to ruin a $15 spool of silver wire is by cutting it with inferior flush cutters. Cheap cutters do not slice; they crush and pinch the wire, leaving a sharp, beveled edge that will scratch the wearer's skin and snag woven patterns.
The Minimum Viable Toolkit
- Flush Cutters (Xuron 410 or Tronex 5010): Priced between $25 and $45. These leave one side of the cut perfectly flat. Always cut with the flat side facing the "good" side of your weave.
- Chain-Nose Pliers (Lindstrom RX 80503): Priced around $65. The interior of the jaws must be perfectly smooth. Serrated jaws will permanently mar soft silver and copper.
- Round-Nose Pliers: Essential for forming consistent loops and ear wires. Look for stepped jaws if you struggle with maintaining uniform loop diameters.
- Nylon Jaw Pliers: Priced around $15. Used exclusively for straightening wire and pulling woven coils tight without scratching the metal surface.
Investing $120 in high-carbon steel or tungsten-carbide tipped tools ensures they will last a decade, whereas a $20 kit will need replacing after a month of heavy use.
Sourcing Cabochons and Crystals on a Budget
Because wire wrapping does not require drilling, you can utilize fragile, high-value stones that would shatter in a traditional bezel-setting process. However, retail markups on calibrated cabochons can destroy your profit margins.
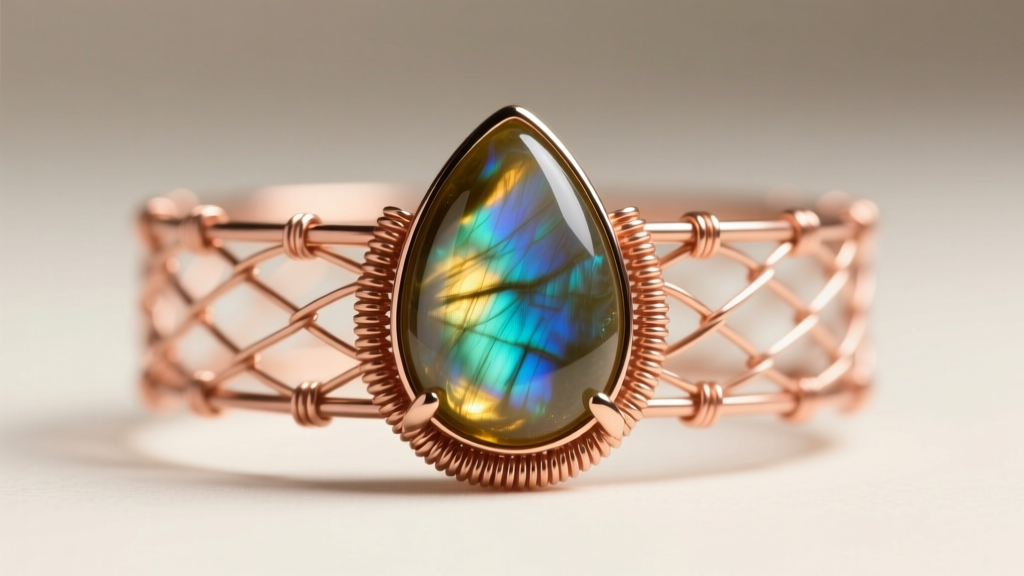
According to the Gemological Institute of America (GIA), understanding gemstone hardness (Mohs scale) is vital when applying wire tension. Stones like fluorite (Mohs 4) or opal (Mohs 5.5-6.5) require dead soft wire and a tension-free woven cage to prevent micro-fractures.
Sourcing Strategy and Optical Value
Avoid buying pre-wrapped stones or heavily marked-up "wire wrapping kits" on craft marketplaces. Instead, source directly from lapidary artists on specialized gem forums or social media. Purchasing calibrated 30x20mm teardrop cabs in bulk from direct cutters can reduce your per-stone cost from $12 down to $3.50, instantly tripling your retail margin.
Furthermore, consider the optical value of the stones. Labradorite and moonstone exhibit labradorescence and adularescence, respectively. When wire wrapping these stones, always design your woven bezel to leave the top dome completely unobstructed. A heavy wire cage over the crown of a moonstone destroys its optical value, effectively reducing a $20 stone to a $2 stone in the eyes of an informed buyer.
Managing Work Hardening Without a Torch
As you manipulate dead soft wire, the crystal lattice of the metal compresses, causing it to become brittle and stiff—a process known as work hardening. In professional studios, jewelers use a butane torch to anneal (soften) the metal. However, for budget-conscious beginners, purchasing a torch and fire bricks adds unnecessary overhead and safety risks.
The Budget Alternative: You can manage work hardening mechanically. If your 20-gauge base wire becomes too stiff to bend around a sharp cabochon corner, do not force it, as it will snap. Instead, use your nylon jaw pliers to gently massage the wire, or switch to a half-hard wire for structural frames and reserve dead soft exclusively for the 24-gauge weaving wire. Understanding this mechanical limitation saves you from breaking expensive sterling silver and starting your weave over from scratch.
Calculating Your Cost-Per-Wear and Retail Value
To accurately assess the value of your time and materials, use a strict pricing formula. A standard woven pendant requires roughly 14 inches of 20-gauge base wire and 4 feet of 24-gauge weaving wire.
The Wholesale Formula: (Materials Cost + Packaging) x 2 = Wholesale Price.
The Retail Formula: Wholesale Price x 2 = Retail Price.
If your Argentium silver and labradorite materials cost $18, your wholesale price is $36, and retail is $72. However, you must also factor in your hourly labor rate. If a complex weave takes 2.5 hours, and you value your time at $25/hour, your actual cost basis is $80.50. In this scenario, selling at a $72 retail price results in a net loss. Budget assessment isn't just about buying cheap wire; it's about designing efficient weaves that maximize visual impact while minimizing labor hours.
Final Verdict: Is Wire Wrapping Cost-Effective?
Learning how to make wire wrapped jewelry is highly cost-effective if you approach it with a metallurgist's mindset. By practicing complex weaves on 110-grade copper, investing in precision flush cutters, and sourcing uncalibrated stones directly from lapidaries, you can produce boutique-quality jewelry for a fraction of the retail cost. Ultimately, the barrier to entry is lower than traditional metalsmithing (which requires soldering, pickling, and expensive rolling mills), but the ceiling for mastery is just as high. Track your wire scrap weights, melt down or sell your copper mistakes to local recyclers, and continuously refine your tension control. With a disciplined approach to your material budget, wire wrapping transitions from an expensive hobby into a highly profitable, sustainable craft.


