How to Make Ashes Into Jewelry: Beginner Resin Guide
Learn how to make ashes into jewelry with our beginner-friendly resin guide. Discover prep steps, sealing techniques, and safe casting methods.


Creating memorial jewelry is one of the most profound and rewarding pursuits in the DIY jewelry space. When you make ashes into jewelry, you are not just crafting an accessory; you are preserving a legacy. However, working with cremation remains (cremains) introduces unique chemical and structural challenges that standard jewelry making does not. Human ashes are not simply burnt wood; they are a complex, highly alkaline mineral compound that can ruin resin if not handled correctly.
This beginner-friendly explainer will walk you through the exact chemistry, material grades, and step-by-step casting techniques required to create flawless, cloud-free memorial resin jewelry. Whether you are using UV resin for quick bezel pendants or deep-pour epoxy for silicone molds, mastering these fundamentals is critical to honoring your subject with a lasting piece.
The Chemistry of Cremains: Why Preparation is Non-Negotiable
Before you mix any resin, you must understand what you are working with. Human cremains are primarily composed of calcium phosphate, along with trace amounts of sodium, potassium, and carbonates. This composition makes them highly alkaline, often registering a pH between 8 and 11.
Why does this matter for resin casting? Many jewelry-grade epoxies and polyurethanes are sensitive to alkalinity and moisture. If you introduce raw, unsealed ashes directly into a resin mixture, the alkaline minerals can trigger an adverse chemical reaction known as amine blush. This manifests as a milky, cloudy halo around the ashes or a waxy film on the surface of the cured resin. Furthermore, cremains are hygroscopic—meaning they absorb moisture from the air. Trapped moisture will vaporize during the resin's exothermic curing process, leaving a trail of micro-bubbles that obscure the ashes.
"The most common failure mode in beginner memorial jewelry is the 'milky halo' effect. This is almost always caused by introducing unsealed, moisture-laden ashes directly into a moisture-sensitive epoxy matrix."
Selecting the Right Resin: UV vs. Epoxy
Choosing the correct resin matrix depends entirely on your chosen jewelry finding (bezel vs. mold) and your desired curing time. Below is a decision framework to help you select the right material grade.
| Feature | UV Jewelry Resin (e.g., Padico, Sophie & Toffee) | Clear Epoxy Resin (e.g., ArtResin, Teexpert) |
|---|---|---|
| Best For | Shallow bezel trays (under 5mm depth) | Deep silicone molds, large pendants, paperweights |
| Cure Time | 60–120 seconds under a 36W UV lamp | 24–72 hours at room temperature |
| Shrinkage | Low (approx. 2-4%) | Very Low (approx. 1-2%) |
| Yellowing Resistance | Moderate (requires HALS UV stabilizers) | High (if formulated with hindered amine light stabilizers) |
| Price Range | $15 – $25 per 100g | $30 – $50 per 32oz kit |
For beginners learning how to make ashes into jewelry, UV resin is highly recommended. The rapid cure time prevents the heavy ash particles from sinking to the bottom of the bezel before the resin hardens, allowing for beautiful, suspended layers.
Essential Tools and Safety Gear
Handling cremains and uncured resin requires strict adherence to safety protocols. Fine ash dust can be an respiratory irritant, and uncured resin is a known contact sensitizer.
- Respiratory Protection: An N95 or P100 particulate mask is mandatory when sifting or handling dry ashes.
- Skin Protection: 4-mil nitrile gloves (latex can react with resin components).
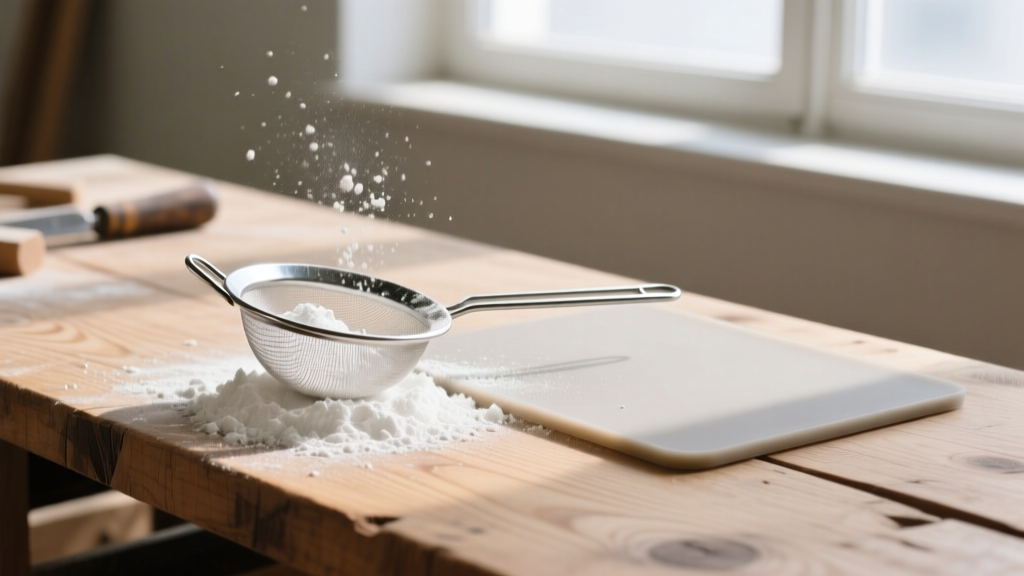
- Sifting Tools: A 60-mesh stainless steel sieve to ensure uniform particle size.
- Work Surface: A non-stick silicone crafting mat.
- Sealing Agent: PVA (polyvinyl acetate) glue or a clear acrylic spray sealant.
Step 1: Sifting and Sealing the Ashes
This is the most critical step in the entire process. To prevent the aforementioned amine blush and moisture bubbles, you must encapsulate the ash particles in a neutral polymer barrier before they ever touch your jewelry resin.
- Sieve the Ashes: Place a small amount of cremains into your 60-mesh sieve over a piece of parchment paper. Gently tap the side to collect the fine, flour-like dust. Discard or save the larger bone fragments for other projects.
- Apply the Sealant: Transfer the fine dust into a small glass jar. Add two drops of PVA glue and a teaspoon of distilled water. Alternatively, spread the ashes thinly on parchment and mist them with a clear acrylic sealer.
- Dry Completely: Stir the PVA mixture until the ashes resemble damp sand, then let them dry uncovered for 24 hours. This creates a microscopic, moisture-proof shell around each calcium phosphate particle.
Step 2: Mixing, Layering, and Curing
When working with shallow bezel trays, the layering technique is vital. If you dump all the ashes in at once, they will clump and create an opaque, muddy appearance. According to ArtResin's official blog, building depth through micro-layers ensures light can penetrate the piece, giving it a ethereal, starry quality.
The Three-Layer Bezel Technique
Layer 1 (The Base): Apply a thin layer of clear UV resin to the bottom of your bezel tray. Cure under a 36W UV lamp for 60 seconds. This seals the metal backing.
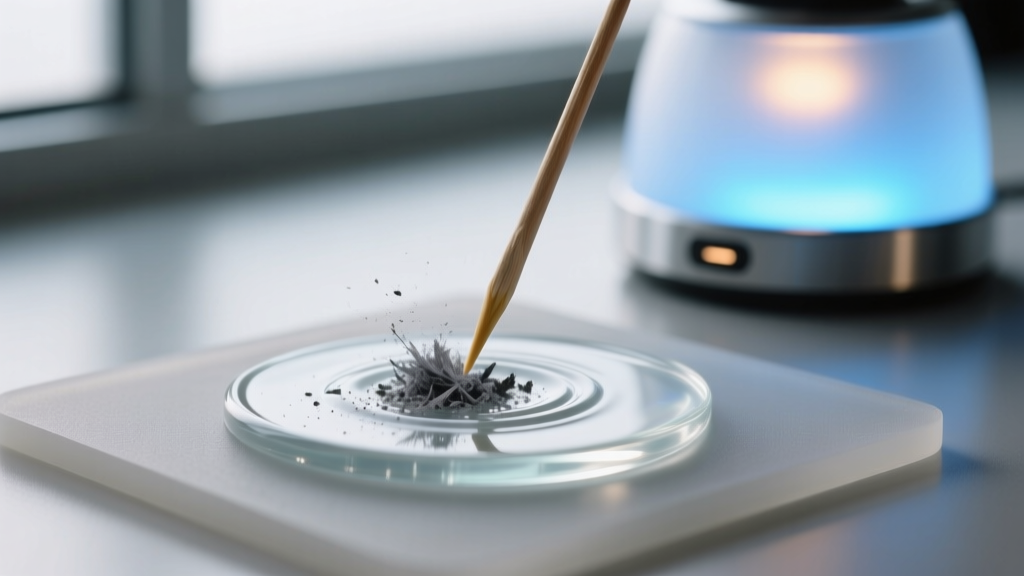
Layer 2 (The Inclusion): Apply a second layer of resin. Using a micro-spatula or toothpick, gently drop your sealed ashes into the wet resin. Add cosmetic-grade mica powder or 24k gold leaf flakes at this stage for contrast. Do not over-stir, or you will introduce air bubbles. Cure for 90 seconds.
Layer 3 (The Dome): Apply a final, generous layer of clear resin to create a domed, magnifying effect over the ashes. Use a heat gun or a quick pass with a butane torch to pop any surface micro-bubbles. Cure for 120 seconds.
Troubleshooting Common Ash Resin Failures
Even with perfect preparation, environmental factors can disrupt the curing process. Here is how to diagnose and fix the most common issues when you make ashes into jewelry.
- Sticky or Tacky Surface: This indicates an incomplete cure. For epoxy, the room temperature was likely below 72°F (22°C). For UV resin, the layer was too thick (over 5mm), blocking UV penetration. Fix: Apply a fresh, thin topcoat of resin and cure again.
- Ashes Sinking to the Bottom: The resin viscosity was too low, or the ashes were too heavy. Fix: Allow the mixed epoxy to sit for 10 minutes to thicken slightly before adding ashes, or use the UV layering method described above.
- Yellowing Over Time: All epoxies will eventually yellow when exposed to UV light. Fix: Ensure your resin contains HALS (Hindered Amine Light Stabilizers) and store the finished jewelry away from direct sunlight.
Sourcing Ethical and High-Quality Findings
The metal housing your resin is just as important as the resin itself. Because cremains are alkaline, they can accelerate the corrosion of cheap base metals if the resin seal is ever compromised by a deep scratch.
Avoid plated brass or copper alloys. Instead, source your bezel trays and pendant bails from reputable jewelry suppliers like Rio Grande's findings catalog. Opt for 316L surgical stainless steel or solid 925 sterling silver. These metals are highly resistant to alkaline corrosion and provide a hypoallergenic, heirloom-quality foundation for a piece meant to last generations.
By respecting the chemistry of the materials and adhering to meticulous preparation steps, you can transform a deeply personal loss into a beautiful, enduring work of art. Take your time, work in a climate-controlled environment, and let the process of creation be a healing one.


