How to Make Chainmail Jewelry: The Ultimate Supply Buying Guide
Learn how to make chainmail jewelry with our expert buying guide. Discover the best jump rings, pliers, aspect ratios, and metals for flawless weaves.

The Mathematics of Maille: Understanding Aspect Ratio
When you first decide to learn how to make chainmail jewelry, the sheer volume of supplies can be overwhelming. Unlike bead stringing or simple wire wrapping, chainmaille (often spelled maille in artisan circles) is an exercise in precision geometry and metallurgy. The success of your weave depends entirely on the exact dimensions of your jump rings and the quality of your hand tools. This comprehensive buying guide strips away the guesswork, detailing exactly what to look for when sourcing metals, calculating aspect ratios, and selecting ergonomic pliers that will save your joints during marathon weaving sessions.
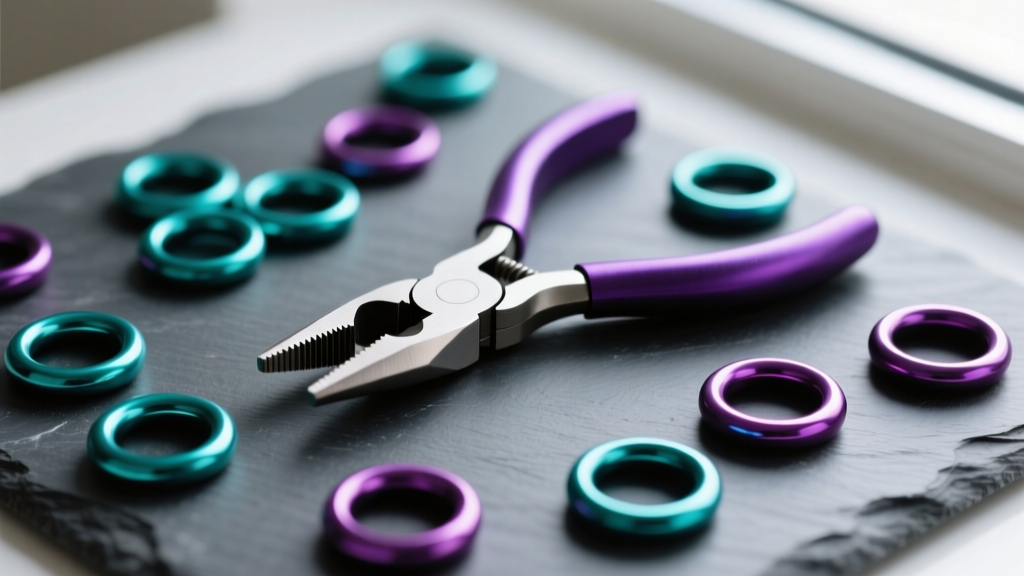
Before you buy a single ring, you must understand the golden rule of chainmaille: Aspect Ratio (AR). The AR is the mathematical relationship between the Inner Diameter (ID) of the ring and the Wire Diameter (WD). The formula is simple: AR = ID / WD. If your AR is too low, the rings will bind and refuse to close. If the AR is too high, the weave will be sloppy, loose, and lack structural integrity.
| Weave Pattern | Ideal Aspect Ratio (AR) | Recommended Wire Gauge |
|---|---|---|
| European 4-in-1 | 3.5 – 4.5 | 16g or 18g |
| Byzantine | 3.5 | 18g or 20g |
| Jens Pind Linkage (JPL) | 2.8 – 3.2 | 16g or 18g |
| Full Persian 6-in-1 | 4.0 – 4.2 | 18g or 20g |
Selecting Your Metal: Grades, Tempers, and Durability
The metal you choose dictates not only the aesthetic of your jewelry but also how it behaves in your pliers. Different metals have different levels of "springback" and hardness. Here is what to look for when sourcing materials:
Anodized Aluminum
For beginners learning how to make chainmail jewelry, anodized aluminum is the undisputed champion. It is lightweight, inexpensive, and available in a massive spectrum of colors. However, you must distinguish between craft-grade and jewelry-grade aluminum. Craft-grade rings often have a thin anodized layer that scratches easily and can cause skin discoloration. Always buy jewelry-grade rings, which feature a thicker, more durable anodized coating sealed for skin contact.
Titanium and Niobium
If you are targeting clients with metal sensitivities, titanium and niobium are essential. Titanium (specifically Grade 2 or Grade 5 Ti-6Al-4V) is incredibly strong, hypoallergenic, and lightweight. The trade-off? It is notoriously hard on your tools and hands. You will need heavy-duty flush cutters to snip titanium wire if you coil your own. Niobium, on the other hand, is dead-soft and highly reactive to anodizing, allowing you to create custom colors at home with a simple power supply and saltwater bath.
Sterling Silver and Copper
For premium, heirloom-quality pieces, sterling silver and copper are top-tier choices. When buying sterling silver jump rings, pay close attention to the temper. Dead-soft silver is easy to manipulate but can pull apart under heavy tension. Half-hard silver provides a satisfying "snap" when closing and holds its shape beautifully in structural weaves like the Box Chain. Copper is fantastic for practice and develops a rich, vintage patina over time, though it requires sealing with a product like Renaissance Wax to prevent unwanted oxidation.
The Tool Kit: Pliers That Won't Mar Your Rings
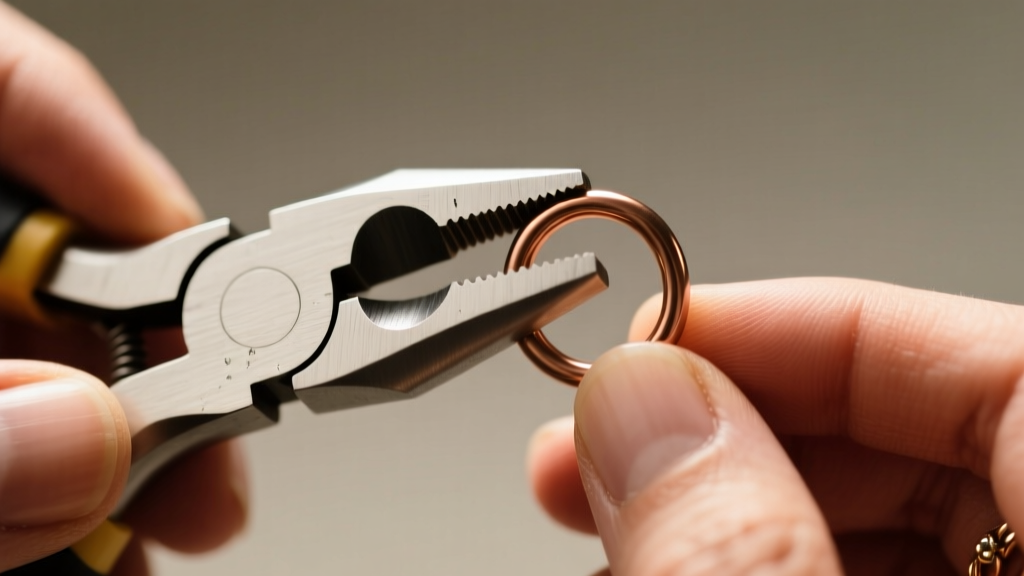
You can have the most expensive, perfectly saw-cut jump rings in the world, but if you use the wrong pliers, you will ruin them. The most critical rule when buying pliers for chainmaille is to avoid serrated jaws at all costs. Serrated teeth will gouge your metal, strip anodized coatings, and leave permanent scratches on your jewelry.
Pro Tip: If you already own serrated pliers, you can salvage them by dipping the jaws in a rubberized tool dip like Plasti Dip, or by filing them completely smooth with a fine-grit diamond file.
Flat Nose vs. Chain Nose
Flat nose pliers are the workhorses of chainmaille. Their wide, flat, rectangular jaws provide maximum surface area for gripping the jump ring without slipping. You will need at least two pairs of flat nose pliers to execute the standard "push-pull" or "twist" opening technique. Chain nose pliers feature a tapered, semi-round jaw that is excellent for reaching into tight, intricate weaves or closing the final rings in a dense pattern like the Dragonscale.
Ergonomics and Brand Recommendations
Chainmaille is highly repetitive. Carpal tunnel and tendonitis are real risks for dedicated weavers. Invest in ergonomic pliers with spring-loaded handles and cushioned grips. Brands like Wubbers, Lindstrom (RX Series), and Swanstrom are the gold standard in the industry. While a pair of Lindstrom pliers might cost upwards of $60, the precision-machined jaws and joint tension will save your hands and your rings.
Pre-Made vs. Coiling Your Own: The Great Debate
When sourcing supplies, you face a major decision: buy pre-made jump rings or buy wire and coil them yourself? Both approaches have distinct advantages depending on your budget and production volume.
Buying Pre-Made Rings
Pre-made rings, particularly those that are saw-cut rather than machine-clipped, are a luxury. Saw-cut rings feature a perfectly flush kerf (the gap where the ring closes), resulting in a nearly invisible seam. Trusted suppliers like Blue Buddha Boutique and Maille Artisans International League (MAIL) vendors offer meticulously sorted, tumbled, and deburred rings. This is the best route for beginners or those working with expensive metals like gold and silver, where a coiling mistake is financially painful.
Coiling Your Own Rings
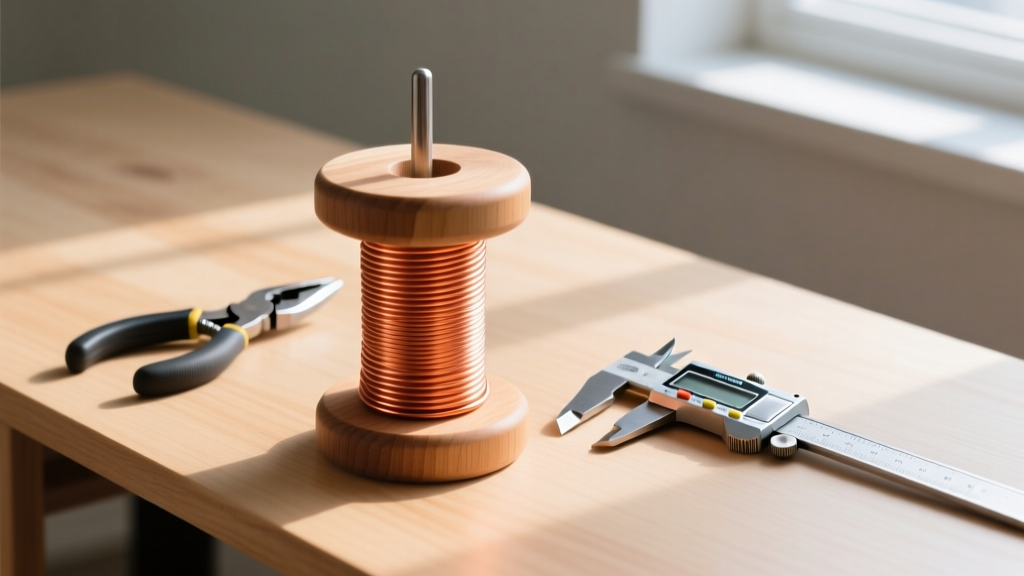
If you plan to produce high volumes or work heavily with aluminum and copper, coiling your own wire is vastly more cost-effective. You will need a set of steel or wooden mandrels and a high-quality flush cutter. Be aware of "springback"—when you wrap wire tightly around a 4mm mandrel, the coil will expand slightly once removed, resulting in a 4.2mm inner diameter. Always measure your coiled wire with a digital caliper before cutting to ensure your Aspect Ratio remains accurate.
Finishing Supplies: Tumblers and Patinas
The final step in creating professional-grade chainmail jewelry is finishing. Freshly cut and woven rings often have micro-burrs and lack a unified shine. A rotary tumbler is an indispensable investment. By tumbling your finished piece with stainless steel shot, water, and a drop of Dawn dish soap for 30 to 60 minutes, you will burnish the metal, close microscopic gaps in the kerf, and work-harden the weave, making it significantly more durable.
For copper and bronze weaves, consider adding chemical patinas to your supply list. Liver of Sulfur is a classic oxidizing agent that turns copper deep black or rich brown. After tumbling, you can use fine steel wool or a polishing cloth to remove the oxidation from the high points of the rings, leaving the dark color in the recesses for a stunning, antique contrast.
Final Checklist Before You Buy
Before you check out your cart, run through this quick supply checklist to ensure you have everything needed for a successful weave:
- Digital Caliper: Essential for verifying wire gauge and inner diameter to 0.01mm accuracy.
- Jump Ring Opener Tool: A simple metal slit-tool that mounts to your desk, saving your wrists from repetitive twisting motions.
- Beeswax or Tool Magic: Applied to the tips of your pliers to increase grip and prevent metal-on-metal slipping.
- Magnetic Parts Tray: Jump rings are notoriously prone to escaping; a magnetic tray keeps your aluminum and steel rings corralled.
Mastering how to make chainmail jewelry is a journey of precision, patience, and continuous learning. By investing in high-quality, mathematically sound supplies from the start, you bypass the most common frustrations and set yourself up for weaving flawless, heirloom-quality metal art.