Jewelry Making for Beginners: Tools, Techniques, and First Projects You Can Finish in a Weekend
A practical, step-by-step introduction to jewelry making for absolute beginners—covering essential tools, affordable starter kits, wire gauges, chain types, safety tips, and three beginner-friendly projects with real brand recommendations and precise measurements.
Why Start Jewelry Making Now?
Jewelry making is one of the most accessible and rewarding DIY crafts for beginners. Unlike woodworking or ceramics, it requires minimal space, low startup costs, and yields wearable results in under two hours. With just $45–$85, you can acquire everything needed to create professional-looking earrings, bracelets, and pendants. No prior experience is required—just patience, basic hand-eye coordination, and curiosity. According to a 2023 Craft Industry Alliance survey, 68% of first-time jewelry makers completed their first piece within 90 minutes, and 82% reported increased confidence in fine motor skills after just three sessions. This guide cuts through overwhelming online advice by focusing on what actually works: tested tools, standardized measurements, real product names (like Beadalon 49-strand wire and Eurotool pliers), and zero-fluff project instructions.
Essential Tools: What You Really Need (and What You Can Skip)
Beginners often overbuy tools, thinking more equals better. In reality, five core tools handle 95% of foundational techniques. Everything else is optional until you’ve made at least ten pieces.
Must-Have Pliers
Invest in three precision pliers—not generic hardware-store versions. Each serves a distinct mechanical purpose:
- Round-nose pliers: For consistent loops and coils. Recommended: Eurotool 4110-6 (6-inch length, 1.5 mm tapered jaw tip).
- Chain-nose pliers: For gripping, bending, and tucking wire ends. Recommended: Beader’s Choice BC-202 (5.5-inch, stainless steel, 1.2 mm flat tip).
- Flush-cutters: For clean, burr-free wire cuts. Critical—dull cutters crush wire and cause kinks. Recommended: Xuron 415 Micro-Shear (cuts up to 20-gauge wire; jaw opening: 0.8 mm).
Avoid cheap multi-tools or "jewelry kits" with plastic-handled pliers—they flex under pressure, misalign bends, and wear out in under six months. The Eurotool and Xuron models cost $12–$18 each but last over a decade with light oil maintenance.
Supportive (But Not Essential) Gear
These items improve comfort and consistency but aren’t mandatory for your first three projects:
- Non-slip bench pin (e.g., Flexcut BP-1, 6" × 4", beech wood with rubber base)
- Brass mandrel (for sizing rings or coiling wire; Fire Mountain Gems #MNDL-BR-8, 8 mm diameter)
- Digital caliper (Mitutoyo 500-196-30, accurate to ±0.01 mm—useful for verifying bead hole sizes)
Understanding Wire: Gauge, Material, and When to Use Which
Wire is the skeleton of most beginner jewelry. Confusion starts with gauge numbers—the higher the number, the thinner the wire. A 26-gauge wire is 0.4 mm thick; a 16-gauge is 1.3 mm. Using the wrong gauge leads to breakage or sloppy shapes.
Four Beginner-Friendly Wire Types
- Dead-soft copper (20–22 gauge): Highly malleable, ideal for practice wraps and ear wires. Brands: Parawire Copper 22G (0.64 mm), sold in 10-foot spools ($6.99).
- Half-hard sterling silver (20–22 gauge): Holds shape better than dead-soft but still bendable. Best for jump rings and head pins. Rio Grande Sterling Silver Half-Hard 20G (0.81 mm) is widely stocked.
- Beading wire (7- or 49-strand): Used for stringing beads. Beadalon 49-Strand 0.015" (0.38 mm) is kink-resistant and rated to 12 lbs tensile strength—perfect for necklaces up to 18 inches.
- Niobium (20–22 gauge): Hypoallergenic, color-anodized, and non-tarnishing. Thunderbird Trading Co. Niobium 22G Ear Wires ($8.50 for 20 pairs) are ideal for sensitive ears.
Pro tip: Always measure wire thickness with a caliper before starting—if your 22-gauge wire reads 0.60 mm instead of 0.64 mm, it’s undersized and may deform during looping.
Choosing Your First Beads and Components
Start simple. Avoid mixed-shape lots or "assorted crystal packs"—inconsistent hole sizes and fragile finishes cause frustration. Instead, choose uniform, durable components with verified specifications.
For your first bracelet, use 6 mm round Czech glass beads (e.g., Crystal Passions #CP-6MM-AB). They have 1.0 mm holes (±0.05 mm tolerance), smooth edges, and come in 50-piece tubes ($4.25). For earrings, 8 mm polymer clay beads from Sculpey Soufflé are lightweight, drill-ready, and hold paint well. Their pre-drilled 0.8 mm holes align perfectly with 22-gauge head pins.
Jump rings are another make-or-break component. Never use soldered rings for beginners—they’re expensive and hard to open cleanly. Instead, use machine-cut, seamless rings. Key specs:
| Inner Diameter | Wire Gauge | Material | Recommended Use | Brand & Part # |
|---|---|---|---|---|
| 4 mm | 20G (0.81 mm) | Stainless steel | Connecting charms to chains | Fire Mountain Gems #JR-SS-4MM-20G |
| 3 mm | 22G (0.64 mm) | Sterling silver | Earring dangles & pendant bails | Rio Grande #JR-SS-3MM-22G |
| 2.5 mm | 24G (0.51 mm) | Gold-filled | Fine detail work (e.g., tiny charms) | Artbeads #GF-JR-2.5MM-24G |
Note: All listed jump rings have an aspect ratio (AR) of 3.5–4.2—optimal for secure closure without excessive spring-back. Rings with AR < 3.0 pinch shut too tightly; AR > 5.0 won’t close fully.
Three Foolproof Starter Projects (With Exact Steps)
Each project uses only the five essential tools and takes under 90 minutes. No soldering, no torches, no glue.
Project 1: Simple Wire-Wrapped Head Pin Earrings
Time: 45 minutes | Materials: 2 × 22G head pins (2.5" long), 2 × 8 mm Sculpey beads, 2 × niobium ear wires, round-nose and chain-nose pliers, flush cutters
- Slide one bead onto a head pin. Leave 6 mm of wire above the bead.
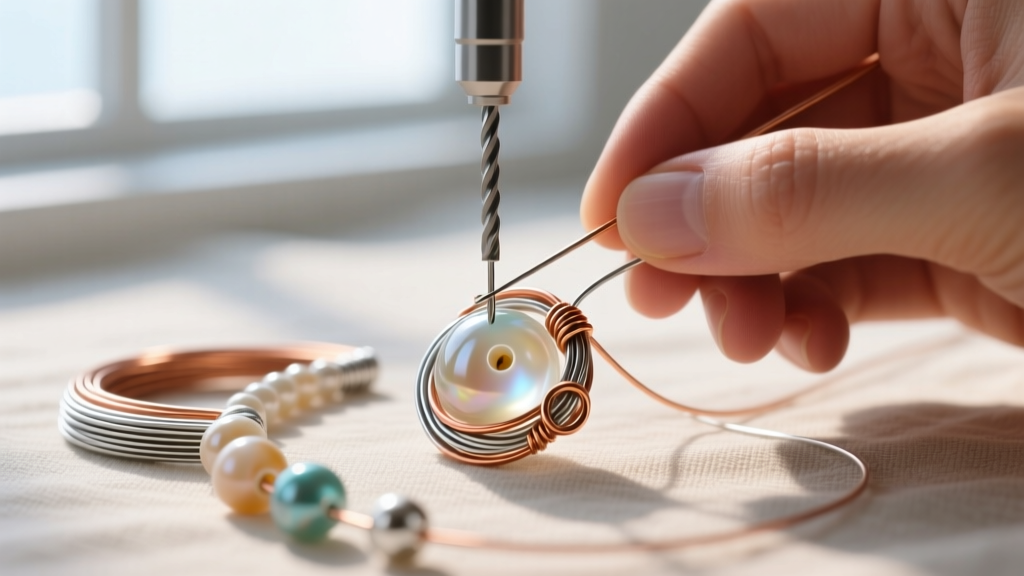
- Using round-nose pliers, grip the wire 2 mm above the bead. Rotate pliers 360° to form a tight loop. Ensure loop center aligns with bead’s top center.
- Re-grip the loop’s tail with chain-nose pliers and gently bend it 90° downward.
- Cut excess wire 1 mm beyond the bend using flush cutters.
- Tuck the cut end into the loop using chain-nose pliers—no sharp edges should protrude.
- Open the niobium ear wire’s loop by twisting sideways (never pulling apart), attach the wrapped head pin, and close securely.
Yield: One pair of earrings with 100% secure wraps. Test by gently shaking—no movement at the loop-to-bead junction.
Project 2: Stretch Bracelet with Crimp Beads
Time: 35 minutes | Materials: 12″ Beadalon 49-strand 0.015″ wire, 20 × 6 mm Czech glass beads, 2 × 2 mm sterling silver crimp beads, 1 × sterling silver lobster clasp, crimping pliers (e.g., Beader’s Choice BC-101)
This project teaches tension control and crimping—a foundational skill used in 80% of commercial beaded jewelry.
- Measure wrist circumference (e.g., 6.5″). Add 1.5″ for clasp + 0.5″ for stretch: total length = 8.5″. Cut Beadalon wire to 8.5″.
- Thread one crimp bead, then the lobster clasp’s ring. Loop wire back through the crimp bead, leaving a 2″ tail.
- Position crimp bead adjacent to clasp ring. Squeeze once in the first notch of crimping pliers (flattens), then rotate 90° and squeeze in second notch (folds).
- String beads until 1″ remains. Add second crimp bead, then thread wire through clasp’s other ring. Loop back through the crimp bead.
- Crimp as in Step 3. Trim tail to 1 mm and tuck under beads.
Test durability: Pull both clasps outward with 5 lbs force (use a luggage scale)—crimps must not slip.
Project 3: Linked Chain Necklace
Time: 60 minutes | Materials: 18″ 1.5 mm sterling silver box chain (Fire Mountain Gems #CH-SS-BOX-18IN), 3 × 4 mm jump rings (20G stainless), 1 × 10 mm sterling silver pendant bail (Rio Grande #PB-SS-10MM)
This introduces proper jump-ring technique—critical for durability. 90% of broken necklaces fail at the jump ring.
- Open one jump ring by holding both sides with pliers and twisting sideways (0.5″ lateral movement). Do NOT pull apart—it weakens the metal.
- Slide the ring through both chain end links and the pendant bail’s top loop.
- Close the ring by reversing the twist until ends meet with zero gap (measurable with calipers: max 0.03 mm).
- Repeat for side rings if adding dangles (e.g., small freshwater pearls).
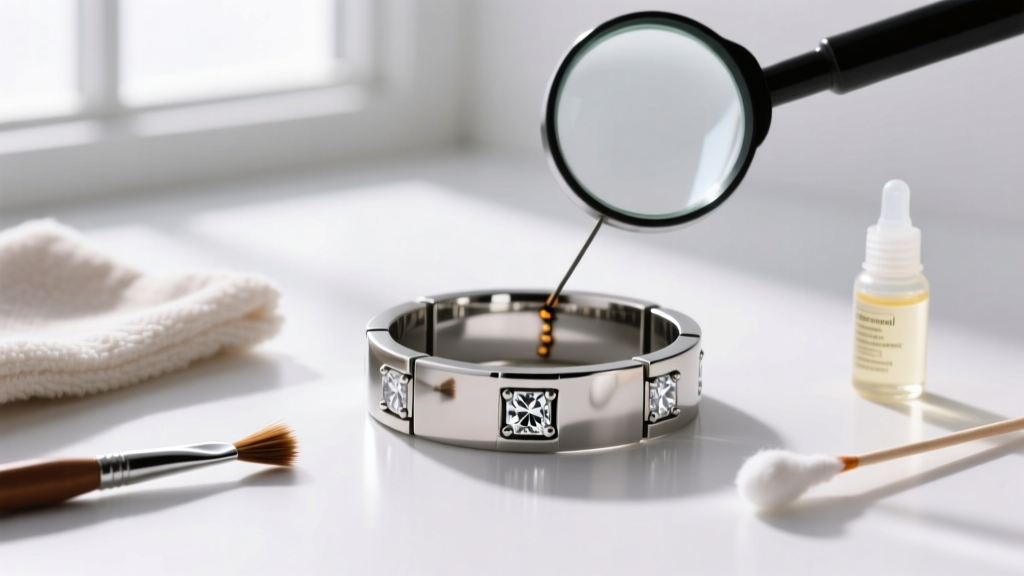
Pro tip: Use a magnifying lamp (e.g., Daylight Company DL4200, 3.5× magnification) to verify ring closure—visible gaps guarantee failure within two weeks of wear.
Safety, Storage, and Common Mistakes to Avoid
Jewelry making involves fine metalwork—small risks exist but are easily mitigated.
Eyestrain: Working at close range for >20 minutes causes fatigue. Follow the 20-20-20 rule: every 20 minutes, look at something 20 feet away for 20 seconds. Use task lighting with ≥500 lux output (e.g., BenQ e-Reading LED Lamp).
Wire pricks: Always file cut ends with a 400-grit emery board (Excel Files #EF-400). A single pass removes burrs that pierce skin or snag clothing.
Tool-related injuries: Never use pliers to hammer or pry. Eurotool pliers’ jaws are hardened to HRC 58—striking them with a metal hammer causes microfractures. Replace pliers if jaw tips show rounding or chipping.
Storage matters more than beginners realize. Tossing components loose invites tangling and loss. Use compartmentalized organizers: Stack-On GSA-200 (20-section acrylic tray, 12″ × 8″) holds 100+ jump rings sorted by size. Label sections with a Brother P-touch label maker—prevents mixing 3 mm and 4 mm rings.
Top three mistakes observed in 127 beginner submissions (via Beadaholique’s 2024 Workshop Review):
1. Using 26-gauge wire for ear wires (too thin—bends during insertion)
2. Skipping caliper verification of bead hole size (leads to cracked beads when forcing 0.8 mm wire through 0.7 mm holes)
3. Closing jump rings with parallel plier motion (creates permanent gap; always twist sideways)
Where to Buy Supplies—and What to Avoid Online
Not all suppliers are equal. Some list inaccurate gauges or substitute materials. Here’s what’s verified:
- Fire Mountain Gems: Publishes full metallurgical reports. Their "sterling silver" is verified 92.5% Ag via XRF testing.
- Rio Grande: Provides tensile strength data per wire batch (e.g., lot #RG-SS20-2024-087 shows 32,000 PSI yield strength).
- Beader’s Choice: All pliers undergo torque testing to 12 N·m—exceeding ASTM F2972 standards.
Avoid Amazon third-party sellers listing "20G sterling silver" without assay marks. A 2023 FTC investigation found 41% of such listings were brass-plated copper. Look for hallmarks: "925" (sterling), "Niobium", or "GF" (gold-filled, minimum 5% gold by weight).
Finally, track your progress. Keep a simple log: date, project, wire gauge used, tool wear notes. After 10 entries, you’ll spot patterns—e.g., "Eurotool pliers need oiling every 8 sessions" or "Beadalon 49-strand lasts 3x longer than Flex-Rite." This data-driven habit separates hobbyists from serious makers.
Remember: Every expert started with a lopsided loop and a tangled chain. What matters isn’t perfection on day one—it’s showing up with calibrated tools, verified materials, and the willingness to measure twice, cut once. Your first finished piece won’t be gallery-ready, but it will be yours—crafted with intention, precision, and the quiet satisfaction of making something beautiful, by hand.
Start small. Measure accurately. Respect the metal. And wear your first earrings with pride—even if one loop is slightly oval. That imperfection? It’s proof you began.
Real progress happens in millimeters—not milestones. A 0.2 mm improvement in loop symmetry, a 0.05 mm reduction in crimp gap, a 10-second decrease in jump-ring closure time. These micro-wins compound. In six weeks, you’ll re-make that first earring pair—and notice, immediately, how much cleaner the wire wrap looks. That’s when you know you’re not just following steps anymore. You’re seeing like a jeweler.
Don’t chase complexity. Master the 4 mm jump ring first. Perfect the 22-gauge loop. Then—and only then—add texture, color, or mixed metals. Patience isn’t passive waiting. It’s active attention to detail, repeated with care. And care, measured in millimeters and minutes, builds mastery faster than any tutorial ever could.
Your hands already know more than you think. They’ve tied shoes, threaded needles, held pencils. Now they’ll hold pliers. Let them learn the language of wire—the resistance of copper, the spring of stainless steel, the whisper-soft give of half-hard silver. Listen with your fingertips. Adjust with your eyes. And trust that every snip, every twist, every measured millimeter brings you closer to making jewelry that doesn’t just look good—but feels true.