Ultimate Care and Cleaning Guide for DIY Permanent Jewelry
Learn expert care, maintenance, and cleaning tips for your DIY permanent jewelry. Discover how to protect welds, clean chains, and prevent tarnish.

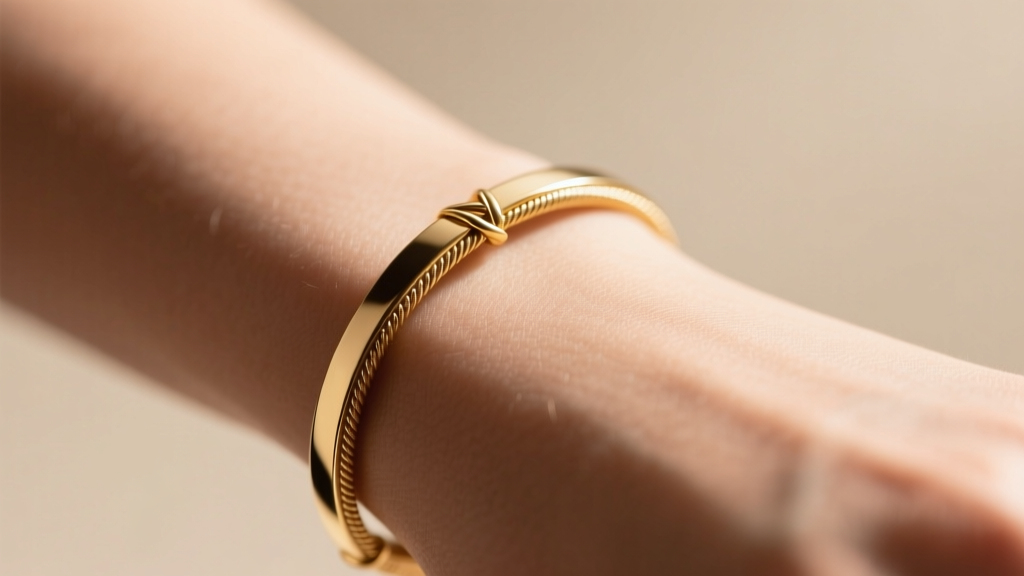
The Unique Challenges of DIY Permanent Jewelry Care
The explosion of at-home jewelry crafting has brought the art of permanent jewelry—bracelets, anklets, and necklaces forged without traditional clasps—into the hands of passionate hobbyists and independent makers. Whether you are utilizing a pulse arc welder like the Orion mPulse for true micro-welding or employing the cold-shut jump ring technique with precision flush cutters, the resulting pieces require a specialized approach to maintenance. Unlike clasped jewelry, which can be easily unhooked for deep cleaning or repair, diy permanent jewelry remains continuously on the body, subjecting the metal and the connection points to relentless environmental stress, friction, and chemical exposure.
As a maker, understanding the metallurgical and mechanical vulnerabilities of your creations is paramount. The absence of a clasp means that tensile stress is distributed entirely across the chain links and, most critically, the single connection point. Furthermore, the continuous wear traps dead skin cells, lotions, and environmental debris against the skin, necessitating a rigorous hygiene and cleaning protocol to prevent contact dermatitis and metal degradation.
Daily Wear and Environmental Exposure
Permanent jewelry is designed to be lived in, but that does not mean it is impervious to damage. The most insidious threats to your DIY pieces are invisible chemical reactions. Chlorine in swimming pools and hot tubs can cause catastrophic stress corrosion cracking in karat gold alloys, particularly at the work-hardened connection points. Similarly, sulfur compounds in the air and in certain hot springs will rapidly oxidize sterling silver, turning it black and brittle over time.
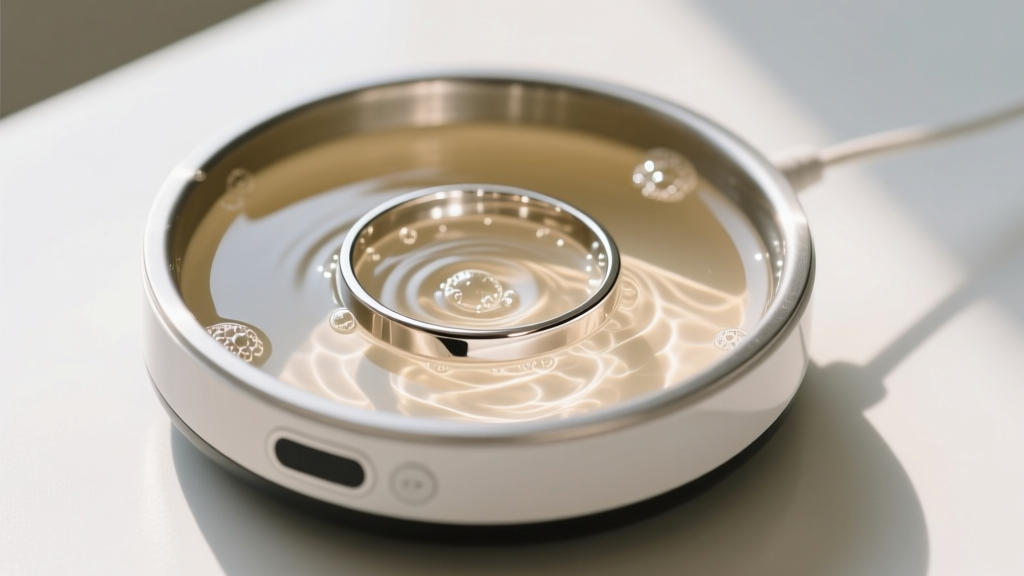
Sweat is another major factor. Human perspiration is mildly acidic and contains salts that can break down the protective oxide layers on metals like brass or lower-grade stainless steel. For makers using 14k gold-filled wire or chain, prolonged exposure to sweat and acidic lotions can eventually wear through the microscopic gold layer, exposing the brass core and leading to localized galvanic corrosion. To mitigate this, wearers should be advised to rinse their permanent jewelry with fresh, lukewarm water immediately after swimming or heavy exercise, patting it dry with a lint-free microfiber cloth.
Step-by-Step Cleaning Protocols by Material
Because permanent jewelry cannot be easily removed, cleaning must be done directly on the body or with extreme care if the piece is temporarily detached for maintenance. The cleaning agent you choose must be matched to the specific metallurgy of the chain. Below is a comprehensive decision matrix for maintaining the most common materials used in DIY permanent jewelry.
| Material | Recommended Cleaner | Ultrasonic Safe? | Drying Method |
|---|---|---|---|
| Solid 14k/18k Gold | Mild dish soap (phosphate-free) & warm water | Yes (40kHz max) | Microfiber cloth or cool air |
| 14k Gold-Filled | Gentle surfactant & soft baby toothbrush | No (can delaminate) | Pat dry immediately |
| Sterling Silver (925) | Silver dip (thiourea-based) for heavy tarnish | Yes (short bursts) | Air dry, then polish cloth |
| 316L Stainless Steel | Isopropyl alcohol (70%) or soapy water | Yes | Air dry or towel |
| Niobium / Titanium | Distilled water & mild soap | Yes | Microfiber cloth |
When using an ultrasonic cleaner for detached test pieces or repairs, ensure the frequency does not exceed 40kHz, as higher frequencies can cause microscopic pitting on softer alloys. According to the Gemological Institute of America (GIA), avoiding harsh abrasives like baking soda or toothpaste is critical, as these will scratch the metal surface and create microscopic grooves where future tarnish and dirt will accumulate much faster.
Inspecting the Connection Points
The integrity of any permanent bracelet relies entirely on its closure. For makers using pulse arc welders, the weld "nugget" or puddle must be inspected regularly for porosity or cracking. For those using the cold-connection method (flush-cutting a jump ring and squeezing it shut with chain-nose pliers), the seam must remain perfectly flush. Any gap will act as a hook, catching on clothing and eventually prying the ring open.
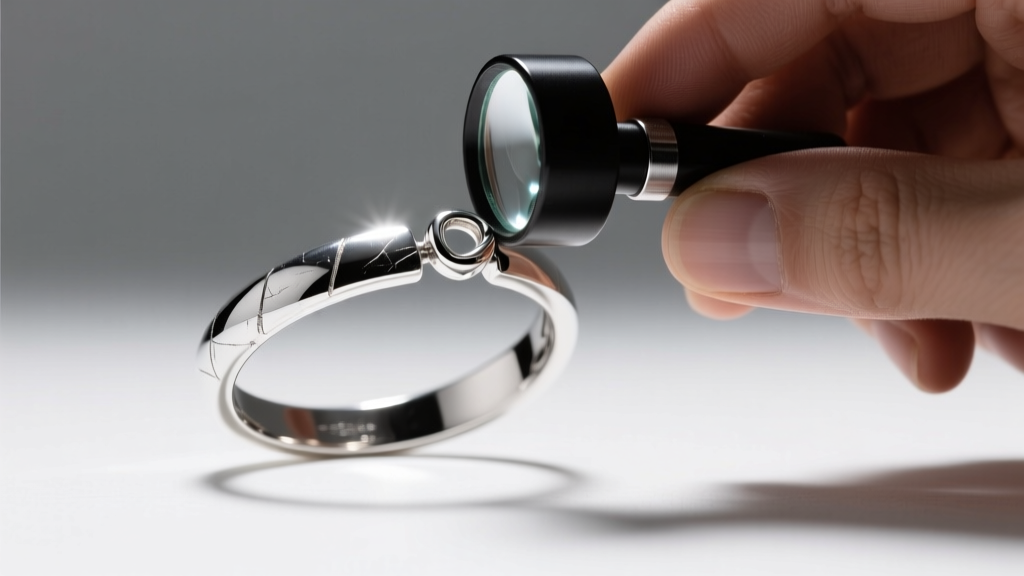
To properly inspect these critical junctions, invest in a 10x Hastings triplet jeweler's loupe. A triplet lens corrects for spherical and chromatic aberration, giving you a true, undistorted view of the metal. When examining a micro-weld, look for a smooth, continuous fusion zone without dark inclusions, which indicate oxidation during the welding process (often caused by insufficient argon gas flow). When examining a cold-shut jump ring, run a piece of silk thread over the seam; if it snags, the ring is not perfectly flush and needs to be re-filed and re-crimped.
Maintaining Your DIY Permanent Jewelry Tools
Care and maintenance extend beyond the jewelry itself; the tools you use to create and repair these pieces require meticulous upkeep to ensure professional results. If you are operating a micro-welder, the tungsten electrode is your most vital consumable. Over time, the tip will oxidize and ball up, leading to erratic arcs and weak welds. You must regularly sharpen the electrode using a diamond lap or specialized grinder, ensuring you grind longitudinally (parallel to the electrode's length) to maintain a stable arc path.
Expert Maker Tip: Never use standard wire cutters to trim permanent jewelry chains or jump rings. Standard cutters leave a "pinch" or bevel on the metal, making a seamless weld or flush cold-shut impossible. Always use high-quality, precision flush cutters, and regularly oil the pivot joint with a drop of synthetic watch oil to maintain the razor-sharp alignment of the blades.
Furthermore, your pliers—specifically chain-nose and flat-nose varieties—must be kept immaculately clean. Residue from polishing compounds or skin oils can transfer to the jewelry during the closing process, contaminating the weld zone and causing the metal to splatter. Wipe the jaws of your pliers with isopropyl alcohol before every single welding or crimping session.
Skin Care and Hygiene Under the Chain
One of the most frequently overlooked aspects of permanent jewelry maintenance is the skin beneath it. A continuous chain traps moisture and dead skin cells, creating an ideal breeding ground for bacteria and fungi, which can lead to contact dermatitis or localized infections. Makers should educate their clients or wearers on the importance of sub-chain hygiene.
The best practice is to use a soft silicone scalp massager or a dedicated, soft-bristled jewelry brush in the shower. By gently working a mild, fragrance-free body wash under the links and moving the chain slightly back and forth, wearers can effectively exfoliate the skin and clear debris from the chain's crevices. After showering, it is vital to thoroughly dry the skin and the metal. Trapped moisture against the skin is the primary culprit behind the "green skin" effect often mistakenly blamed on the metal itself, when it is actually a reaction between moisture, skin acids, and the copper content in gold alloys or brass cores.
Expert Troubleshooting FAQ
Why did my gold-filled permanent bracelet turn dull and gray?
Gold-filled wire consists of a thick layer of karat gold mechanically bonded to a brass core. If the bracelet is subjected to heavy friction (such as rubbing against a laptop wrist rest) or harsh chemicals, the gold layer can wear thin. The dull, grayish appearance is often the result of the underlying brass oxidizing and bleeding through microscopic pores in the gold layer. Unfortunately, this cannot be polished away; the piece must be cut and replaced.
How do I remove a permanent bracelet safely for an MRI or surgery?
Because DIY permanent jewelry lacks a clasp, it must be cut. Makers should always provide clients with a small pair of flush cutters or instruct them to use heavy-duty nail clippers in a pinch. The cut should be made at the connection point (the weld or the jump ring) to preserve as much of the chain as possible for future re-welding. As noted by Jewelers of America, keeping the cut ends clean and untangled is crucial for a successful repair later.
My sterling silver chain is stretching and sagging. Is this normal?
Sterling silver is a relatively soft metal with a low yield strength compared to stainless steel or titanium. If a wearer frequently snags the bracelet or uses it to pull on objects, the individual links will undergo work hardening and eventually elongate. To prevent this, makers should recommend heavier gauge chains (e.g., 18-gauge or 16-gauge) for permanent silver pieces, or suggest upgrading to 316L stainless steel for high-impact lifestyles.


