Expert Guide to Epoxy Jewelry Making: Resin Grades & Clarity
Master epoxy jewelry making with our expert technical guide. Compare UV vs. two-part resins, learn exact mixing ratios, and eliminate micro-bubbles.

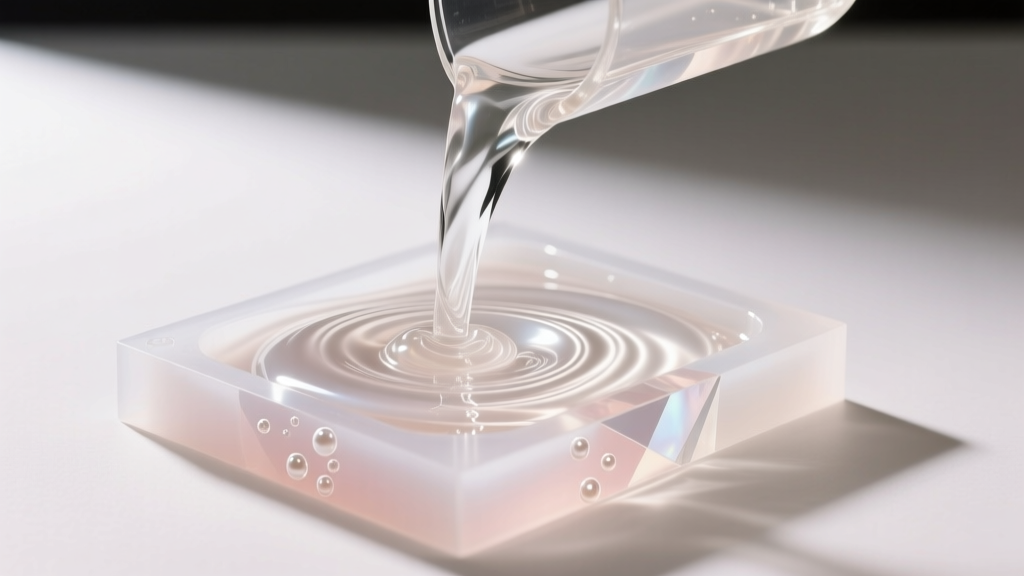
Epoxy jewelry making bridges the gap between lapidary arts and polymer chemistry. While beginner tutorials often focus on simple glitter pendants, professional resin artisans understand that achieving optical clarity, structural integrity, and long-term UV resistance requires a deep understanding of material science. Whether you are encapsulating delicate botanicals or casting geometric statement pieces, mastering the technical variables of epoxy systems is non-negotiable. This guide bypasses the basics and dives directly into the chemistry, rheology, and advanced degassing protocols required for high-end resin jewelry.
The Chemistry of Clarity: UV vs. Two-Part Epoxy Systems
The term 'resin' is frequently misused in the DIY space. For jewelry making, we primarily deal with two distinct chemical families: UV-curable oligomers and two-part thermosetting epoxies.
UV Resins rely on photoinitiators (such as TPO or BAPO) that trigger polymerization when exposed to specific wavelengths of ultraviolet light (typically 365nm to 405nm). These are single-component systems, meaning there is no mixing required. However, UV resins are limited by their depth of cure. Light penetration drops exponentially as thickness increases, making UV resins unsuitable for pours deeper than 5mm. They also tend to have a lower Shore D hardness (typically 70D-75D), making them more prone to micro-scratches on jewelry surfaces.
Two-Part Epoxy Resins consist of an epoxide resin (Part A, often based on Bisphenol-A or Bisphenol-F diglycidyl ether) and a polyamine hardener (Part B). When combined, the amine groups react with the epoxide rings in an irreversible exothermic reaction, creating a heavily cross-linked 3D polymer network. High-quality jewelry epoxies are formulated with aliphatic amine hardeners and specialized diluents to reduce viscosity and eliminate volatile organic compounds (VOCs), resulting in a water-clear, glass-like finish with a Shore D hardness of 80D to 85D.
Technical Specifications & Material Grades
Selecting the correct epoxy formulation depends entirely on your mold geometry and desired finish. Below is a technical comparison of the primary resin grades used in professional epoxy jewelry making.
| Resin Grade | Viscosity (cP @ 77°F) | Shore D Hardness | Max Pour Depth | Primary Application |
|---|---|---|---|---|
| Low-Viscosity Casting | 200 - 400 cP | 82D | 2.0 inches | Intricate silicone molds, botanical encapsulation, bubble release |
| Medium-Viscosity Tabletop | 800 - 1,200 cP | 80D | 0.5 inches | Shallow bezels, coasters, standard pendant bases |
| High-Viscosity Doming | 3,000 - 5,000 cP | 85D | 0.1 inches | Surface coating, creating convex domes on flat pendants without runoff |
Note: Viscosity is highly temperature-dependent. A resin rated at 400 cP at 77°F (25°C) may exceed 800 cP at 65°F (18°C), severely impeding bubble release.
Precision Mixing: Ratios, Viscosity, and Exothermic Reactions
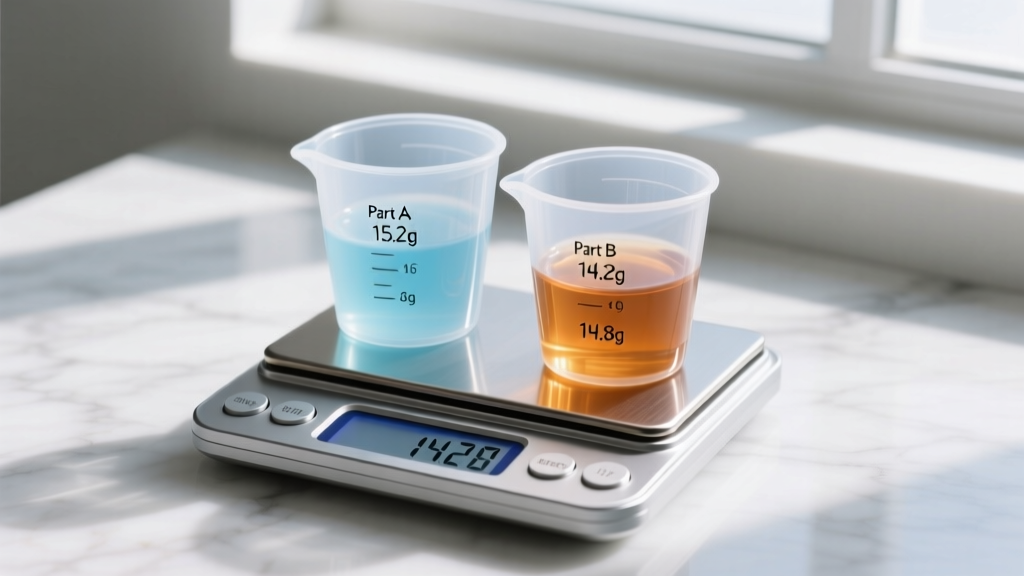
The most common point of failure in epoxy jewelry making is improper mixing. While manufacturers provide a 'mix by volume' ratio (e.g., 1:1), this is a convenience metric for hobbyists. Part A (resin) and Part B (hardener) have different specific gravities. For flawless chemical cross-linking, you must measure by mass using a digital jewelry scale accurate to 0.01 grams.
For example, a premium 1:1 by volume casting resin often requires a 100:45 ratio by weight. If you measure by volume, you risk a slight stoichiometric imbalance, leaving unreacted amine or epoxide groups in the matrix. This results in a tacky surface, reduced thermal resistance, and accelerated yellowing.
Managing the Exotherm in Deep Pours
The polymerization of epoxy is exothermic. In deep pours, the heat generated by the reaction cannot dissipate quickly enough, leading to 'thermal runaway.' This can cause the resin to crack, boil, or flash-cure into a yellowed, brittle mass. To manage the exotherm:
- Mass Control: Never exceed the manufacturer's maximum mixing volume. Mixing 500g of resin in a single cup will generate significantly more heat than mixing two separate 250g batches.
- Thermal Mass of Molds: Silicone molds act as insulators. If casting deep geometric shapes, use a cooling rack to allow air circulation beneath the mold, or cast in a temperature-controlled room at 68°F (20°C).
- Pot Life Extension: Pouring the mixed resin into a wide, shallow tray increases surface area and dissipates heat, extending your working time before the viscosity spikes.
Advanced Degassing: Eliminating Micro-Bubbles
Mechanical mixing inevitably entrains air into the resin. While low-viscosity resins allow larger bubbles to rise and pop, micro-bubbles (under 50 microns) remain suspended, creating a cloudy appearance. Professional jewelers rely on two distinct mechanical degassing methods:
Vacuum Chamber Degassing (Pulling)
A vacuum chamber reduces atmospheric pressure, causing entrained air bubbles to expand exponentially until they rise to the surface and burst. This method is highly effective for low-viscosity resins but requires pulling a vacuum of at least 29 inHg. The drawback is that the resin expands significantly during the process, requiring oversized mixing cups to prevent overflow.
Pressure Pot Curing (Pushing)
Instead of removing the bubbles, a pressure pot compresses them. By placing the filled molds into a pressure pot and pressurizing the chamber to 40-50 PSI (pounds per square inch) with an air compressor, the volume of the micro-bubbles is reduced by over 90%. They become so microscopically small that they are completely invisible to the human eye, resulting in optically clear epoxy jewelry making. According to technical bulletins from Smooth-On, maintaining this pressure until the resin reaches its initial gel point is critical to prevent the bubbles from expanding back to their original size as the pressure is released.

Troubleshooting Common Failure Modes
Even with precise measurements, environmental variables can compromise your cure. Here is how to diagnose and resolve advanced failure modes:
- Amine Blush (Carbamation): A waxy, greasy film on the surface of cured resin. This occurs when the amine hardener reacts with ambient moisture and carbon dioxide rather than the epoxide. Solution: Cure in a low-humidity environment (under 50% RH) or use a 'non-blushing' hardener formulated with cycloaliphatic amines.
- Fish-Eyes and Cratering: Small, circular depressions in the surface. This is almost exclusively caused by silicone contamination. Solution: Never use silicone-based mold release agents or cleaning sprays near your workstation. Wipe molds with isopropyl alcohol and allow to dry completely.
- UV Yellowing: All epoxies will eventually degrade under UV exposure, but cheap resins yellow within weeks. Solution: Source resins that explicitly list HALS (Hindered Amine Light Stabilizers) and UV absorbers (like Benzotriazoles) in their safety data sheets. Brands like ArtResin formulate specifically with these additives for long-term clarity.
Finishing and Polishing to Optical Clarity
Demolding is rarely the final step. Flash lines and minor surface imperfections require mechanical finishing. Begin by wet-sanding the piece using silicon carbide paper, progressing sequentially through 400, 800, 1200, 2000, and 3000 grits. Skipping grits will leave deep scratches that polishing compounds cannot remove. Once the surface is uniformly frosted at 3000 grit, transition to a micro-mesh abrasive pad up to 12,000 grit. Finally, use a rotary tool with a loose cotton buffing wheel and a plastic-safe polishing compound (such as Novus No. 3 or a fine aluminum oxide suspension) to restore a high-gloss, glass-like finish. For further insights on surface preparation, the experts at Epoxyworks provide excellent guidelines on achieving flawless finishes on polymer surfaces.
Essential Safety and PPE for Resin Artisans
Uncured epoxide resins and amine hardeners are potent sensitizers. Repeated skin contact can lead to severe contact dermatitis and lifelong allergic reactions. Nitrile gloves (minimum 5 mil thickness) are mandatory; latex is permeable to certain resin solvents. Furthermore, the sanding process generates fine particulate matter that must not be inhaled. Always wear a NIOSH-approved N95 respirator during mechanical finishing, and utilize a local exhaust ventilation system when mixing large batches to capture trace VOCs. Treat your chemistry with respect, and your epoxy jewelry making will yield professional, heirloom-quality results every time.


