7 Easy Ideas for Jewelry Making: A Step-by-Step Guide
Discover 7 beginner-friendly ideas for jewelry making with our step-by-step guide. Learn wire gauges, bead stringing, and sourcing tips for 2026.

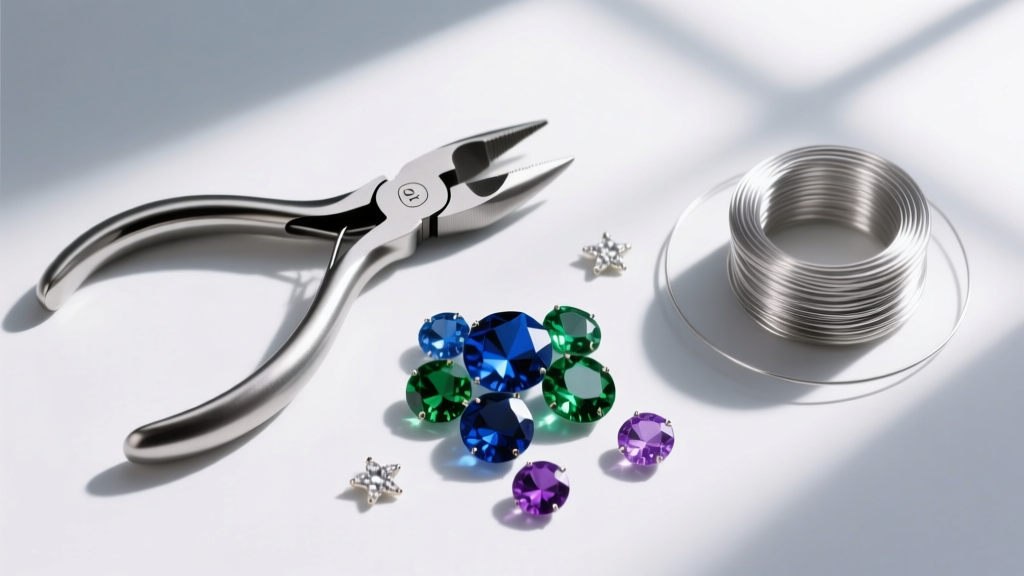
Why 2026 is the Best Year to Start Crafting
When searching for ideas for jewelry making, beginners often feel overwhelmed by the sheer volume of techniques, tools, and materials available. In 2026, the DIY jewelry landscape has evolved significantly. The shift toward sustainable crafting means recycled 14/20 gold-filled wire, ethically sourced lab-grown melee diamonds, and upcycled brass are dominating the market. You no longer need a professional bench or an expensive kiln to create heirloom-quality pieces. With a basic understanding of metallurgy and tension, you can craft durable, retail-ready accessories from your kitchen table.
This guide skips the vague fluff and dives straight into the metallurgy, exact gauge requirements, and step-by-step execution for three foundational projects that will build your muscle memory and design confidence.
The Metallurgy of Wire: A Quick Reference Table
Before cutting your first inch of wire, you must understand work-hardening and tensile strength. Buying the wrong temper will result in structural failure. Here is the essential cheat sheet for sourcing wire from suppliers like Rio Grande or Fire Mountain Gems.
| Wire Gauge (AWG) | Diameter (mm) | Best Temper | Ideal Application |
|---|---|---|---|
| 18-Gauge | 1.02mm | Half-Hard | Ear wires, heavy jump rings, clasps |
| 20-Gauge | 0.81mm | Half-Hard / Dead Soft | Briolette wrapping, structural frames |
| 24-Gauge | 0.51mm | Dead Soft | Wire weaving, binding, securing beads |
| 28-Gauge | 0.32mm | Dead Soft | Micro-macrame, delicate gemstone tying |
Pro Tip: Dead soft wire is annealed, making it highly malleable but prone to bending out of shape. Half-hard wire has been slightly work-hardened at the mill, providing the perfect balance of flexibility and structural memory for pendant bails.
Idea 1: The Wire-Wrapped Briolette Pendant
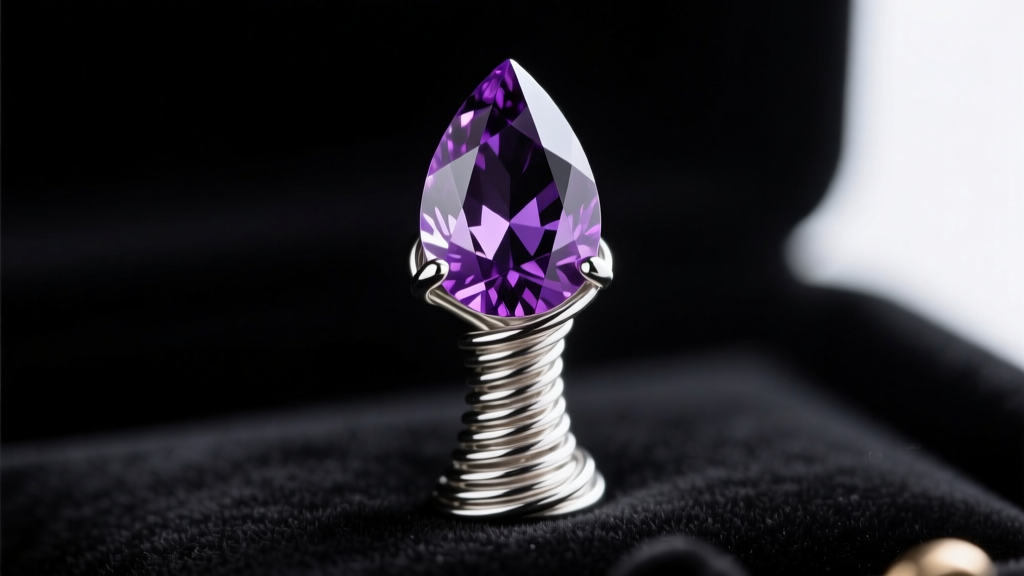
The briolette wrap is a rite of passage. It teaches you tension control, flush cutting, and how to read the crystalline structure of gemstones. According to the Gemological Institute of America (GIA), stones like quartz and amethyst rate a 7 on the Mohs scale, meaning they can withstand moderate wire pressure, but stones like apatite or fluorite require a much gentler touch.
Step-by-Step Execution
- Prep the Wire: Cut 6 inches of 20-gauge half-hard sterling silver wire. Using nylon-jaw pliers, gently pull the wire to straighten it and remove any mill kinks.
- Thread the Stone: Slide your briolette onto the wire, centering it so you have roughly 1.5 inches on the short side and 4.5 inches on the long side.
- Create the Bend: Grip the wire directly above the top of the stone with your chain-nose pliers. Bend the short wire at a strict 90-degree angle.
- The Bind: Take your 24-gauge dead soft binding wire and anchor it tightly against the 90-degree bend. Wrap downward 4 to 5 times, packing the coils tightly together using your chain-nose pliers to push them flush.
- Form the Bail: Bend the remaining long wire over your round-nose pliers to form a loop. Wrap the tail down around the neck of the bind, trim with flush cutters, and tuck the sharp end in with a bezel pusher.
Idea 2: Tension-Set Memory Wire Bracelet
Memory wire bracelets are incredibly popular in 2026 due to their one-size-fits-all nature and rapid assembly. However, the most common failure mode is using standard wire cutters, which will instantly ruin your blades. Memory wire is made of hardened carbon steel or stainless steel and requires heavy-duty memory wire shears.
Step-by-Step Execution
- Cut the Base: Using dedicated memory wire shears, cut 3.5 turns of stainless steel bracelet memory wire. Do not use your precision flush cutters.
- Create the First Loop: Grip the very end of the wire with round-nose pliers and roll a complete, tight loop. This prevents beads from sliding off and scratching the wearer's skin.
- Pattern Loading: String your beads. A professional technique is to use 2mm brass spacer beads between 6mm lab-grown diamond beads to prevent friction wear on the drill holes.
- Finish and Tension: Leave 1/4 inch of bare wire at the end. Form your second loop. The natural tension of the steel will keep the loops closed without the need for glue or crimp beads.
Idea 3: Hand-Stamped Raw Brass Cuff
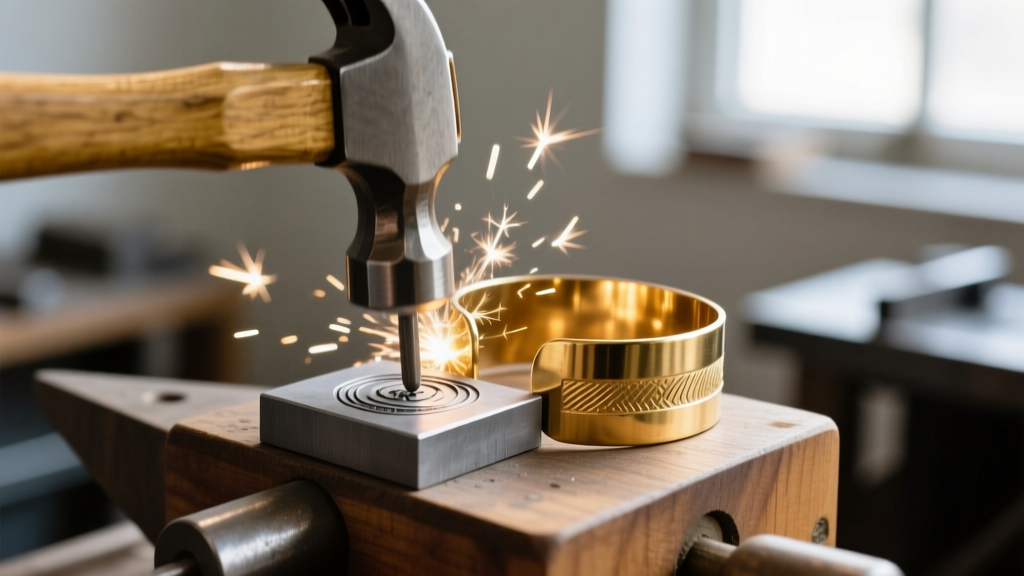
Metal stamping offers immediate gratification and requires zero heat or soldering. Raw brass is the ideal beginner metal because it is softer than sterling silver but takes impressions beautifully. Over time, raw brass develops a rich, vintage patina that consumers actively seek out.
Step-by-Step Execution
- Secure the Blank: Take a 14-gauge (1.6mm) raw brass cuff blank and tape it firmly to a steel bench block using painter's tape. The tape prevents the stamp from slipping and marring the metal.
- Align the Stamp: Hold your hardened steel design stamp perfectly perpendicular to the brass. Any tilt will result in a 'ghosted' or double impression.
- The Strike: Using a 16 oz brass hammer (never use a steel hammer on a steel stamp, or you will mushroom the top), strike the stamp firmly and evenly. One solid hit is always better than multiple tentative taps.
- Antiquing: Apply a darkening liver of sulfur solution to the stamped crevices. Let it dry, then gently polish the high points with 0000 steel wool to create high-contrast, professional lettering.
Sourcing & Supply Chain Tips for 2026
To maintain healthy profit margins or simply keep your hobby budget-friendly, avoid buying pre-packaged kits from big-box craft stores. The wire is often poorly annealed, and the findings are prone to tarnishing. Instead, buy in bulk from dedicated jewelry supply houses. Look for 'dead soft' and 'half-hard' specifications on product pages. If a supplier does not list the temper, do not buy it for structural wrapping.
Troubleshooting Work-Hardening & Breakage
If your 24-gauge binding wire keeps snapping during a wrap, you are likely over-manipulating it. Copper, silver, and gold alloys work-harden rapidly as their crystalline structures are compressed by your pliers. Once the metal locks, it becomes brittle. If you make a mistake, do not try to unspool and re-wrap the same piece of wire. Cut it off, melt it down for future casting, and start fresh. Mastering when to let go of a piece of wire is the true mark of an experienced jeweler.


