Evermore Permanent Jewelry: A Beginner's DIY Guide
Discover how to create evermore permanent jewelry at home. This beginner DIY guide covers micro-welders, chain gauges, and step-by-step welding techniques.

What is Evermore Permanent Jewelry?
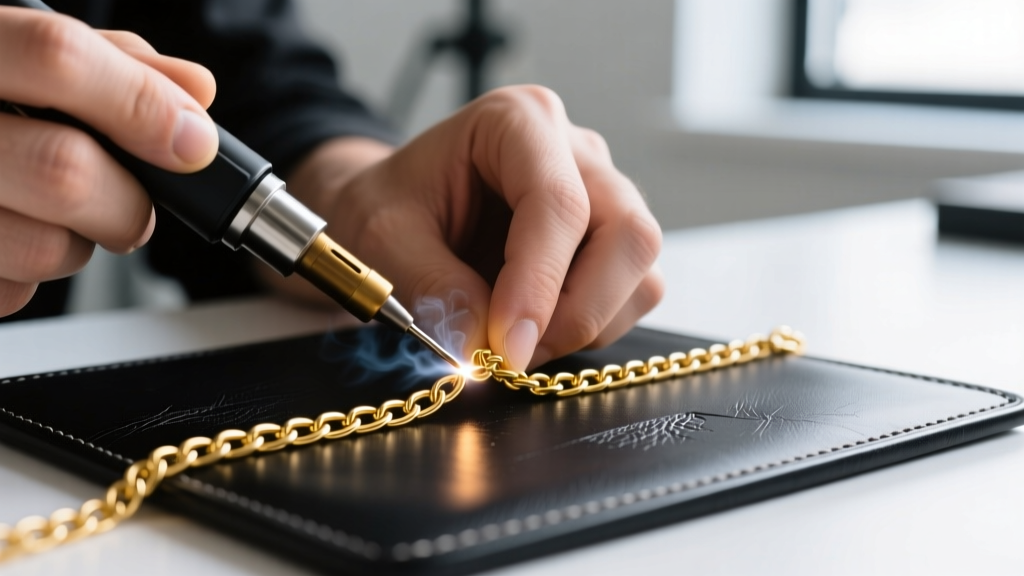
The term evermore permanent jewelry refers to the rapidly growing trend of seamless, clasp-less chains that are custom-fitted and micro-welded directly onto the wearer. Unlike traditional jewelry that relies on fragile spring rings or lobster clasps, permanent jewelry offers a continuous, uninterrupted loop of metal. As we move through 2026, the DIY permanent jewelry market has matured significantly, allowing hobbyists and beginner artisans to achieve professional, studio-quality welds from their home workbenches.
Creating your own evermore permanent jewelry is not just about linking chains; it is a precise metallurgical process. It requires an understanding of electrical currents, shielding gases, and metal melting points. This beginner-friendly explainer will demystify the micro-welding process, providing you with the exact specifications, tool requirements, and safety protocols needed to start fusing chains safely and beautifully.
The Science of the Spark: Pulse Arc vs. Laser
To create permanent jewelry, you cannot use a traditional soldering torch. Torches apply broad, ambient heat that will melt delicate 1.2mm chains into unusable blobs. Instead, the industry standard for DIY and studio environments is Pulse Arc Welding. According to the experts at Sunstone Welders, pulse arc technology uses a high-frequency electrical spark to generate intense, localized heat exactly where the tungsten electrode meets the metal.
This spark lasts for only a fraction of a second (measured in milliseconds), fusing the jump ring shut without transferring damaging heat to the surrounding chain links or the wearer's skin. While laser welders are also used in high-end manufacturing, they cost upwards of $4,000 and require stringent eye-safety enclosures. For the beginner DIYer, a 110V pulse arc welder is the most accessible, cost-effective, and reliable entry point into the evermore permanent jewelry space.
The DIY Toolkit: Welders, Gas, and Hand Tools
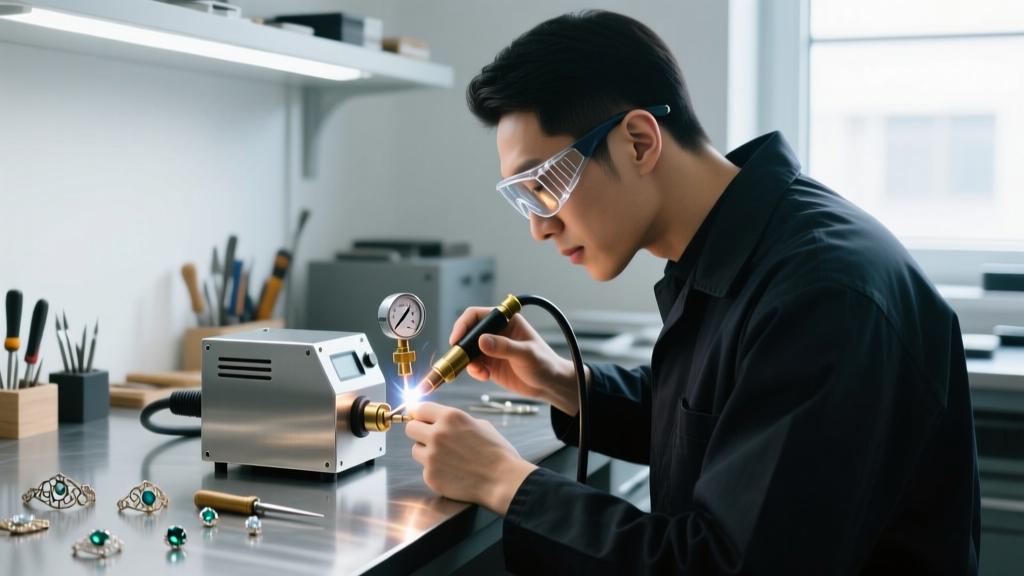
Before you cut your first chain, you need to assemble a proper workstation. Skipping out on quality hand tools is the primary reason beginners experience weak welds or damaged chains. Below is a breakdown of the essential equipment and realistic 2026 pricing for a home studio setup.
| Equipment | Purpose | Beginner Budget (2026) | Professional Upgrade |
|---|---|---|---|
| Pulse Arc Welder | Fuses metal using an electrical spark | $400 - $800 | $2,500+ (Laser Welder) |
| Argon Gas Tank | Shields the weld from oxidation | $150 (Deposit + Fill) | Industrial Tank w/ Auto-Darkening |
| Flush Cutters | Creates flat, gap-free chain cuts | $25 - $45 | $150+ (Swiss-Made) |
| Ceriated Tungsten | Electrode that delivers the arc | $15 (Pack of 10) | Thoriated or Lanthanated |
The Critical Role of Argon Shielding Gas
You cannot weld precious metals in standard atmospheric air. When precious metals melt, they instantly react with oxygen, creating black soot, oxidation, and a brittle, weak weld that will snap under tension. You must use 99.99% pure Argon gas. The argon flows through a hose directly over the weld zone, creating an invisible bubble that pushes oxygen away. For delicate chains, set your argon regulator to a gentle flow of 5 to 8 Cubic Feet per Hour (CFH). Any higher, and the gas pressure will physically blow the molten metal out of the joint.
Selecting the Right Chain and Jump Rings
Not all jewelry metals are created equal when it comes to micro-welding. The metallurgy of your chain dictates how easily it will fuse. According to material guidelines from Rio Grande, understanding the core composition of your wire is vital for preventing blowouts.
Material Grades that Actually Weld
- Solid 14k Gold: The gold standard for permanent jewelry. It melts evenly, fuses beautifully, and will not tarnish. It is the most forgiving metal for beginners learning to control their welder's energy settings.
- Argentium Sterling Silver: Unlike traditional sterling silver, Argentium contains germanium, which makes it highly resistant to tarnish and gives it a lower, more predictable melting point. It fuses seamlessly without the need for solder paste.
- Gold-Filled (1/20 14k GF): Caution required. Gold-filled chain consists of a brass core bonded to an outer layer of 14k gold. Because brass and gold melt at drastically different temperatures, beginners often burn through the gold layer and oxidize the brass core, resulting in a dark, brittle weld. If you must use gold-filled, use a solid 14k gold jump ring as a "sacrificial" bridge to help absorb the arc energy.
Gauge and Link Thickness
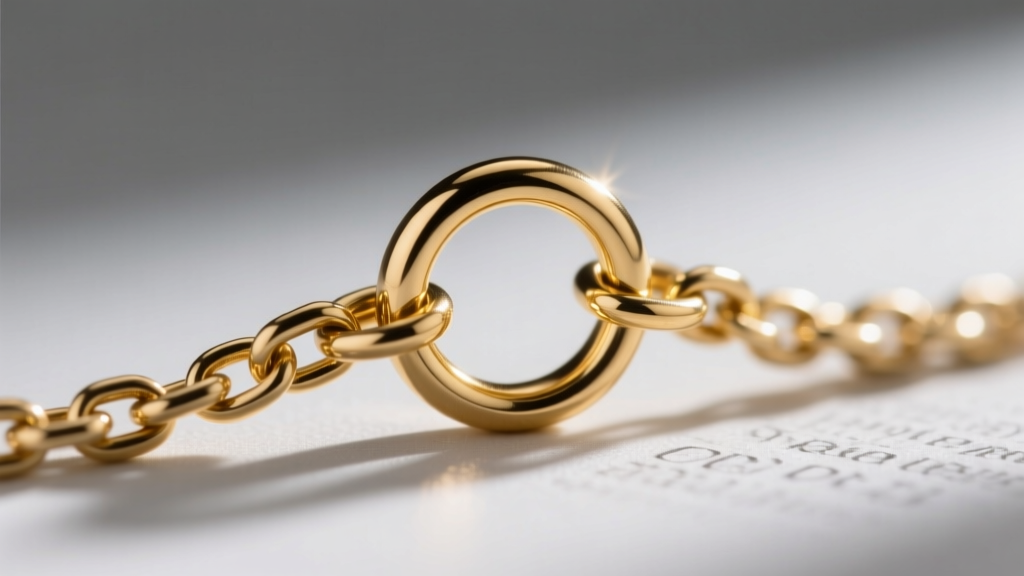
For bracelets and anklets, look for chains with a wire thickness between 1.2mm and 1.8mm (approximately 16-gauge to 14-gauge). Anything thinner (like 1.0mm or 18-gauge wire) is incredibly difficult for beginners to weld without blowing a hole straight through the link. To connect the two ends of the chain, use a 3mm or 4mm outer diameter (OD) jump ring made from 18-gauge (1.0mm) solid wire. The jump ring wire must be slightly thicker than the chain wire to act as a heat sink, absorbing the electrical arc and preventing the delicate chain links from melting.
Step-by-Step: Your First Weld
Follow this exact sequence to achieve a flawless, seamless connection on your first evermore permanent jewelry piece.
- Measure and Cut: Wrap the chain around the wrist, leaving a half-inch of slack for comfort. Use high-quality flush cutters to snip the chain. The cut must be perfectly flat; angled cuts leave microscopic gaps that will cause the arc to jump and pit the metal.
- Thread the Jump Ring: Slide your 18-gauge solid jump ring through the end links of both sides of the chain. Use two pairs of flat-nose pliers to twist the jump ring closed. Ensure the seam of the jump ring is perfectly flush—you should barely be able to feel it with your fingernail.
- Prepare the Electrode: Sharpen your 1.0mm ceriated tungsten electrode to a fine point using a diamond file. A blunt electrode will scatter the spark and cause wide, messy welds.
- Position and Shield: Place the chain flat on a leather welding pad. Turn on your argon gas and wait 3 seconds for the air in the hose to purge. Put on your shade 5 auto-darkening welding glasses.
- The Pulse: Set your welder to a low energy setting (around 15-20 watts/seconds for 1.2mm chain). Touch the tungsten needle directly to the seam of the jump ring and press the foot pedal. You will see a bright flash and hear a sharp "snap."