How to Choose and Apply Jewelry Making Glue for Strong Bonds
Learn how to select and apply the right jewelry making glue for metal, glass, and porous stones with our step-by-step bonding guide for lasting wear.

The Chemistry of Adhesion: Why One Glue Doesn't Fit All
There is nothing more frustrating in DIY jewelry design than watching a carefully wire-wrapped pendant or a meticulously knotted pearl bracelet fall apart after a few wears. The culprit is almost always an adhesive mismatch. In 2026, the market is flooded with specialized adhesives, yet many beginners still rely on generic cyanoacrylate (super glue) for every task. This is a critical error. Adhesives are formulated with specific chemical bases—solvent, polyurethane, epoxy, or cyanoacrylate—each reacting differently to shear stress, peel force, and environmental humidity.
According to materials testing data from leading jewelry supply authorities, a flexible solvent-based adhesive offers high peel strength but low shear strength, making it ideal for cords but disastrous for heavy metal-to-metal bonds. Conversely, a rigid two-part epoxy provides immense shear strength but will shatter under the flexible tension of a silk cord. Understanding these chemical properties is the first step toward creating heirloom-quality DIY jewelry that survives daily wear.
Step-by-Step Surface Preparation (The Secret to a Permanent Bond)
Even the most expensive, professional-grade jewelry making glue will fail if applied to a contaminated surface. Finger oils, oxidized metal layers, and microscopic dust act as a barrier, preventing the adhesive from penetrating the substrate. Proper surface preparation accounts for roughly 80% of a bond's ultimate holding power.
For non-porous metals like sterling silver, brass, and copper, mechanical and chemical preparation is required. First, lightly score the inside of your bezel cup or pendant tray with 400-grit sandpaper. This creates microscopic grooves that increase the surface area for a mechanical lock. Next, clean the area using 99% isopropyl alcohol (IPA). Avoid 70% IPA, as the 30% water content can cause flash rusting on ferrous metals and weaken the adhesive cure. For porous gemstones like turquoise, opal, or pearls, never use acetone or harsh solvents, as they can strip the stone's natural oils or damage its polish. The Gemological Institute of America (GIA) strictly recommends mild, non-chemical cleaning methods for porous organics and delicate gems to preserve their structural integrity.
The 2026 Jewelry Making Glue Comparison Matrix
Selecting the correct adhesive requires matching the glue's physical properties to your specific materials. Use the matrix below to identify the optimal jewelry making glue for your current project.
| Adhesive Type | Brand Example | Best Application | Full Cure Time | Strength Profile |
|---|---|---|---|---|
| Two-Part Epoxy | Devcon 5-Minute | Heavy cabochons, metal-to-metal, glass | 24 Hours | High Shear, Rigid |
| Flexible Solvent | E6000 Jewelry & Bead | Flatbacks, leather, flexible bezels | 48-72 Hours | High Peel, Flexible |
| Precision Liquid | G-S Hypo Cement | Silk knots, elastic cords, tiny seams | 24 Hours | Low Viscosity, Wicking |
| Cyanoacrylate (CA) | Zap-A-Gap CA+ | Rigid non-porous repairs, jump rings | 24 Hours | High Tensile, Brittle |
| Water-Based Acrylic | Jewel Bond | Foil-backed rhinestones, porous stones | 24 Hours | Medium Peel, Non-Frosting |
How to Apply Jewelry Making Glue: 3 Specific Scenarios
Scenario 1: Bonding Cabochons to Metal Bezels (Epoxy vs. Flexible)
When setting a heavy glass or stone cabochon into a deep metal bezel cup, a two-part epoxy like Devcon is your best choice. Mix equal parts resin and hardener on a disposable palette using a wooden toothpick. Apply a small, concentrated drop to the center of the bezel cup, not the edges. When you press the cabochon down, the adhesive will naturally spread outward, preventing messy squeeze-out over the bezel walls. Secure the stone with low-tack painter's tape across the bezel to apply even, downward pressure while the epoxy reaches its initial set (usually 5 to 10 minutes). Allow a full 24 hours at room temperature (70°F/21°C) for the cross-linking polymerization to complete. Note that Eclectic Products notes that solvent-based glues like E6000 require up to 72 hours to achieve maximum tensile strength, making epoxy much faster for production workflows.
Scenario 2: Securing Knots on Silk and Elastic Cords
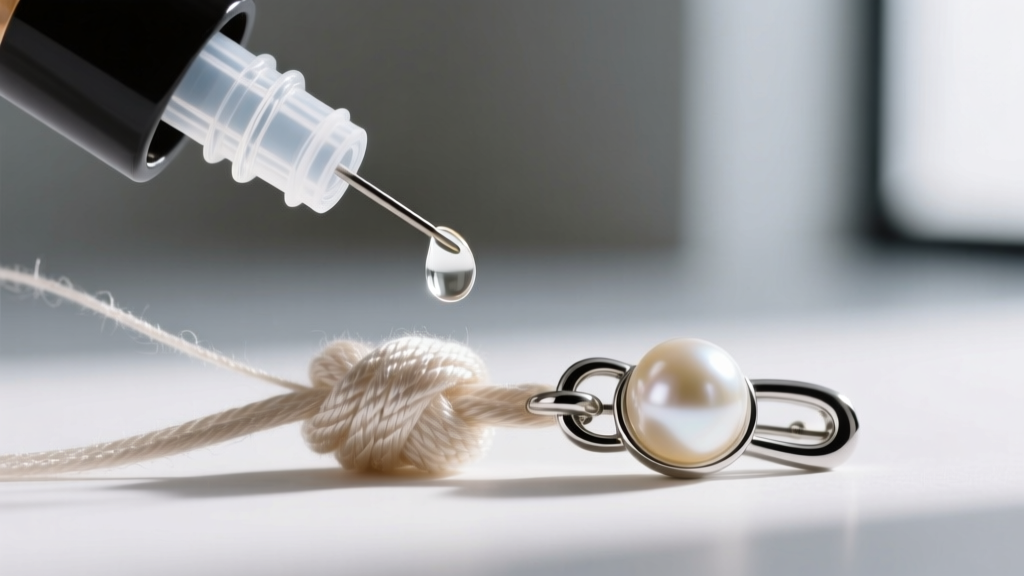
Knotting pearls or gemstone beads on silk thread requires an adhesive that will not embrittle the organic fibers. Standard super glue will crystallize and cut through silk over time. Instead, use a precision applicator like G-S Hypo Cement. After tying your surgeon's knot or square knot near the clasp, touch the needle-tip of the cement bottle directly to the knot. Capillary action will wick the low-viscosity liquid deep into the threads without leaving a visible, hardened glob on the outside. Trim the excess thread only after the glue has dried to a tacky state (about 10 minutes) to prevent the knot from unraveling.
Scenario 3: Attaching Rhinestones to Porous Surfaces
Applying crystal rhinestones to leather, suede, or unsealed wood presents a unique challenge. Cyanoacrylate (super glue) undergoes a rapid exothermic reaction when it contacts porous materials, releasing vapors that cause a white, powdery residue known as "frosting." This frosting will permanently ruin the reflective foil backing of your rhinestones. To avoid this, use a water-based acrylic adhesive like Jewel Bond. Apply a thin, even layer to the porous surface using a silicone-tip brush, wait 30 seconds for it to become tacky, and then place your rhinestones using a wax-tipped stylus. The water base prevents chemical frosting while providing a surprisingly durable, flexible hold.
Troubleshooting Common Adhesive Failures
Even experienced jewelers encounter bonding failures. Here is how to diagnose and fix the most common issues:
- The "Peeling" Cabochon: If a stone pops out of a bezel with the glue still attached to the stone but not the metal, you have a surface prep failure. The metal was likely oxidized or oily. Always sand and degrease with 99% IPA before gluing.
- Brittle Cord Snaps: If your elastic or silk cord snaps exactly at the glue joint, you used a rigid adhesive (like CA glue) on a flexible material. Switch to a flexible polyurethane or a dedicated jewelry cement that moves with the fabric.
- Cloudy Gemstones: If your turquoise or opal looks cloudy after gluing, solvent vapors from E6000 or CA glue have penetrated the stone's micro-fractures. Always use water-based adhesives or mechanical settings (like prongs) for highly porous, untreated gems.
- Adhesive Squeeze-Out: If glue oozes out from under a flatback crystal, you are applying too much. Use a syringe with a 20-gauge blunt tip to dispense microscopic, controlled drops.
Safety and Ventilation Best Practices
Working with industrial-strength jewelry making glue requires strict adherence to safety protocols. Solvent-based adhesives emit volatile organic compounds (VOCs) that can cause respiratory irritation and dizziness. Always work in a well-ventilated room or use a localized fume extractor positioned near your bench. Wear nitrile gloves to prevent skin contact; cyanoacrylate bonds to the moisture in your skin instantly and can cause severe tissue tearing if pulled apart. Keep a bottle of cyanoacrylate debonder and a bottle of mineral oil on your bench at all times to safely dissolve accidental skin bonds. By respecting the chemistry of your adhesives and preparing your materials with precision, your DIY jewelry will remain secure, beautiful, and wearable for years to come.


