How to Make a Box for Jewelry: 2026 Material Guide
Learn how to make a box for jewelry with our 2026 supply guide. Discover the best woods, acrylics, anti-tarnish linings, and precision hardware.

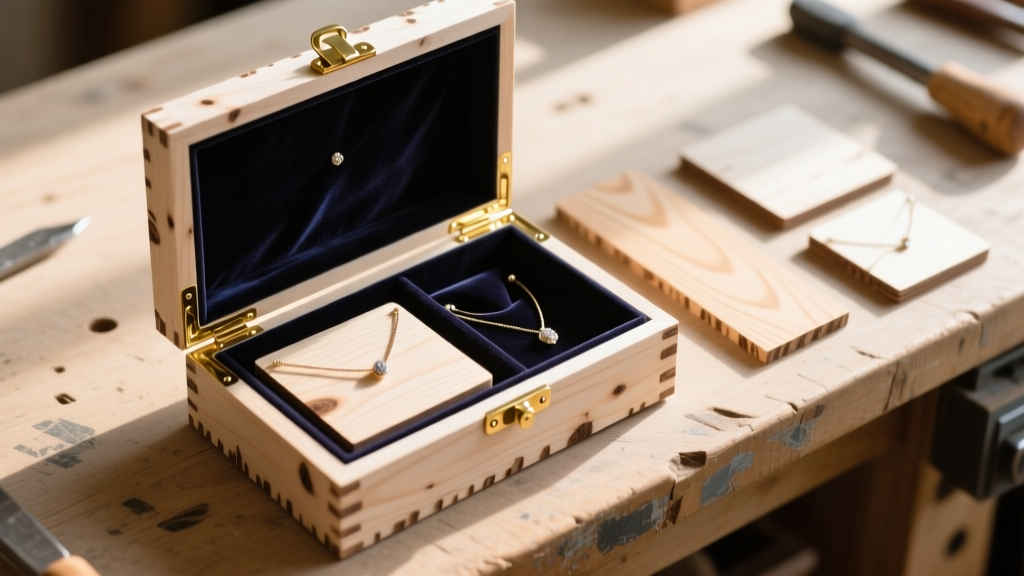
When learning how to make a box for jewelry, most beginners focus entirely on the assembly process, only to realize that the quality of the final piece is entirely dictated by the materials sourced before the first cut is made. A beautifully constructed box will fail if the wood warps, the hardware corrodes, or the interior lining accelerates tarnishing. In 2026, the DIY jewelry packaging landscape has evolved, offering makers access to archival-quality fabrics and precision laser-cut materials that were once reserved for commercial manufacturers.
This comprehensive buying guide strips away the fluff and focuses strictly on procurement. We will break down exactly what to look for when purchasing structural materials, hinges, adhesives, and linings, ensuring your handmade jewelry boxes meet professional retail standards.
Core Structural Materials: Wood vs. Acrylic vs. MDF
The foundation of your box dictates its weight, durability, and finishing potential. While Medium-Density Fiberboard (MDF) is cheap and readily available at big-box stores, it is highly susceptible to moisture swelling and lacks the edge-grain beauty required for fine jewelry presentation. Instead, professional makers rely on two primary materials: graded plywood and cast acrylic.
Baltic Birch Plywood (B/BB Grade)
For wooden boxes, you must seek out Baltic Birch plywood, specifically graded as B/BB. The 'B' face is virtually free of knots and patches, making it ideal for exterior staining or clear-coating, while the 'BB' back allows for minor patches. Avoid standard construction plywood, which contains voids in the inner plies that will cause catastrophic blowouts when routing hinge mortises.
- Optimal Thickness: 1/8-inch (3mm) for delicate ring boxes; 1/4-inch (6mm) for larger necklace chests.
- Core: Ensure it is 100% birch core, not a poplar or MDF core disguised with a birch veneer.
Cast vs. Extruded Acrylic
If you are designing modern, transparent, or layered jewelry boxes, acrylic is the standard. However, you must buy cast acrylic (often sold under the Plexiglas brand) rather than extruded acrylic. Cast acrylic has a uniform molecular structure that cuts cleanly with a laser and flame-polishes beautifully. Extruded acrylic will melt, gum up router bits, and leave a frosted, ugly edge when laser-cut.
| Material | Grade/Type | Best Thickness | Est. Price (per sq ft) | Primary Failure Mode |
|---|---|---|---|---|
| Baltic Birch | B/BB Face | 3mm or 6mm | $8 - $14 | Delamination if exposed to high humidity |
| Cast Acrylic | Cell Cast | 1/4" (6mm) | $12 - $18 | Cracking during drilling if bits are dull |
| MDF | Standard | 1/4" (6mm) | $3 - $5 | Edge swelling when using PVA wood glues |
Sourcing the Right Hardware: Hinges and Clasps
Hardware is where DIY boxes most often betray their amateur origins. Sourcing the right hinges requires understanding both metallurgy and scale. According to experts at Fine Woodworking, undersized hinges will strip their screw holes within a few uses due to the repetitive torque of opening a lid.
Butt Hinges vs. Continuous Hinges
For small ring or earring boxes (under 6 inches wide), use solid brass butt hinges measuring 1/2-inch or 3/4-inch in length. Brands like Brusso manufacture precision-machined brass hinges with steel pins, offering a friction-fit that holds the lid open at 90 degrees without slamming. Avoid stamped steel hinges plated in brass; the plating will wear off, and the steel will rust, staining your interior lining.
Screw Selection
Never use the screws that come packaged with cheap hardware store hinges. They are often made of soft, brittle metal. Purchase steel or stainless steel wood screws (typically #2 or #3 size for small boxes) with a flat-head Phillips or slotted drive. Always pre-drill your pilot holes using a bit that matches the root diameter of the screw to prevent splitting the 3mm birch plywood.
Interior Linings: Selecting Archival-Quality Fabrics
The interior environment of a jewelry box is critical. Standard craft velvet and cheap felts often contain sulfur compounds or acidic dyes that actively accelerate the tarnishing of sterling silver and copper. When researching how to make a box for jewelry that protects the contents, you must source specialized archival textiles.
Pacific Silvercloth and Anti-Tarnish Flannel
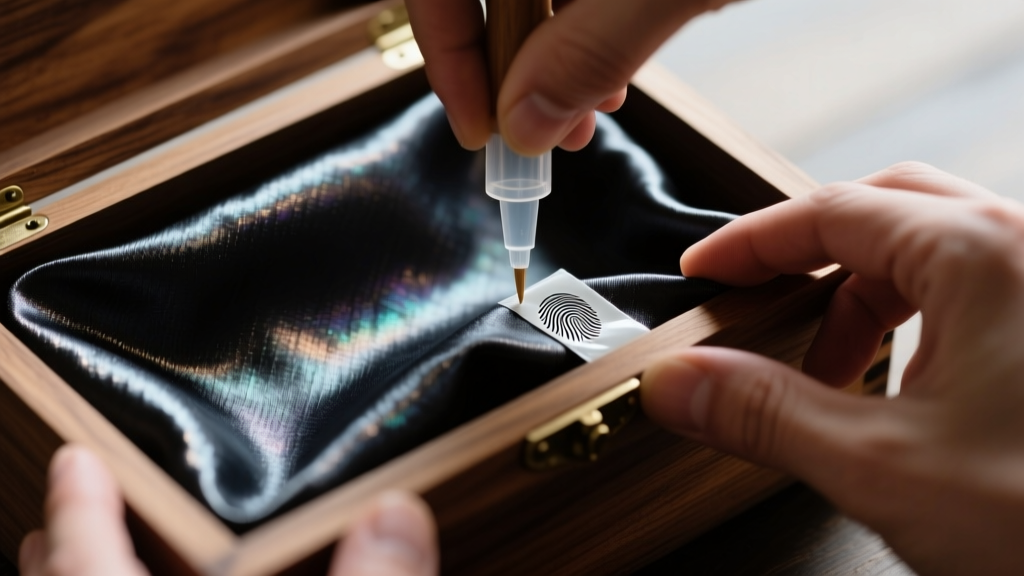
The gold standard for jewelry box lining is Pacific Silvercloth. This fabric is embedded with microscopic silver particles that absorb tarnishing gases (like hydrogen sulfide) before they can reach the jewelry stored inside. While it is more expensive than standard velvet (averaging $15 to $25 per yard), it is a non-negotiable upgrade for high-end custom boxes.
For a more budget-friendly but still safe option, look for 100% cotton flannel that is explicitly labeled as 'acid-free' or 'archival.' Avoid synthetic polyesters, which can generate static electricity and attract dust to polished gemstones.
Adhesives for Fabric Application
Applying the lining requires an adhesive that will not bleed through the fabric or off-gas corrosive chemicals. According to packaging guidelines from Rio Grande, jewelry storage environments must remain chemically stable.
- 3M Super 77 Multipurpose Adhesive: Excellent for large, flat areas. Apply a light, even mist to the wood, wait 60 seconds for it to become tacky, and press the fabric down.
- Archival Double-Sided Tape: The safest method for delicate Silvercloth. Use 1/4-inch wide acid-free scrapbooking tape around the perimeter of the insert panels to avoid any liquid adhesive bleed-through.
- Avoid: Standard PVA (white school glue) or hot glue, which create lumpy ridges and can trap moisture against the wood.
Essential Tools for Precision Box Making
Beyond the materials, achieving seamless 45-degree miter joints requires specific tooling. While a manual miter box and a flush-cutting saw can work for thick stock, the modern DIY maker should consider desktop fabrication tools.
Laser Cutting vs. CNC Routing
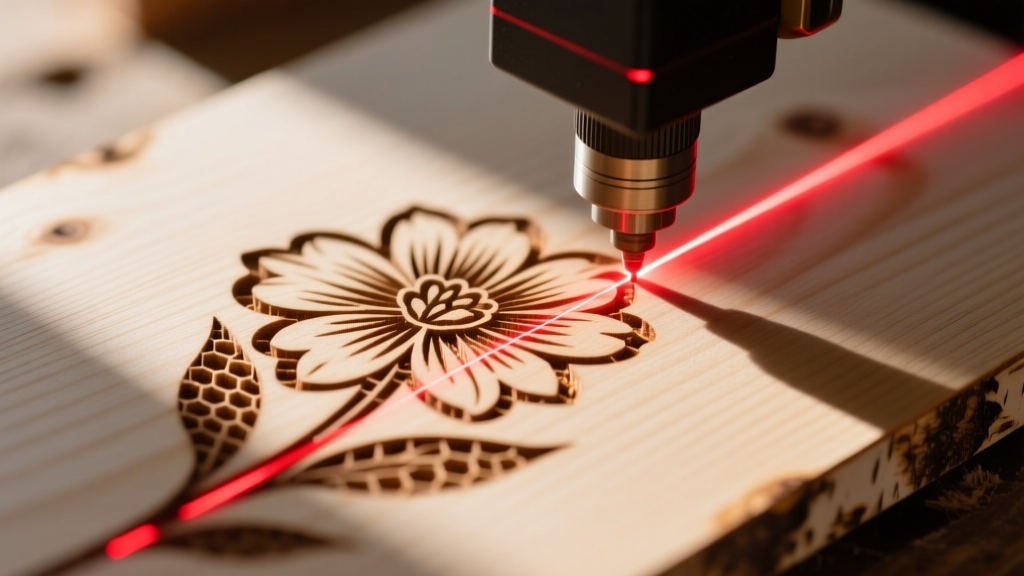
If you are working with 3mm Baltic Birch or cast acrylic, a desktop CO2 laser cutter (such as those from OMTech Laser or Glowforge) is the ultimate procurement investment. A laser guarantees perfectly square edges and can engrave custom velvet inserts or brand logos into the wood before assembly. When buying a laser, ensure it has at least a 40W CO2 tube to cut 6mm wood in a single pass without excessive charring.
Sanding and Finishing Supplies
Do not skip the finishing abrasives. To achieve a glass-smooth finish on Baltic Birch that is ready for a hardwax oil or shellac, you must progress through specific grits:
- 120 Grit: Remove machine marks and level the joints.
- 220 Grit: Smooth the surface and open the wood pores.
- 400 Grit: Final polishing before applying a finish like Osmo Polyx Oil or Zinsser dewaxed shellac.
Pro-Tip for Batch Procurement: When ordering Baltic Birch and brass hardware, always buy 20% more material than your CAD designs require. Wood has natural internal tensions, and acrylic can harbor hidden stress fractures. Having backup blanks ensures you aren't stalled waiting on shipping for a single replacement side panel.
Final Procurement Checklist
Before you begin cutting, verify your inventory against this professional checklist:
- B/BB Grade Baltic Birch (3mm or 6mm) or Cast Acrylic
- Solid Brass Butt Hinges (1/2" or 3/4") with steel pins
- #2 or #3 Steel wood screws (flat head)
- Pacific Silvercloth or Acid-Free Cotton Flannel
- 3M Super 77 Spray Adhesive or Archival Double-Sided Tape
- Titebond III (for wood joints) or Cyanoacrylate with accelerator (for acrylic)
- Sanding discs (120, 220, and 400 grit)
By prioritizing material integrity over hasty assembly, your answer to how to make a box for jewelry transforms from a simple craft project into a masterclass in functional, archival-quality design. Sourcing the right supplies is the true hallmark of a professional jeweler and box maker.


