Troubleshooting Bead Caps for Jewelry Making: Fit & Sizing Fixes
Solve common sizing, tarnishing, and fit issues with bead caps for jewelry making. Expert troubleshooting tips for flawless beaded designs.

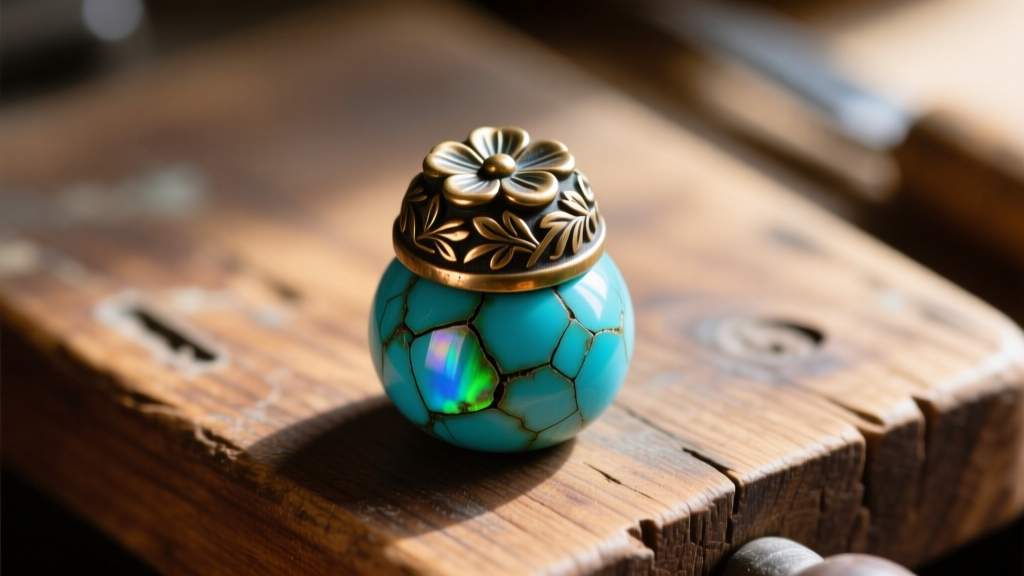
As of 2026, the DIY jewelry supply market has exploded with hyper-specific components, yet bead caps remain one of the most deceptively simple elements in a beader’s toolkit. While they are intended to elevate a basic strung bead into a professional-looking focal point, bead caps for jewelry making frequently become the source of structural failures, aesthetic imbalances, and material degradation. If you have ever experienced a cracked gemstone, a wobbling focal bead, or mysterious green tarnish creeping across your wire, the culprit is likely a poorly matched or improperly integrated bead cap.
This guide moves beyond basic stringing tutorials. We will dissect the metallurgical and mechanical failures associated with bead caps, providing exact caliper measurements, wire gauge mathematics, and material science principles to troubleshoot and resolve your most frustrating jewelry-making bottlenecks.
The Anatomy of a Bead Cap Failure
Before applying a fix, you must diagnose the exact failure mode. Bead cap issues generally fall into three distinct categories:
- Mechanical Sizing Mismatches: The cap is too large, causing the bead to rattle, or too small, creating an awkward visual 'lip' that catches on clothing.
- Material and Chemical Clashes: Dissimilar metals reacting to skin oils and humidity, leading to galvanic corrosion and irreversible tarnishing.
- Structural Stress Fractures: Sharp inner edges of stamped metal caps acting as micro-chisels against softer stone or glass beads during wire wrapping or crimping.
Understanding which of these three failure modes is occurring is the first step toward engineering a permanent solution.
Sizing Mismatches: The 1mm Rule and Caliper Calibration
The most pervasive myth in beginner beading is that an 8mm bead requires an 8mm bead cap. This 'flush fit' assumption is a primary cause of wobbling and wire stress. In reality, a bead cap must sit inside the equator of a round bead. If the cap’s diameter matches the bead’s diameter, it will only touch the bead at a single, fragile outer edge, leaving a hollow gap underneath that invites snagging and structural weakness.
To achieve a secure, professional seat, you must apply the 1mm to 1.5mm Gap Rule. The outer diameter of your bead cap should be 1mm to 1.5mm smaller than the diameter of your round bead. For precise troubleshooting, abandon the ruler and invest in digital calipers, such as the Mitutoyo 500-196-30 or a reliable budget alternative like Neiko. Measure the bead at its widest point, then measure the cap at its widest outer lip.
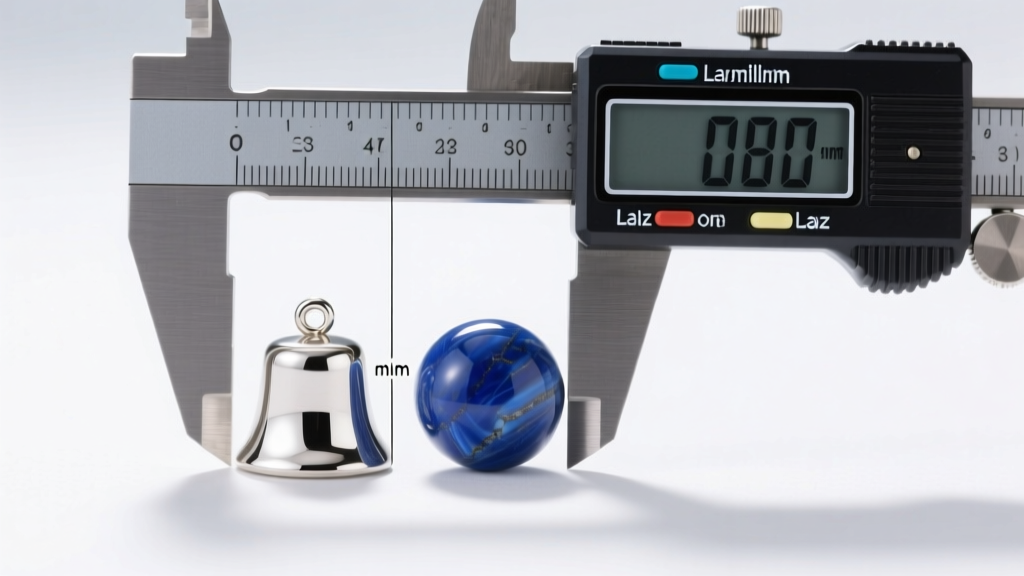
Standard Sizing Matrix for Round Beads
Use the following reference chart to troubleshoot your current inventory and prevent future sizing errors:
| Round Bead Diameter | Ideal Cap Outer Diameter | Maximum Cap Depth | Common Failure if Ignored |
|---|---|---|---|
| 6.0 mm | 4.5 mm - 5.0 mm | 2.5 mm | Cap covers too much of the focal bead, reducing visual impact. |
| 8.0 mm | 6.5 mm - 7.0 mm | 3.5 mm | Wobbling on the headpin; cap edges catch on adjacent spacer beads. |
| 10.0 mm | 8.0 mm - 8.5 mm | 4.0 mm | Gap too wide; wire becomes visible and prone to kinking. |
| 12.0 mm | 10.0 mm - 10.5 mm | 5.0 mm | Heavy caps pull the bead off-center, ruining the drape of the necklace. |
Note: For faceted or briolette beads, measure the distance between the flat planes where the cap will rest, not the point-to-point diameter.
Material Clashes: Tarnishing and Galvanic Corrosion
If your jewelry looks pristine on the workbench but develops a crusty green or black residue after a few days of wear, you are likely dealing with galvanic corrosion. This occurs when two dissimilar metals—such as a copper-alloy base metal bead cap and a sterling silver bead—are in direct physical contact in the presence of an electrolyte (like human sweat or high humidity).
According to the metallurgical guidelines provided by Rio Grande, the further apart two metals are on the galvanic series, the faster the less noble metal (usually the base metal cap) will corrode to protect the more noble metal (the silver or gold bead).
Troubleshooting Metal Pairings
To solve this, you must audit your material pairings. Here is how to troubleshoot common cap materials:
- Gold-Plated Brass Caps with Sterling Silver: High risk. Once the microscopic gold plating wears off at the friction point, the exposed brass will rapidly corrode against the silver. Fix: Use solid gold-filled caps or apply a micro-thin coat of clear jewelry sealant (like ProtectaClear) to the inner lip of the cap.
- Raw Copper Caps with Turquoise or Lapis: Copper oxidizes quickly and the resulting copper salts can permanently stain porous, untreated gemstones. Fix: Always tumble raw copper caps with stainless steel shot to burnish the surface and seal the pores, or use a liver of sulfur patina to stabilize the metal before stringing.
- Nickel-Silver (Alpaca) Caps: Despite the name, these contain no silver and are primarily copper, zinc, and nickel. They are notorious for causing contact dermatitis and rapid green tarnishing. Fix: Discard these for wearable jewelry and replace them with solid brass or bronze alternatives.
Structural Failures: Cracking Beads and Wire Slippage
When a bead cracks during the wire-wrapping or crimping process, or when the bead cap refuses to sit flush against the wrapped loop, the issue is almost always rooted in improper tooling or ignoring the physics of wire gauges.
The Cracking Conundrum: Stamped vs. Cast Caps
Most inexpensive bead caps are die-stamped from flat sheets of metal. This manufacturing process leaves a microscopic, razor-sharp burr on the inner lip of the cap. When you apply tension to a headpin or pull a crimp tight, this sharp lip acts as a wedge, driving into the drill hole of your bead. Soft stones like opal, turquoise, and apatite, as well as lampwork glass, will easily fracture under this localized pressure.
Expert Fix: If you must use stamped caps, run a 0.8mm cup bur or a diamond-coated bead reamer gently around the inner edge of the cap to remove the burr. Alternatively, upgrade to sand-cast or 3D-printed resin-cast bead caps, which naturally feature rounded, smooth inner lips that distribute pressure evenly across the bead's surface.
Wire Slippage and Headpin Gauges
Wire slippage occurs when the hole in the bead cap is significantly larger than the gauge of the wire you are using. For example, a standard filigree bead cap might have a 1.5mm center hole. If you are using a 24-gauge headpin (which is only 0.51mm thick), the cap will slide awkwardly, fail to sit flush against your wrapped loop, and create a visually 'messy' transition.
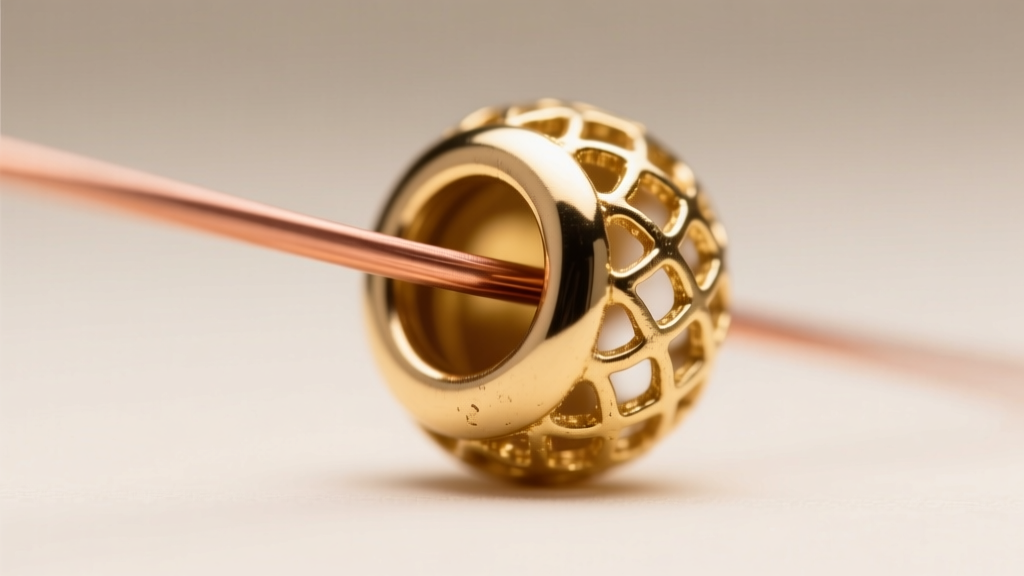
To troubleshoot this, consult a standard wire gauge chart, such as the comprehensive guides available at Fire Mountain Gems. You have two primary solutions for wire slippage:
- Step Up Your Wire Gauge: Switch from a 24-gauge (0.51mm) to a 22-gauge (0.64mm) or 20-gauge (0.81mm) headpin. Thicker wire provides a more rigid spine and fills the visual void of a large cap hole.
- Introduce a Micro-Spacer: If your bead's drill hole is too small to accommodate a thicker wire, keep the 24-gauge headpin but thread a 1.5mm seamless metal rondelle or a tiny seed bead between the bead cap and the wrapped loop. This 'shim' bridges the gap, providing a flat surface for the cap to rest against without slipping over the wire's neck.
Aesthetic Troubleshooting: Proportions and Visual Weight
Sometimes a bead cap fits perfectly and causes no structural damage, but the design simply looks 'wrong.' This is an issue of visual weight and proportion. A heavy, solid brass bell cap will visually drag down a delicate, translucent quartz briolette, making the piece look bottom-heavy and unbalanced.
Conversely, a highly intricate, lacy filigree cap paired with a rustic, unpolished turquoise nugget creates a stylistic dissonance. To troubleshoot aesthetic failures, apply the Opacity Matching Rule:
- Pair solid, opaque caps (like bell caps or solid metal cones) with opaque, highly polished, or metallic focal beads.
- Pair filigree or openwork caps with translucent, faceted, or highly textured organic beads. The negative space in the filigree allows light to pass through, maintaining the ethereal quality of stones like moonstone, aquamarine, or carved glass.
Summary Checklist for Flawless Integration
Before finalizing your next jewelry design, run your components through this rapid troubleshooting checklist to ensure professional-grade results:
- [ ] Caliper Check: Is the cap diameter exactly 1mm to 1.5mm smaller than the bead diameter?
- [ ] Galvanic Audit: Are the cap and bead metals compatible, or is a sealant required to prevent corrosion?
- [ ] Burr Inspection: Has the inner lip of the stamped cap been smoothed to prevent stone fracture?
- [ ] Gauge Matching: Is the headpin gauge thick enough to prevent slippage through the cap's center hole?
- [ ] Opacity Balance: Does the visual weight and light-transmission of the cap complement the focal bead?
By treating bead caps for jewelry making not as mere afterthoughts, but as critical structural and aesthetic components, you will instantly elevate the durability and professional finish of your handmade collections. Precision in the smallest details is what separates amateur crafting from master-level jewelry design.


