Master Stringing and Crimping for Durable DIY Bead Jewelry
Learn how to choose the right beading wire and master crimping techniques to create professional, durable DIY bead jewelry that won't break.

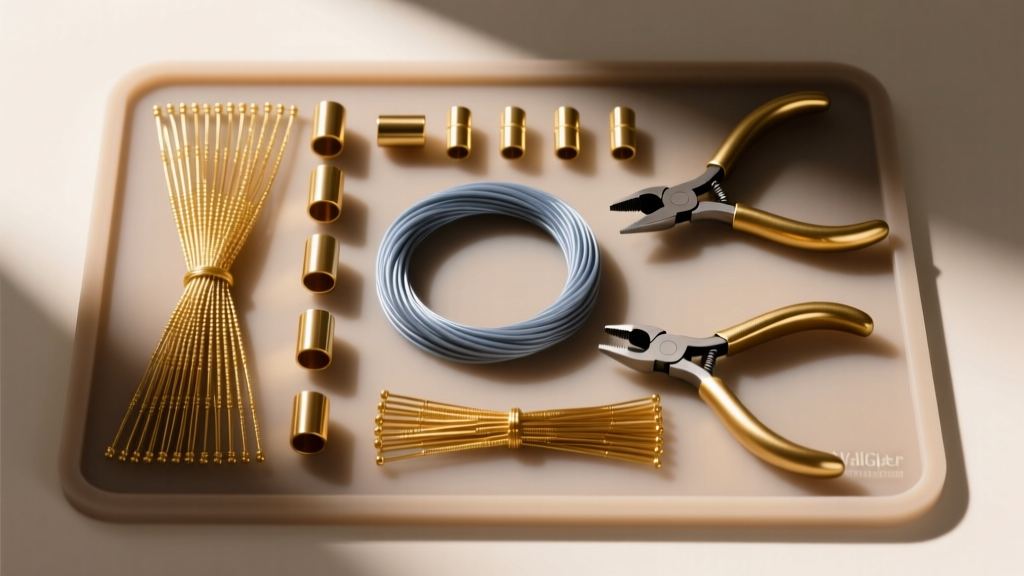
When you first transition from simple elastic cord to professional stringing materials, the learning curve can feel steep. However, mastering the mechanics of wire stringing and crimping is the single most important skill for creating high-quality, durable diy bead jewelry. A beautifully designed necklace or bracelet will quickly become unwearable if the stringing material snaps or the crimp connection fails. In this comprehensive beginner-friendly explainer, we will decode the metallurgy of beading wires, break down the physics of a perfect crimp, and provide a troubleshooting framework to ensure your jewelry lasts for years.
Why Stringing Material Dictates Your Jewelry's Lifespan
Many beginners start their jewelry-making journey using polyurethane elastic cords or basic cotton threads. While these materials are fine for temporary projects or children's crafts, they are highly susceptible to UV degradation, sweat, and friction. By 2026, the industry standard for durable, professional-grade beaded jewelry is nylon-coated stainless steel wire. The stainless steel core provides immense tensile strength, while the nylon coating protects the metal from moisture and prevents it from abrading the delicate drill holes of gemstone and glass beads.
Cheap, unbranded wires often suffer from 'core separation,' where the nylon coating peels away from the steel core, leading to kinking and eventual snapping. Investing in reputable, US-manufactured brands like Soft Flex or Beadalon ensures consistent quality control and accurate tensile strength ratings.
Decoding Beading Wire: Strands, Gauges, and Tensile Strength
Beading wire is constructed by twisting multiple micro-strands of stainless steel together before encasing them in nylon. The number of strands directly impacts the wire's drape, flexibility, and kink-resistance. According to the Soft Flex Company, higher strand counts yield a softer, more fabric-like drape that mimics the behavior of thread.
| Strand Count | Flexibility & Drape | Kink Resistance | Best Use Case | Average Price (30ft Spool) |
|---|---|---|---|---|
| 7-Strand | Stiff, holds shape | Low (kinks easily) | Rigid structural pieces, beginner practice | $8 - $12 |
| 19-Strand | Moderate drape | Medium | Standard glass beads, lightweight gemstones | $14 - $18 |
| 49-Strand | Supple, thread-like | High (professional grade) | Heavy gemstones, pearls, high-end retail pieces | $22 - $30 |
Beyond strand count, you must select the correct diameter (gauge). A 0.012-inch wire is ideal for pearls and seed beads with microscopic drill holes. A 0.015-inch wire is the versatile workhorse for most standard glass and crystal beads. For heavy focal beads, turquoise, or large lampwork beads, step up to a 0.018-inch or 0.024-inch wire to prevent the weight of the beads from sawing through the metal core over time.
The Anatomy of a Perfect Crimp Connection
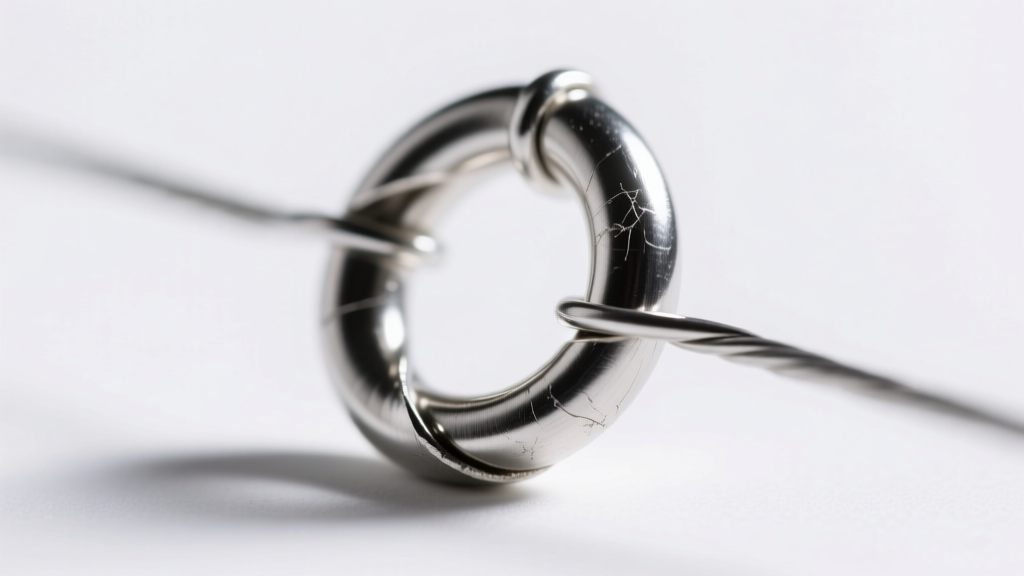
The crimp is the anchor of your jewelry. It is the mechanical lock that holds the clasp in place and maintains the tension of the entire piece. A common beginner mistake is treating a crimp like a simple bead that just needs to be squished flat with standard flat-nose pliers. This creates sharp, jagged metal edges that will eventually slice through the nylon coating of your wire.
Crimp Beads vs. Crimp Tubes: Which Should You Use?
While crimp beads (small, round metal spheres) are available, professional jewelers almost exclusively use crimp tubes. Tubes offer a larger surface area for the wire to pass through, reducing the chance of the metal splitting under pressure. Furthermore, tubes are designed to be folded and compressed using specialized micro-crimping pliers, resulting in a smooth, rounded finish that won't snag on clothing or scratch the wearer's skin.
Pro-Tip: Always match your crimp tube size to your wire diameter. A 2x2mm sterling silver tube is perfect for 0.015-inch and 0.018-inch wires. If you use a tube that is too large, the metal will fold unevenly and slip; if it is too small, you won't be able to pass the wire through it twice.
Step-by-Step: The Micro-Crimping Technique for Beginners
To achieve a professional finish, you need a pair of micro-crimping pliers (such as those made by Beadalon). These pliers feature two distinct notches: a U-shaped channel for the initial fold, and a rounded channel for the final compression.
- Thread the Wire: Pass your beading wire through the crimp tube, then through the jump ring or clasp loop, and finally back down through the same crimp tube.
- Adjust the Tail: Pull the wire snug, but leave a 1/8-inch to 1/4-inch tail extending past the tube. Do not pull it so tight that the beads are rigid; the jewelry needs a slight amount of flex to drape naturally.
- The First Squeeze (U-Channel): Place the crimp tube into the outer U-shaped notch of the pliers. Squeeze firmly. This separates the two wires inside the tube and folds the metal into a U-shape.
- The Second Squeeze (Round Channel): Rotate the folded crimp 90 degrees so the U-shape is facing up. Place it into the inner, rounded notch of the pliers (closest to the tip). Squeeze firmly to fold the U in on itself, creating a smooth, rounded bead.
- Trim the Tail: Use flush cutters to snip the remaining wire tail as close to the crimp as possible, or thread the tail through the first few beads of your design before trimming for added security.
Common Beginner Failure Modes and How to Fix Them
Even with the right tools, beginners often encounter structural issues. The Fire Mountain Gems Jewelry-Making Resources database highlights several common failure modes in stringing:
- The Crimp Slips: Cause: The crimp tube is too large for the wire diameter, or the pliers didn't compress the metal fully. Fix: Switch to a smaller tube (e.g., 1.5x2mm) or ensure you are squeezing with the base of the plier jaws for maximum leverage.
- Wire Cuts Through the Crimp: Cause: Using flat-nose pliers instead of crimping pliers, leaving a sharp, razor-like edge on the folded metal. Fix: Always use the two-step micro-crimping method to round off the edges.
- Stiff, Unnatural Drape: Cause: Pulling the wire too tight before crimping, or placing the crimp flush against the clasp with no breathing room. Fix: Leave a tiny gap (about 1mm) between the crimp and the clasp loop to allow the jump ring to pivot freely.
Finishing Touches: Hiding the Crimp
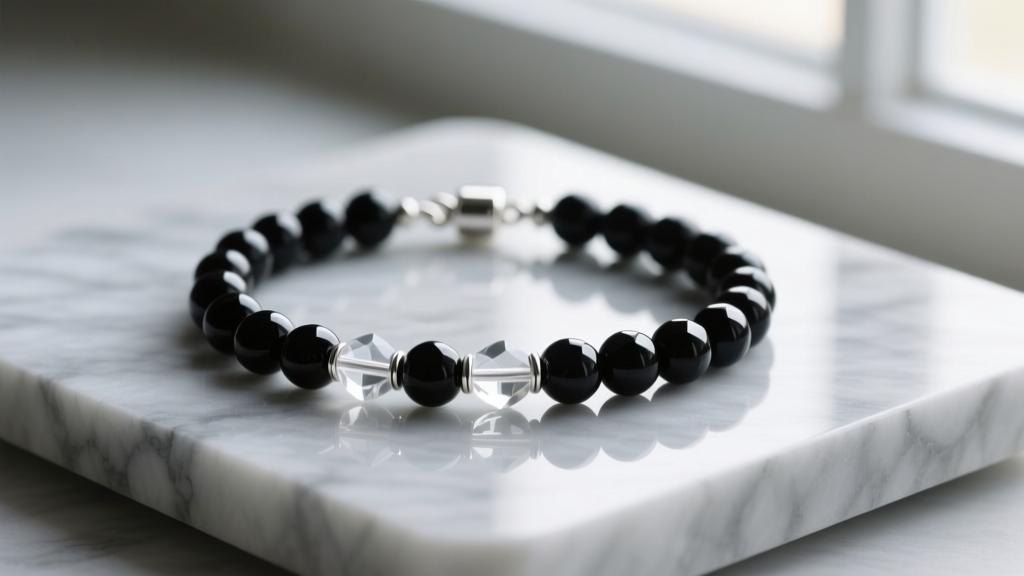
While a perfectly executed crimp is neat, it still looks like a mechanical component. To elevate your diy bead jewelry to a retail-ready standard, use a crimp cover. These are small, hollow metal beads (usually 3mm or 4mm) with an open seam. You simply place the cover over the folded crimp tube and gently squeeze it shut with chain-nose pliers or nylon-jaw pliers. The result is a seamless, round metal bead that perfectly mimics the surrounding gemstones, hiding the structural mechanics entirely.
Sourcing Quality Components on a Budget
When sourcing materials for your projects, avoid buying bulk, unbranded crimp tubes from discount marketplaces. Base-metal plated tubes are often brittle and will crack or shatter when subjected to the pressure of crimping pliers. Instead, invest in sterling silver or pure copper crimp tubes. These metals are inherently softer and more malleable, allowing them to fold smoothly without fracturing. A pack of 50 sterling silver 2x2mm tubes typically costs between $8 and $12, which is a negligible expense when you consider that each piece of jewelry only requires two tubes. By prioritizing high-strand-count wire and malleable crimp metals, you guarantee that your handmade jewelry will stand the test of time, wear, and tear.


