Making Jewelry Findings: Step-by-Step Ear Wires & Jump Rings
Learn the art of making jewelry findings from scratch. This step-by-step guide covers crafting custom ear wires and seamless jump rings with exact gauges.

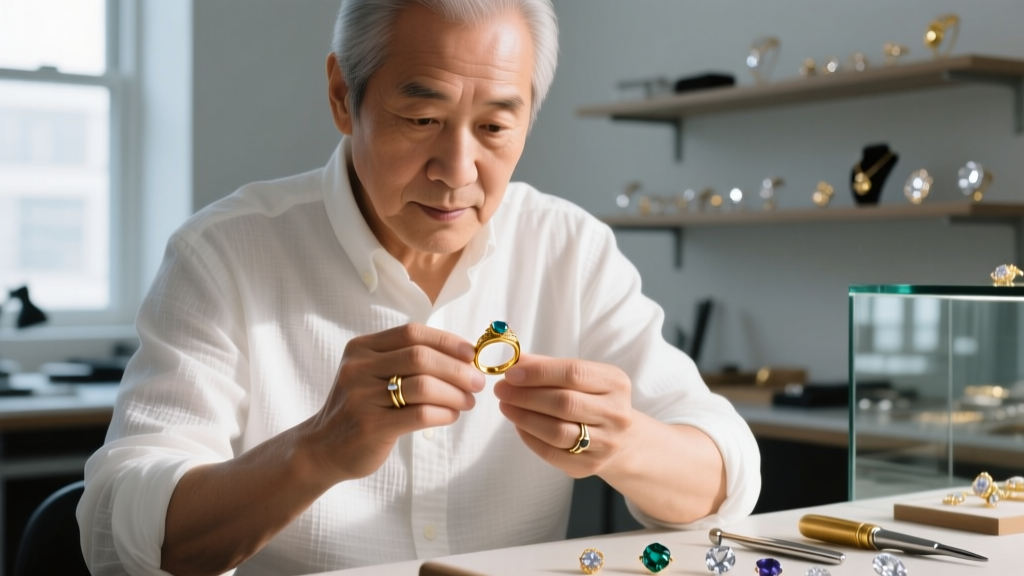
The Economics and Quality of In-House Findings
As precious metal markets continue to fluctuate in 2026, the cost of purchasing pre-manufactured components has surged. For serious independent jewelers and advanced hobbyists, making jewelry findings in-house is no longer just a stylistic choice; it is a critical business strategy. By sourcing raw wire spools, you bypass the manufacturing markup on basic components like French hooks and jump rings, often reducing your component costs by 60% to 80%.
Beyond economics, crafting your own findings guarantees absolute metallurgical integrity. When you buy bulk findings from unknown overseas suppliers, you risk receiving cadmium-laced alloys or silver-plated base metals mislabeled as sterling. By drawing your own wire from reputable refiners like Rio Grande or Halstead Bead, you ensure your finished pieces are genuinely hypoallergenic and hallmarked correctly.
Material Science: Choosing Wire Temper and Gauge
The most common point of failure for beginners making jewelry findings is ignoring wire temper. Wire is sold in three primary tempers: dead soft, half-hard, and full-hard. Understanding these is non-negotiable for structural integrity.
| Temper | Best Use Case | Structural Behavior |
|---|---|---|
| Dead Soft | Wire wrapping, weaving, bezel setting | Bends easily but lacks memory; will deform under the weight of heavy beads. |
| Half-Hard | Ear wires, jump rings, clasps, headpins | The gold standard for findings. Offers a balance of malleability for bending and spring-back to hold shape. |
| Full-Hard | Springs, tension clasps, structural armatures | Extremely stiff and brittle; difficult to bend without specialized heavy-duty pliers and high risk of snapping. |
For ear wires, 20-gauge half-hard wire is the industry standard. It is thick enough to support moderate weight but thin enough to pass comfortably through a standard ear piercing (which typically accommodates 20g to 18g). For jump rings, 18-gauge or 20-gauge half-hard wire is preferred, depending on the scale of your chainmaille or linkage designs.
Step-by-Step: Forging Custom French Hook Ear Wires
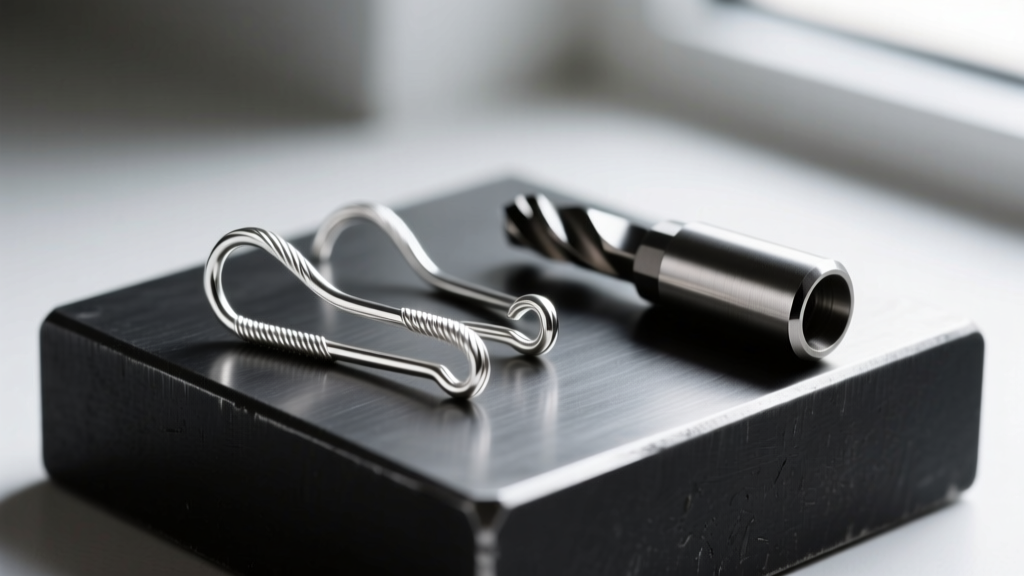
Step 1: Precision Cutting
Cut your 20-gauge half-hard wire into 2-inch (50mm) segments. You must use high-quality flush cutters, such as those made by Tronex or Lindstrom. Position the flat side of the cutter blades toward the part of the wire you intend to keep. This ensures a perfectly flat, flush cut on the working end, while the waste end gets the sharp 'pinch'.
Step 2: Shaping the Hook
Using a stepped steel mandrel or a wooden dowel (for a larger, more dramatic sweep), grip the very tip of your wire with round-nose pliers. Apply even, steady pressure to bend the wire around the mandrel, creating a smooth, continuous curve. Avoid using flat-nose pliers for this step, as they will introduce harsh, angular kinks that weaken the metal's crystalline structure.
Step 3: Forming the Top Loop
Switch to nylon jaw pliers to prevent marring the silver. At the opposite end of the wire, use your round-nose pliers to form a small, tight loop. This loop will eventually connect to your earring design via a jump ring. Ensure the loop is closed flush; an open loop will catch on hair and clothing.
Step 4: Filing and Smoothing
The end of the wire that enters the ear must be impeccably smooth. Use a cup burr mounted in a flex shaft or rotary tool at a low speed (around 5,000 RPM) with a drop of cutting fluid or water. Gently rotate the wire tip inside the cup burr until it forms a perfect, smooth hemisphere. Follow up with a fine-grit sanding sponge (600-grit) to polish the tip.
Step-by-Step: Coiling and Slicing Seamless Jump Rings
Jump rings are the unsung heroes of jewelry assembly. A poorly cut jump ring with sharp, pinched ends will scratch the wearer and fail to close seamlessly. Here is how to manufacture them flawlessly.
1. Mandrel Selection and Coiling
Select a steel mandrel that matches your desired inner diameter (ID). Remember that wire has 'spring-back'; an 18-gauge wire coiled on a 4mm mandrel will relax to an ID of roughly 4.2mm once released. Anchor the end of your half-hard wire in the mandrel's slit or with a piece of masking tape. Keeping the wire under strict, even tension, wrap it tightly around the mandrel until the coils are touching but not overlapping.
2. The Flush Cut Technique
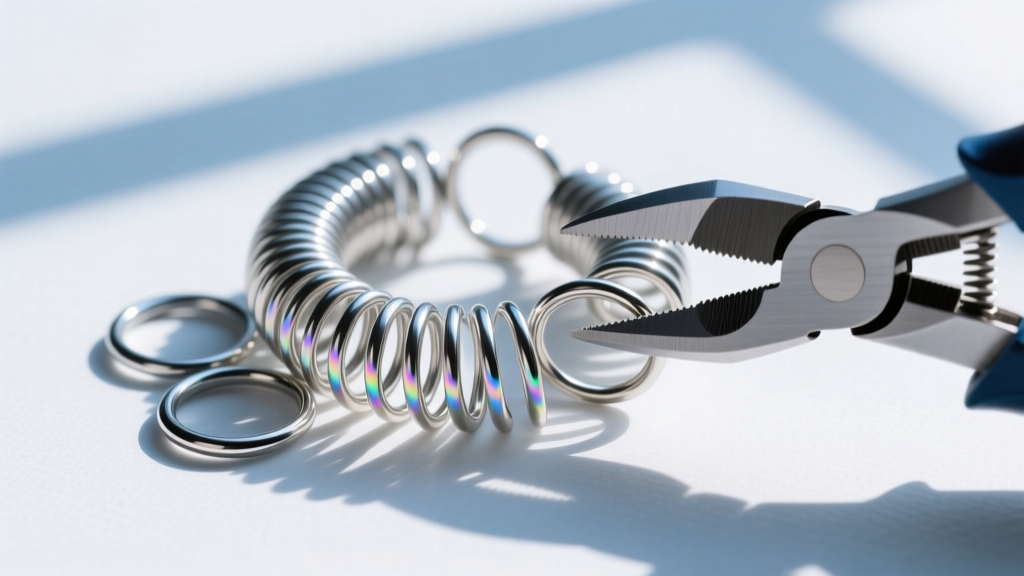
Slide the coil off the mandrel. You now have a metal spring. Using your flush cutters, slice through the coils one by one. Critical Technique: You must alternate the direction of your cutters for each slice. Cut the first ring with the flat blade facing up. For the next ring, flip the cutters so the flat blade faces down. This alternating method ensures that every single jump ring has two perfectly flat, parallel ends, allowing for an invisible seam when closed.
Work Hardening and Preventing Structural Failure
Even half-hard wire needs additional work hardening to withstand the daily abuse of being worn as jewelry. If you skip this step, your ear wires will slowly bend out of shape, and your jump rings will pull open under the weight of pendants.
- Rotary Tumbling: Place your finished findings in a rotary tumbler with stainless steel shot, a few drops of burnishing compound, and distilled water. Tumble for 45 to 60 minutes. The kinetic impact of the steel shot compresses the outer layer of the silver molecules, dramatically increasing surface hardness and adding a brilliant mirror polish.
- Hammer Hardening: For ear wires, place the curved hook section on a polished steel bench block and gently strike it with a rawhide or polished planishing hammer. This flattens the wire slightly, adding an elegant forged look while stiffening the hook so it retains its shape.
Troubleshooting Common Finding Failures
When making jewelry findings, diagnosing failures quickly saves time and precious metals. Refer to this diagnostic framework:
- Failure Mode: Ear wire snaps at the bend.
Cause: You used dead-soft wire and overworked it, or you used full-hard wire and bent it too sharply without annealing. Fix: Stick strictly to half-hard temper and use smooth, rounded mandrels. - Failure Mode: Jump rings pull open easily.
Cause: The wire gauge is too thin for the ring diameter, or the rings were not work-hardened. Fix: Decrease the inner diameter or increase the wire gauge (e.g., move from 20g to 18g). Always tumble. - Failure Mode: Ear wires irritate the wearer's skin.
Cause: Micro-burrs left from cutting, or copper-rich sterling silver oxidizing in the ear. Fix: Upgrade to Argentium silver or pure Niobium wire, and never skip the cup-burr filing step.
Conclusion
Mastering the art of making jewelry findings elevates your craft from simple assembly to true metalsmithing. By controlling your materials, understanding wire temper, and executing precise cutting and finishing techniques, you create components that are structurally superior and economically advantageous. Invest in quality flush cutters, respect the metallurgy of your wire, and your custom findings will seamlessly support your most ambitious jewelry designs.


