Fixing Failed Making Jewelry Ideas: Wire & Bead Troubleshooting
Troubleshoot making jewelry ideas with expert fixes for wire breakage, bead tension, and jump ring gaping. Save your DIY jewelry projects today.
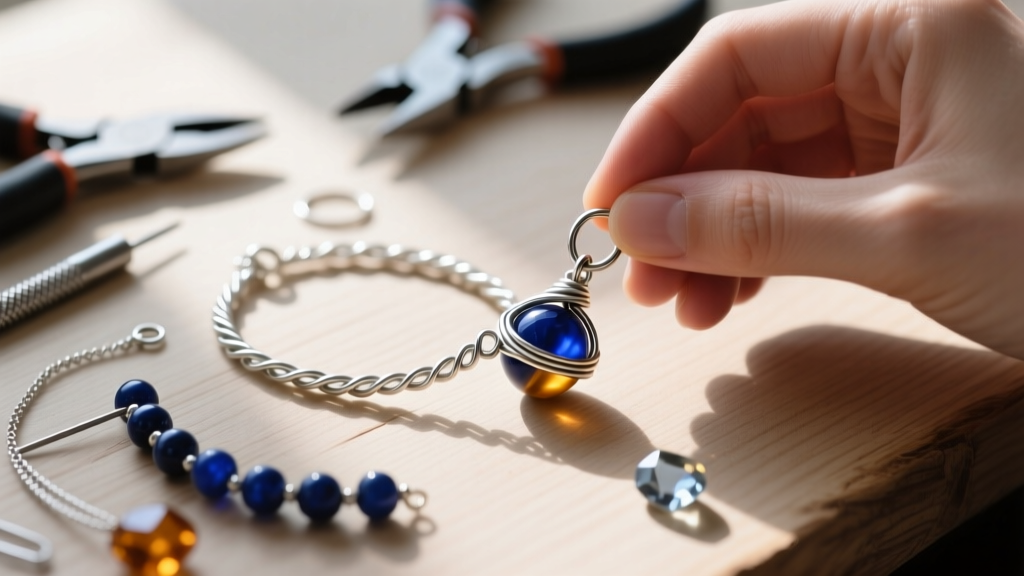

The Reality Check: Why Your First Prototypes Snap and Tangle
Browsing social media for making jewelry ideas is the easy part. You see perfectly wrapped briolettes, flawlessly strung gemstone necklaces, and seamless chainmaille bracelets. But when you sit down at your bench with a spool of wire and a bag of beads, reality often sets in. Wires snap, crimps slip, and jump rings gape open, dropping your hard work onto the floor. As a jewelry maker, your ability to troubleshoot these mechanical failures is what separates a frustrating hobby from a sustainable craft.
The gap between a beautiful concept and a wearable piece of jewelry comes down to applied metallurgy, material tension, and tool precision. In this guide, we are moving past basic tutorials to diagnose the exact reasons your making jewelry ideas are failing during the prototyping phase, providing actionable, bench-tested solutions to salvage your designs.
Wire Wrapping Failures: Temper, Gauge, and Work Hardening
Wire wrapping is notoriously unforgiving if you misunderstand the crystalline structure of your metals. The most common point of failure for beginners attempting complex making jewelry ideas is wire breakage at the stress points of a wrap or bail.
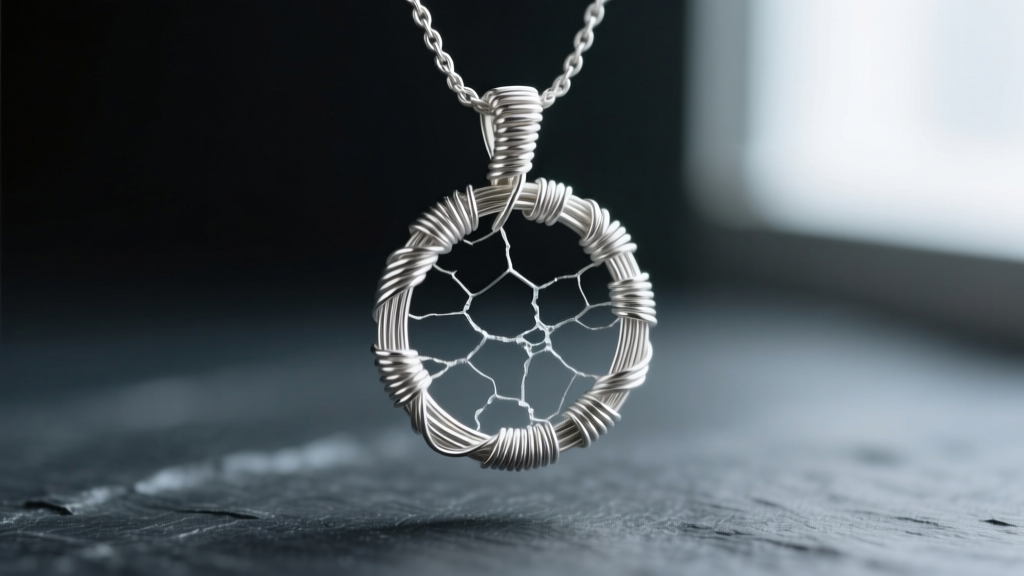
The 'Dead Soft' Trap
Many beginners purchase dead soft wire because it is easy to bend with bare hands. However, dead soft wire lacks the structural memory required for clasps, prongs, or ear wires. When you wrap a 24-gauge (0.51mm) dead soft wire around a briolette, it will conform beautifully, but it will also bend out of shape the moment the wearer touches it. Conversely, if you try to use 20-gauge (0.81mm) half-hard wire for a tight, multi-loop woven bail, the metal will work-harden rapidly. Every bend you make aligns the metal's crystal grains, increasing brittleness until the wire simply snaps.
Fixing Work-Hardened Breakage
If your wire is snapping mid-wrap, you are likely over-manipulating a half-hard wire or work-hardening a dead soft wire beyond its yield point. The solution is annealing. By heating sterling silver or copper wire with a butane torch until it glows a dull cherry red (around 1100°F or 593°C for sterling) and then quenching it in water, you relax the crystal lattice, returning the metal to a dead soft state. According to the metallurgical guides at Rio Grande, you can then strategically work-harden the wire again using a rawhide mallet or a nylon-jaw plier only at the structural anchor points, leaving the decorative wraps soft and pliable.
Wire Temper & Gauge Troubleshooting Matrix
| Wire Gauge | Ideal Temper | Common Failure Mode | The Expert Fix |
|---|---|---|---|
| 28g (0.32mm) | Dead Soft | Snaps when pulled through bead holes | Use as a secondary weaving wire only; never pull with pliers. |
| 24g (0.51mm) | Dead Soft / Half-Hard | Bail loops pull open under pendant weight | Switch to half-hard, or work-harden the loops with a chasing hammer. |
| 20g (0.81mm) | Half-Hard | Ear wires lose their shape; wire snaps on tight bends | Anneal before tight bends; tumbler-polish to work-harden post-bending. |
| 16g (1.29mm) | Half-Hard | Impossible to bend cleanly without marring | Use heavy-duty nylon jaw pliers; anneal for complex jump rings. |
Beading Tension Disasters: Crimps, Knots, and Stringing Materials
Nothing ruins a professional-looking necklace faster than sagging wire or a crimp tube that slips off, sending $200 worth of gemstones scattering across a hardwood floor. When executing making jewelry ideas that involve heavy stone beads, tension management is your primary engineering challenge.
Crimp Tube Implosions and Slippage
If your crimp tubes are crushing flat or sliding off the beading wire, you are likely mismatching the wire diameter to the crimp volume. A standard 2x2mm sterling silver crimp tube is designed to hold two passes of 0.015-inch (19-strand) beading wire. If you try to force two passes of heavy-duty 0.024-inch (49-strand) wire into that same tube, the metal will buckle and shear when compressed. Furthermore, using standard flat-nose pliers to crush a crimp tube creates a sharp, folded edge that acts like a guillotine, eventually slicing through the nylon coating of your stringing wire. You must use dedicated micro-crimping pliers to fold the tube into a secure, rounded 'C' shape, then compress it into a bead-like cylinder.
Silk vs. Synthetic Tension
For knotted pearl or turquoise necklaces, traditional silk thread stretches and rots over time due to skin oils and ambient humidity. The Beadalon Stringing Guide recommends transitioning to synthetic alternatives like Griffin Power Pro or high-tenacity nylon, which offer the drape of silk with the tensile strength of Kevlar. When knotting, always use a bead reamer to smooth the drill holes of your gemstones; a sharp drill hole will saw through even the strongest synthetic thread within weeks of wear.
Jump Ring Gaping and Clasp Misalignment
Jump rings are the unsung heroes of jewelry making, connecting your beautiful focal pieces to their chains. Yet, improperly opened jump rings are the number one cause of lost pendants and broken bracelets.
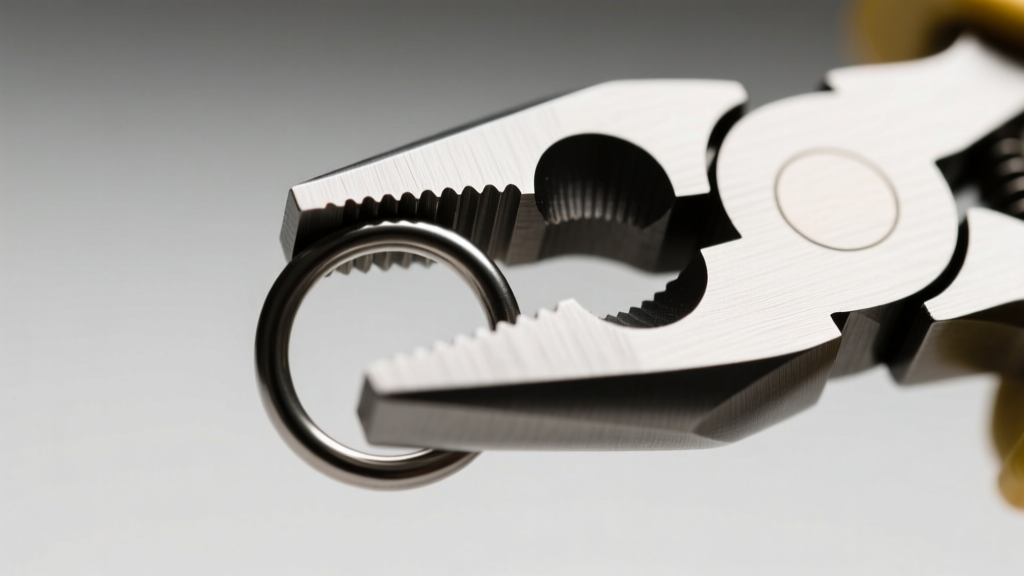
The Lateral Twist Technique
The most catastrophic mistake a beginner can make is pulling a jump ring apart laterally (outward, like a 'C'). This permanently distorts the circle, weakens the metal at the stress points, and makes it nearly impossible to close the ring flush. To maintain the structural integrity of the ring, you must use two pairs of pliers (preferably chain-nose or flat-nose) to twist the ends in opposite directions along the axis of the wire. As detailed in the Halstead Jump Ring Guide, this lateral twist preserves the circular geometry and allows the flush-cut ends to snap back together with a satisfying 'click', ensuring a seamless closure that won't catch on the wearer's clothing.
Upgrading to Soldered or Split Rings
If your making jewelry ideas involve heavy pendants (over 15 grams) or high-stress connection points like bracelet clasps, standard open jump rings are a liability. Upgrade to soldered jump rings for permanent connections, or use stainless steel split rings (which function like miniature keychains) for clasp attachments. Split rings offer a 100% fail-safe connection that will never accidentally pull open under tension.
Salvaging Botched Projects: A Decision Framework
When a prototype fails, you need a systematic approach to decide whether to cut it apart and start over, or adapt the design. Use this troubleshooting framework before reaching for your cutters:
- The Structural Audit: Is the failure at a load-bearing joint (e.g., a clasp connection or a bail)? If yes, cut and rebuild using a heavier gauge or soldered component. Never compromise on structural integrity.
- The Aesthetic Pivot: Did a wire wrap slip or a bead sequence get misaligned? Instead of unwrapping and work-hardening the wire further, consider adding a decorative bead cap or a secondary woven wire to hide the mistake, turning a flaw into a deliberate design element.
- The Material Harvest: If the stringing wire is kinked or the wire wrap is hopelessly tangled, do not try to straighten it. Kinked beading wire has compromised nylon sheathing and will eventually snap. Cut the wire, salvage the beads, and start fresh with new materials.
Expert jewelry making is rarely about executing a design perfectly on the first try; it is about possessing the metallurgical knowledge and bench skills to diagnose, adapt, and engineer your way out of inevitable material failures.
By mastering these troubleshooting techniques, you ensure that your making jewelry ideas transition smoothly from fragile prototypes into durable, heirloom-quality pieces ready for everyday wear.


