Wire Jewelry Making Troubleshooting: Fix 5 Common Wrapping Errors
Master wire jewelry making by troubleshooting common wrapping errors. Fix work hardening, wire breakage, and tool marring with expert tips.

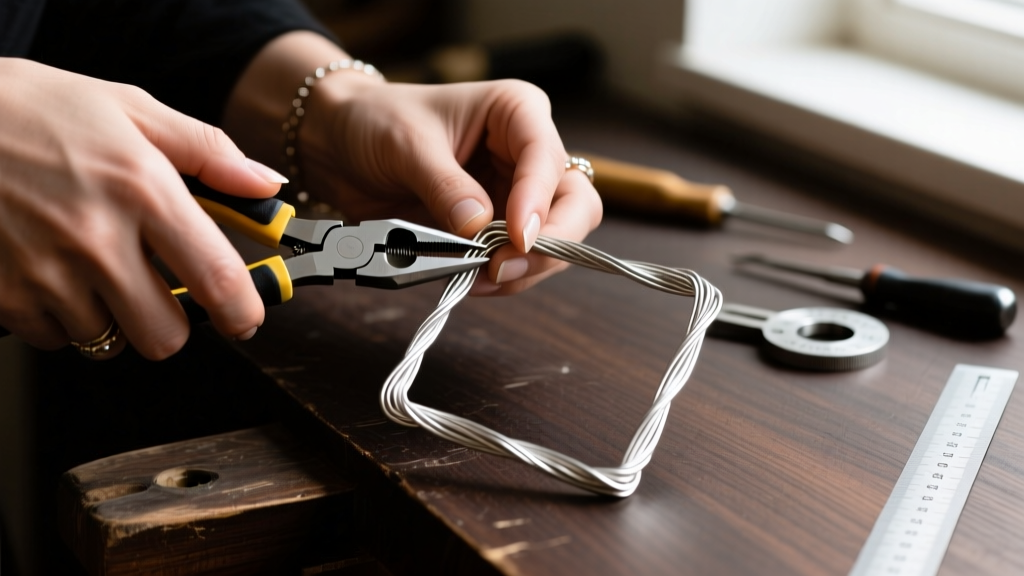
Wire jewelry making is an exercise in applied physics. Unlike casting or fabrication, where metal is melted or soldered, wire wrapping relies entirely on tension, friction, and the mechanical manipulation of metal crystalline structures. When you bend, twist, or coil wire, you are fundamentally altering its metallurgical properties. For beginners and intermediate makers alike, this invisible transformation is the root cause of most frustrations: snapping wires, slipping bezels, and marred finishes.
If you have ever abandoned a complex pendant because the wire suddenly became brittle, or if your finished pieces look scratched and amateurish, you are fighting the metal rather than working with it. This guide dives deep into the troubleshooting of the five most common failures in wire jewelry making, providing actionable, metallurgically sound solutions to elevate your craftsmanship.
1. The Metallurgy of Frustration: Understanding Work Hardening
The most frequent point of failure in wire jewelry making is wire breakage mid-wrap. This is rarely a defect in the metal itself; it is a predictable consequence of work hardening (also known as strain hardening). When you bend dead soft wire, the crystal lattice structure of the metal deforms. Dislocations within the lattice tangle and multiply, increasing the wire's yield strength but drastically reducing its ductility.
Identifying the Breaking Point
Dead soft sterling silver or fine silver starts at approximately 40-50 HV (Vickers Hardness). As you manipulate it, it transitions through 1/4 hard and into 1/2 hard (approx. 100-120 HV). You can feel this transition: the wire stops feeling 'buttery' and begins to exhibit 'spring-back.' If you continue to force a tight bend or a sharp angle after the wire has become springy, the tensile limit is exceeded, and the wire will snap with a sharp ping.
The Troubleshooting Protocol
- Pre-plan your bends: Do not use the wire itself to test angles. Use a cheap brass or copper practice wire of the exact same gauge to map out your bends before committing to sterling silver or gold-filled wire.
- Stage your hardening: If a design requires multiple complex bends, start with dead soft wire for the initial frame, then use a rawhide or nylon mallet to gently planish (harden) the frame before adding woven elements. This locks the shape without pushing the metal to its breaking point.
- Anthracite Annealing (Torch Required): If you are working with fine silver or copper and the wire becomes too stiff, you can anneal it. Heat the wire to a dull cherry red (approx. 1110°F for fine silver) and quench in water. Note: Never anneal work-hardened sterling silver or gold-filled wire mid-project without pickling, as the copper content will oxidize and ruin the finish.
For a comprehensive breakdown of how tempers affect different alloys, consult Rio Grande's Metal Temper Guide, which remains the industry standard for understanding metallurgical behaviors in jewelry fabrication.
2. Tool Marring and Scratches: Protecting Your Finish
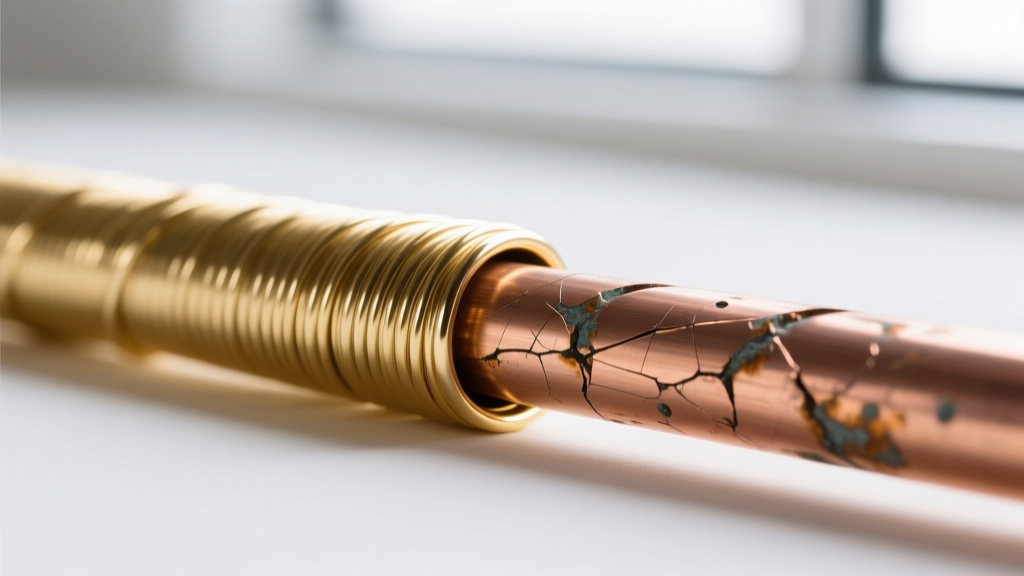
There is nothing more disheartening than finishing a complex wire weave only to realize the base wire is covered in ugly, jagged gouges. Tool marring occurs when the hardened steel jaws of your pliers bite into the softer jewelry wire. Standard steel pliers boast a hardness of roughly 60 HRC (Rockwell C scale), while 20-gauge dead soft sterling silver is incredibly soft by comparison. The steel will always win.
Upgrading Your Tool Interface
To achieve a flawless, professional finish, you must eliminate direct steel-to-precious-metal contact during the forming stages.
- Nylon Jaw Pliers: Essential for straightening dead soft wire and pulling weaving wires tight. The nylon distributes the clamping pressure and grips without biting. Brands like Wubbers or Lindstrom offer precision-machined nylon jaws that leave zero trace.
- Brass Jaw Pliers: Brass is softer than silver and gold but harder than nylon. Use brass-jawed chain-nose pliers for making tight, sharp bends where nylon would slip.
- Tool Magic Coating: If you cannot afford a full set of non-marring pliers, dip the tips of your favorite steel chain-nose and round-nose pliers in Tool Magic (a thick, flexible rubberized coating). Let it cure for 24 hours. This creates a custom, shock-absorbing barrier that prevents marring and reduces hand fatigue.
Pro Tip: Never use your fine-tipped, expensive Lindstrom cutters to grab or twist wire. The cutting edges are precision-ground to a 10-15 degree bevel; using them as pliers will chip the blades and ruin their flush-cutting ability.
3. Tension Slippage: Why Your Bails and Bezels Won't Hold
A common structural failure in wire jewelry making is the 'slipping cabochon' or the bail that pulls open under the weight of a chain. This is almost always a failure of gauge selection and temper pairing, rather than poor wrapping technique. According to Halstead Bead's Wire Wrapping Basics, matching the wire gauge to the structural load is critical for longevity.
The Wire Gauge & Tension Matrix
| Wire Gauge | Diameter (mm) | Recommended Temper | Primary Application & Tension Load |
|---|---|---|---|
| 16 - 18 AWG | 1.29 - 1.02 | Half-Hard | Heavy clasps, thick jump rings, structural bangles. High tension. |
| 20 AWG | 0.81 | Dead Soft / Half-Hard | Standard pendant frames, ear wires, prong bases. Medium tension. |
| 24 AWG | 0.51 | Dead Soft | Primary weaving wire, securing cabochons in bezels. Low tension. |
| 26 - 28 AWG | 0.40 - 0.32 | Dead Soft | Micro-coiling, binding, decorative filigree. Minimal tension. |
Troubleshooting Loose Prongs
If your 24-gauge prongs keep pulling away from the stone, you are likely using dead soft wire for a high-stress area. Switch your prong wire to 20-gauge half-hard, or use 20-gauge dead soft but aggressively planish the prongs with a chasing hammer on a steel block to work-harden them before bending them over the stone's girdle.
4. The 'Spring-Back' Effect in Coils and Jump Rings
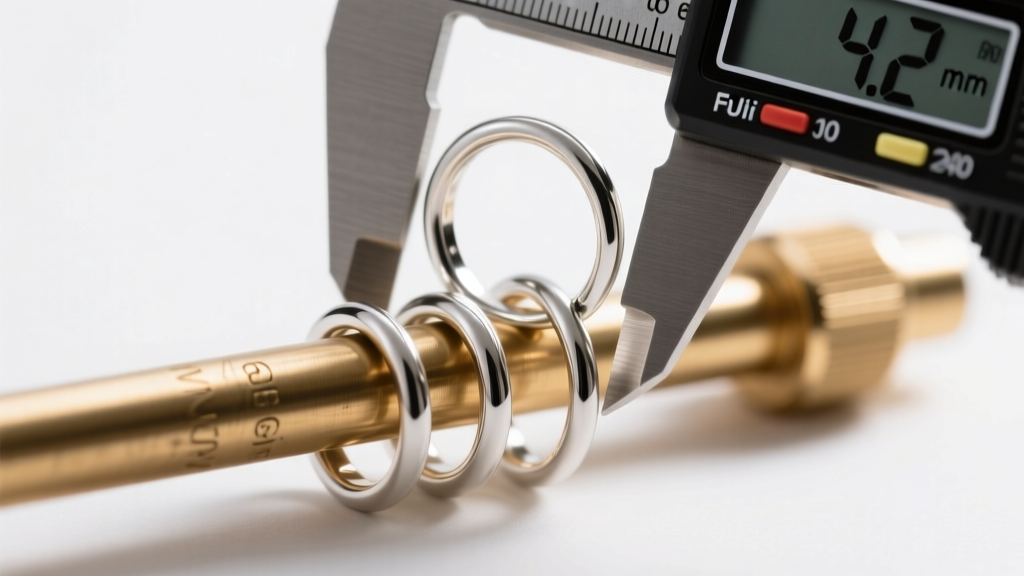
When you coil wire tightly around a mandrel to create jump rings or continuous spirals, the wire will inevitably 'spring back' slightly once released. This elastic recovery means a jump ring coiled on a 6.0mm mandrel will often result in an inner diameter (ID) of 5.7mm or 5.8mm. If your design relies on exact measurements for a chainmaille pattern or a precise bezel fit, this spring-back will ruin your tolerances.
Compensating for Elastic Recovery
The amount of spring-back depends on the alloy, the temper, and the thickness of the wire. Half-hard wire springs back significantly more than dead soft wire. Thicker gauges (like 16 AWG) exert more outward radial force than 24 AWG.
- The Oversize Mandrel Rule: When coiling half-hard sterling silver, step up your mandrel size by 0.2mm to 0.4mm to account for the spring-back. If you need a precise 5.0mm ID jump ring, coil on a 5.3mm mandrel.
- Tension Coiling: When wrapping wire around a mandrel, maintain heavy, consistent outward tension. Pull the wire taut with your non-dominant hand while turning the mandrel. Loose coiling creates gaps and exacerbates the spring-back effect once the tension is released.
5. Flush Cutter Alignment and the 'Pinch' Tail
The hallmark of amateur wire jewelry making is the jagged, pinched tail left behind after cutting a weaving wire. This happens when the maker misunderstands the anatomy of a flush cutter. A flush cutter is not symmetrical; one side of the blade is flat (the bevel is zero), and the other side is angled (the bevel is roughly 15 degrees).
Achieving the Perfect Flush Cut
When the blades meet, they do not slice like scissors; they pinch and shear. If you hold the angled side toward your workpiece, the angled blade will push the wire slightly before cutting, leaving a sharp, protruding 'pinch' tail that will scratch the wearer or snag on clothing.
- Orientation: Always keep the flat side of the cutter blades facing the piece of jewelry you want to keep. The angled side should face the scrap tail you are cutting off.
- The Pull-Back Technique: Do not just squeeze the cutters and let go. As you apply pressure to cut the wire, pull the cutters very slightly away from the workpiece (about 1mm). This draws the scrap tail into the bevel, resulting in a cut that is perfectly flush with the base wire.
- Burnishing: Even with a perfect cut, a microscopic burr may remain. Keep a cup burr or a fine-grit sanding pad (600 grit) on your bench to lightly kiss the cut end, ensuring it is completely smooth to the touch.
Mastering these physical and metallurgical nuances is what separates a hobbyist from a master wire artist. By respecting the limits of the metal and optimizing your tool interactions, your wire jewelry making process will become faster, cleaner, and infinitely more professional. For further reading on advanced weaving patterns and structural integrity, explore the tutorials at Wire-Sculpture's Wire Jewelry Making 101.