Mastering Blueprint Jewelry Box Plans: A Beginner Guide
Learn how to read blueprint jewelry box plans, select anti-tarnish woods, and choose the right hardware for your first DIY jewelry storage project.

Why Blueprint Jewelry Box Plans Matter for Beginners
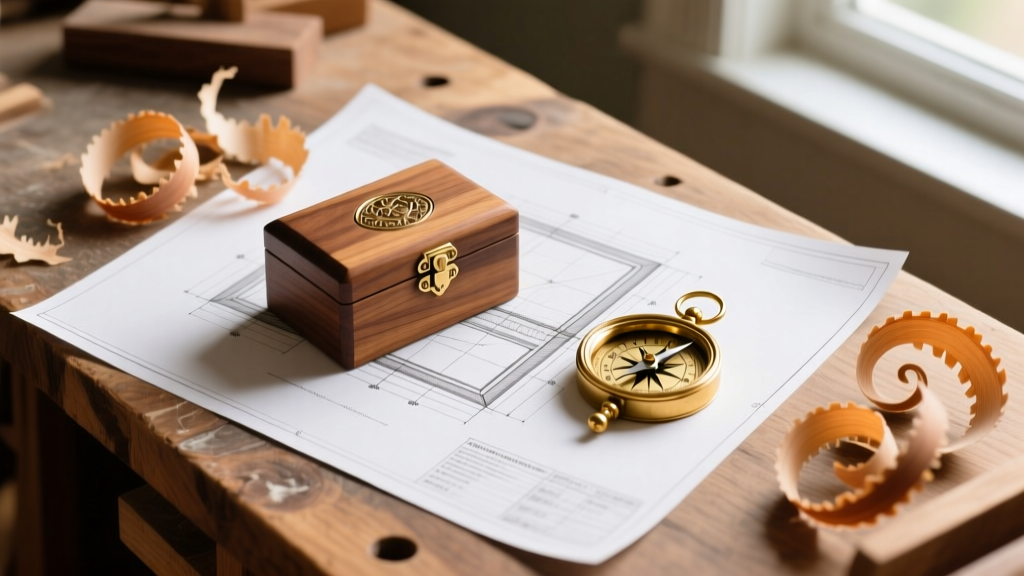
Transitioning from general woodworking to crafting fine jewelry storage requires a massive shift in precision. While building a bookshelf might allow for a 1/8-inch margin of error, jewelry boxes demand tolerances of 1/32-inch or tighter. This is where high-quality blueprint jewelry box plans become your most valuable asset. A well-drafted plan doesn't just give you dimensions; it provides a structural roadmap for managing wood movement, integrating specialized hardware, and protecting delicate metals from environmental degradation.
For beginners, staring at a complex schematic can feel overwhelming. Lines overlap, cross-sections intersect, and specialized joinery symbols clutter the page. However, once you understand the visual language of these blueprints, you unlock the ability to build heirloom-quality storage that actively preserves the items inside. This guide will decode the essential elements of jewelry box blueprints, from material selection to anti-tarnish engineering.
Decoding the Symbols: A Woodworker’s Legend
Jewelry box blueprints utilize specific architectural and woodworking symbols to convey three-dimensional information on a two-dimensional plane. Understanding these markers is critical before you make your first cut. Below is a translation guide for the most common symbols you will encounter in premium plans.
| Blueprint Symbol | Technical Meaning | Jewelry Box Application |
|---|---|---|
| Dashed / Hidden Lines | Edges or cavities not visible from the current viewing angle. | Blind mortises for internal divider pins or hidden magnetic catch cavities. |
| Crosshatching (Diagonal) | End grain exposure or cut-away cross-sections. | Mitered carcase corners or the internal profile of a routed ring roll. |
| Concentric Circles | Drill bit bores, with the center mark indicating the exact axis. | Barrel clearance holes for quadrant hinges or knob installation. |
| Leader Lines with Arrows | Points to a specific feature with a dimensional or material note. | Indicates the exact depth for a rabbet joint meant to hold a glass lid. |
| Zig-Zag or Wavy Lines | Indicates a broken-out section to save space on the drawing. | Used on long, repetitive drawer dividers where the middle section is uniform. |
Selecting the Right Materials for Jewelry Storage
Not all wood is safe for jewelry storage. One of the most frequent beginner mistakes is selecting a wood species based purely on aesthetics while ignoring its chemical properties. Silver, copper, and brass are highly reactive metals. When exposed to certain organic acids and moisture, they corrode and tarnish rapidly.
Woods to Avoid (High Acidity)
According to The Wood Database, woods like Oak (Quercus) and Sweet Chestnut contain high levels of tannic acid. In an enclosed environment like a jewelry box, these acids off-gas, especially in the presence of ambient humidity, creating a micro-climate that will aggressively tarnish silver and corrode copper alloys. Avoid using these species for the main carcase or internal dividers.
The Best Woods for Jewelry Boxes
For the exterior and structural framing, opt for neutral, stable hardwoods. Hard Maple (Acer saccharum) and Black Walnut (Juglans nigra) are exceptional choices. They possess low acidity, tight grain structures that sand to a glass-like finish, and excellent dimensional stability. For drawer bottoms and internal dividers, many master builders utilize Spanish Cedar or Aromatic Red Cedar. While slightly acidic, cedar naturally repels silverfish and moths, protecting organic jewelry materials like pearls and silk threads from insect damage, provided the cedar is sealed or isolated from direct contact with bare silver.
Hardware Specifications: Hinges and Clasps
The hardware you choose dictates both the longevity and the feel of your jewelry box. Blueprints will often specify exact hinge types, but beginners must also understand the metallurgy and installation requirements to prevent catastrophic failures.
Quadrant Hinges and Mortise Depth
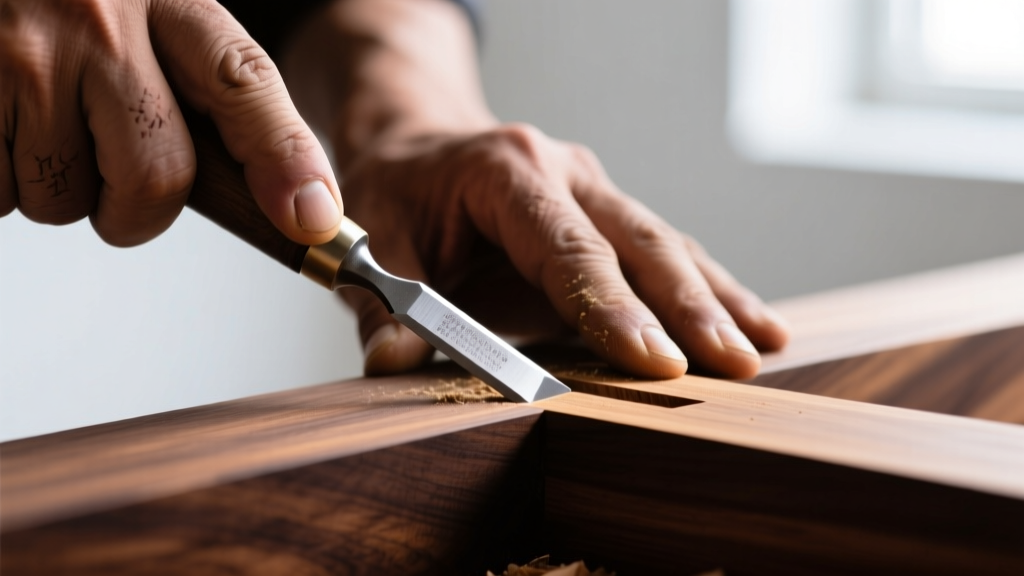
For lid support, quadrant hinges (also known as stop hinges) are the gold standard. They feature a sliding arm that locks the lid open at exactly 90 or 95 degrees, preventing the lid from snapping backward and tearing the wood fibers. When your blueprint calls for a mortised quadrant hinge, precision is non-negotiable. You will typically need to route or chisel a recess exactly 1/16-inch to 3/32-inch deep. If the mortise is even slightly too shallow, the lid will not close flush; too deep, and the hinge will bind.
Screw Gauge and Galvanic Corrosion
Never use steel screws with brass hardware. The dissimilar metals, combined with atmospheric moisture, will trigger galvanic corrosion, eventually snapping the screws inside the wood. Always use solid brass wood screws. For delicate jewelry box hinges, #2 or #3 brass screws are standard. Because brass is relatively soft and prone to snapping under torque, you must pre-drill pilot holes using a 1/16-inch Vix bit (hinge centering bit) and lubricate the screw threads with a micro-drop of beeswax before driving them home.
Sourcing and Installing Anti-Tarnish Linings
The interior lining of your jewelry box is the final line of defense against environmental damage. Standard craft store felt is a massive liability; it is often dyed with sulfur-based compounds and treated with formaldehyde, both of which accelerate the formation of silver sulfide (tarnish).
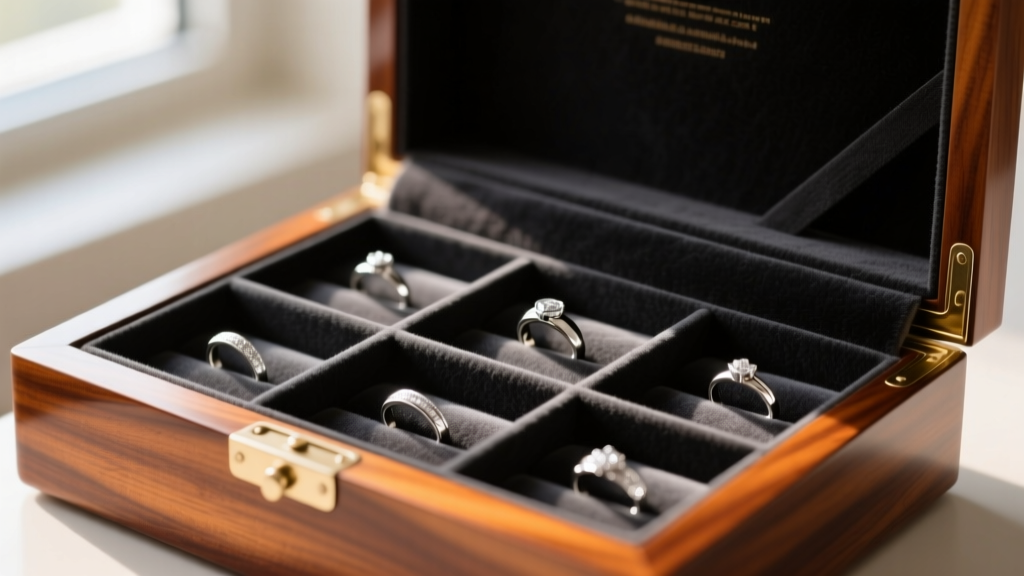
To ensure archival-quality storage, refer to the Conservation Wiki's Oddy Tests, which evaluate materials for off-gassing. For fabric linings, seek out Pacific Silvercloth or specially treated anti-tarnish flannel. These fabrics are embedded with microscopic silver particles that act as a sacrificial anode, absorbing sulfur and corrosive gases before they can reach your jewelry. When installing these linings, avoid using standard PVA wood glues or rubber cements, as their solvents can degrade the anti-tarnish treatment. Instead, use double-sided archival tape or a thin, even coat of pH-neutral wheat starch paste to adhere the fabric to your wooden dividers.
Common Beginner Mistakes in Plan Execution
Even with perfect blueprint jewelry box plans, execution errors can ruin the final piece. Keep this troubleshooting checklist on your workbench to avoid the most common pitfalls:
- Ignoring Wood Movement in Floating Panels: If your blueprint features a framed lid with a solid wood center panel, the panel must 'float' in a groove without glue. Solid wood expands and contracts tangentially across the grain. Gluing it will cause the frame to split during seasonal humidity changes.
- Sanding Before Glue-Up: Sanding pieces before assembly often leads to rounded edges, which prevents tight, seamless miter joints. Assemble the carcase first, then use a hand plane or card scraper to level the joints before moving to sandpaper.
- Glue Squeeze-Out on Raw Wood: PVA glue seals wood pores. If squeeze-out dries on the surface and isn't completely removed, your final oil or lacquer finish will blotch and fail to penetrate. Use a damp (not wet) rag to wipe joints immediately after clamping, or use painter's tape to mask the edges of your joints before applying glue.
- Miscalculating Divider Kerf: When cutting slots for interlocking grid dividers, remember that your saw blade removes material (the kerf). If your blueprint calls for a 1/8-inch slot, ensure your dado stack or router bit is calibrated to exactly 1/8-inch, or your dividers will fit loosely and rattle.
Final Thoughts on Precision Storage
Mastering blueprint jewelry box plans is about more than just following lines on a page; it is about understanding the intersection of woodworking geometry and material science. By respecting wood acidity, selecting archival-grade linings, and installing hardware with metallurgical awareness, you elevate your project from a simple wooden container to a true preservation vault. Take your time, measure to the 1/32-inch, and let the blueprints guide you toward building a functional heirloom.


