How to Fix, Replace, or Upgrade a Jewelry Box Clasp
Learn how to troubleshoot, repair, or replace a broken jewelry box clasp. Expert tips on fixing stuck locks, swapping hinges, and upgrading hardware.

The Anatomy of a Jewelry Box Clasp and Common Failures
A secure jewelry box clasp is the first line of defense against accidental spills, dust intrusion, and unauthorized access. When a clasp fails, it not only compromises the physical security of your collection but can also break the microclimate seal required for anti-tarnish environments. Understanding the mechanics of your specific hardware is the first step in effective troubleshooting.
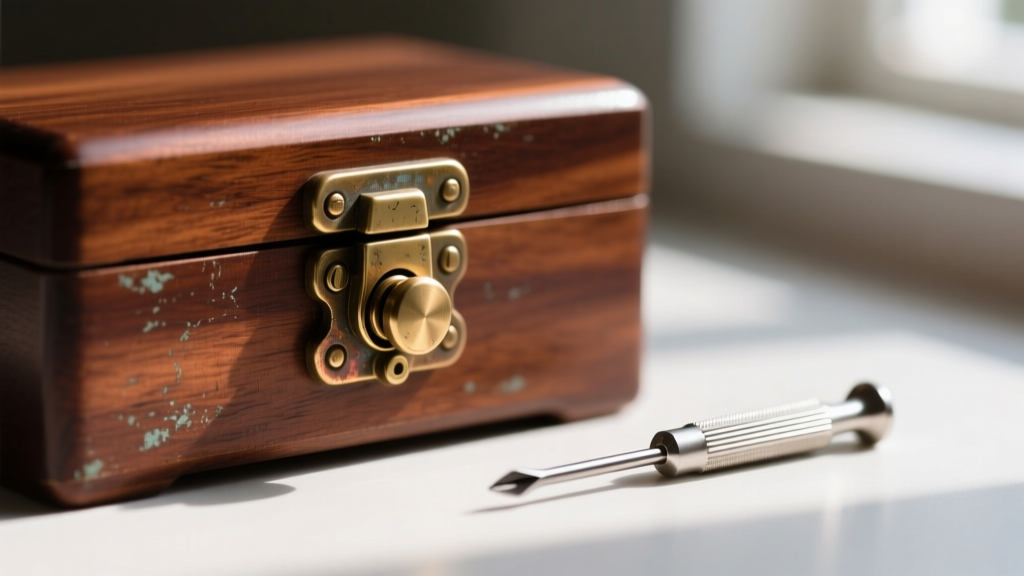
Most mid-tier to high-end jewelry boxes utilize one of three primary closure mechanisms: push-button catches, drawbolt latches, or magnetic locks. Push-button mechanisms rely on an internal spring-loaded pin that engages with a strike plate. Drawbolts use a sliding metal bar that drops into a catch, while magnetic closures rely on embedded neodymium magnets. Each system has distinct failure modes that require specialized repair techniques.
Diagnosing and Fixing Stuck Push-Button Mechanisms
The push-button jewelry box clasp is notorious for seizing over time. This is rarely due to a broken spring and almost always caused by the accumulation of microscopic dust, oxidized brass dust from the friction of the pin, or the improper application of liquid lubricants.
The WD-40 Mistake
Never use standard WD-40 or petroleum-based oils on a jewelry box clasp. These liquids seep into the surrounding MDF or wood veneer, causing swelling that permanently warps the lid. Furthermore, they attract dust, creating a thick sludge that eventually jams the internal pin. If a previous owner has applied oil, you must flush the mechanism with a fast-evaporating solvent like naphtha or >90% isopropyl alcohol using a precision syringe.
Proper Lubrication Technique
Once cleaned, the internal pin requires a dry lubricant. Powdered graphite or a dry PTFE (Teflon) spray is ideal. Apply a microscopic amount directly to the sliding pin using a cotton swab or a specialized micro-applicator. Work the button repeatedly to distribute the lubricant. If the button still sticks, the internal return spring may have lost its tension. In this case, you must pry open the backplate of the catch using a jeweler's pry tool and replace the spring with a matching compression spring (typically 0.2mm wire diameter).
Realigning Misaligned Drawbolt Latches
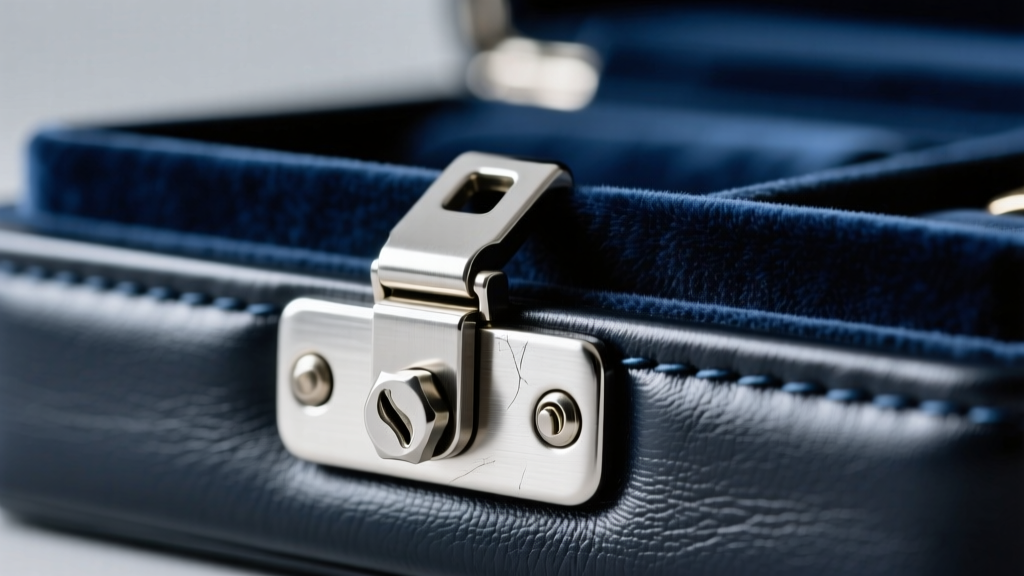
Drawbolt latches are common on heavier, multi-tier jewelry chests. The most frequent issue is misalignment, where the bolt no longer slides cleanly into the catch plate. This is usually caused by wood expansion and contraction due to seasonal humidity changes, or the stripping of the tiny wood screws holding the hardware.
Correcting Screw Hole Wear
When the #2 or #3 brass wood screws strip out of the MDF or softwood substrate, the clasp shifts. Do not simply force a larger screw into the hole, as this will split the delicate trim. Instead, use the toothpick-and-glue method: dip wooden toothpicks in high-quality aliphatic resin wood glue (like Titebond), pack them tightly into the stripped hole, and let it cure for 24 hours. Once dry, snap off the excess, drill a new pilot hole using a 1/16-inch bit, and reinstall the original screw.
Filing the Strike Plate
If the screws are secure but the bolt binds, the strike plate may be misaligned by a fraction of a millimeter. Remove the strike plate and use a fine-cut needle file to gently elongate the catch slot. Test the fit frequently. A digital caliper is highly recommended here to measure the backset and ensure you are filing symmetrically.
Removing Stripped and Seized Screws from Delicate Veneers
Before you can replace a broken jewelry box clasp, you must safely remove the existing hardware. Small box hardware typically uses #2 or #3 brass screws, which are notoriously soft and prone to stripping. If your screwdriver is slipping, stop immediately to avoid marring the surrounding wood or leather.
The Rubber Band Trick and Screw Extractors
For mildly stripped Phillips or slotted heads, place a wide rubber band over the screw head and press your precision screwdriver firmly into the rubber. The rubber fills the stripped gaps, providing enough grip to back the screw out. If the head is completely destroyed, you will need a micro screw extractor set (sizes #1 and #2). Drill a tiny pilot hole into the center of the screw using a 1/32-inch cobalt bit, then use the extractor to reverse the screw out.
Dealing with Threadlocker and Glue
Some high-end manufacturers use a mild threadlocker (like Loctite 222) or hide glue to secure clasp screws against vibration. If a screw refuses to turn, apply localized heat using a soldering iron with a flat chisel tip. Press the tip directly onto the screw head for 10-15 seconds. The heat will soften the adhesive without scorching the surrounding veneer, allowing the screw to back out smoothly.
Upgrading Failing Magnetic Closures
Magnetic jewelry box clasps offer a seamless, hardware-free aesthetic, but they can fail if the embedded magnets lose their pull or if the lid warps, increasing the air gap between the magnet and the strike plate. Neodymium magnets (NdFeB) are the standard, but cheaper boxes often use lower-grade N35 magnets.
To upgrade, carefully excavate the old magnet using a Dremel with a 1mm diamond burr bit. Replace it with an N52-grade neodymium disc magnet of the exact same diameter. Secure it using a two-part epoxy formulated for metals and porous surfaces. An N52 magnet provides roughly 30% more pull force than an N35, easily compensating for minor lid warping.
Hardware Replacement: Material and Sizing Guide
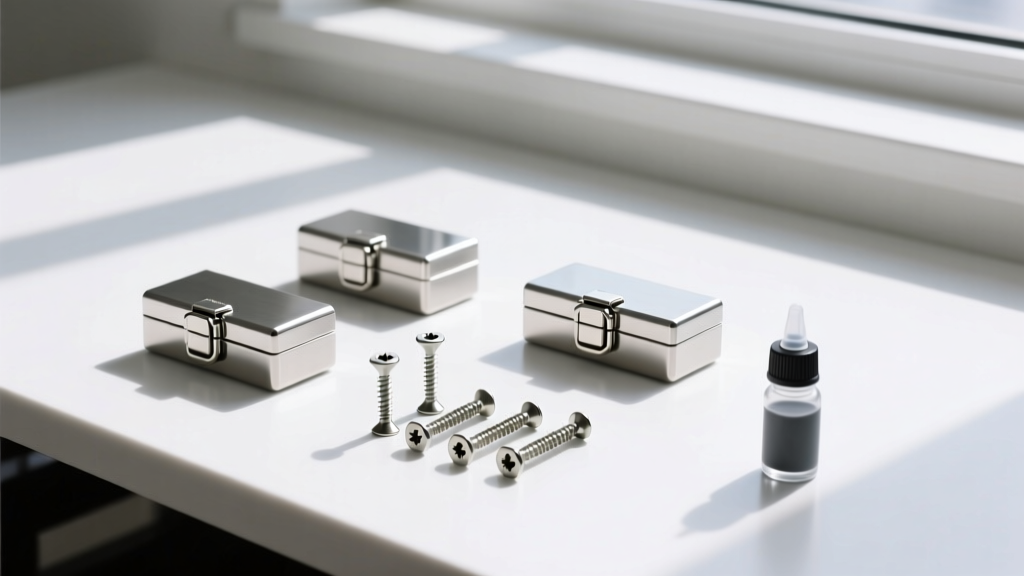
If your jewelry box clasp is beyond repair, replacing it requires matching both the aesthetic and the physical dimensions. The most critical measurement is the backset—the distance from the edge of the box to the center of the screw holes. Use the table below to select the right replacement hardware based on your box's construction.
| Material | Best For | Corrosion Resistance | Standard Screw Size | Price Range (USD) |
|---|---|---|---|---|
| Zinc Alloy (Plated) | Mass-produced, budget boxes | Low (prone to pitting) | #2 x 1/4 inch Wood Screw | $2.00 - $5.00 |
| Solid Brass (Lacquered) | Heirloom, antique, and wooden chests | Medium (requires lacquer) | #3 x 3/8 inch Wood Screw | $8.00 - $18.00 |
| 304 Stainless Steel | Modern, high-humidity environments | High (excellent durability) | M2 or M3 Machine Screw | $12.00 - $25.00 |
When sourcing replacement parts, specialty hardware suppliers like Rockler Woodworking and Hardware offer precise dimensional diagrams. Always measure your existing hardware with digital calipers rather than a standard tape measure to ensure the new clasp will cover the old footprint, preventing unsightly gaps in the wood finish.
Preventative Maintenance for Long-Term Security
Troubleshooting a broken jewelry box clasp is often a reactive measure. Proactive maintenance extends the life of your hardware and preserves the integrity of your storage environment.
- Humidity Control: Keep your jewelry box in a room with stable humidity (40-50%). Extreme dryness causes wood to shrink, pulling screws out of alignment, while high humidity swells the wood, binding moving parts.
- Anti-Tarnish Strips: Place 3M anti-tarnish strips inside the box. While primarily for silver, they also absorb airborne sulfur compounds that cause brass and zinc alloy clasps to corrode and seize.
- Gentle Operation: Never slam the lid. The kinetic shock transfers directly to the clasp mechanism, slowly bending the internal pins and weakening the strike plate over time.
For more advanced restoration techniques, resources like Wood Magazine's hardware guides provide excellent foundational knowledge on working with small-scale fasteners and delicate veneers. By understanding the precise mechanics and materials of your jewelry box clasp, you can ensure your collection remains secure, pristine, and beautifully displayed for decades.


